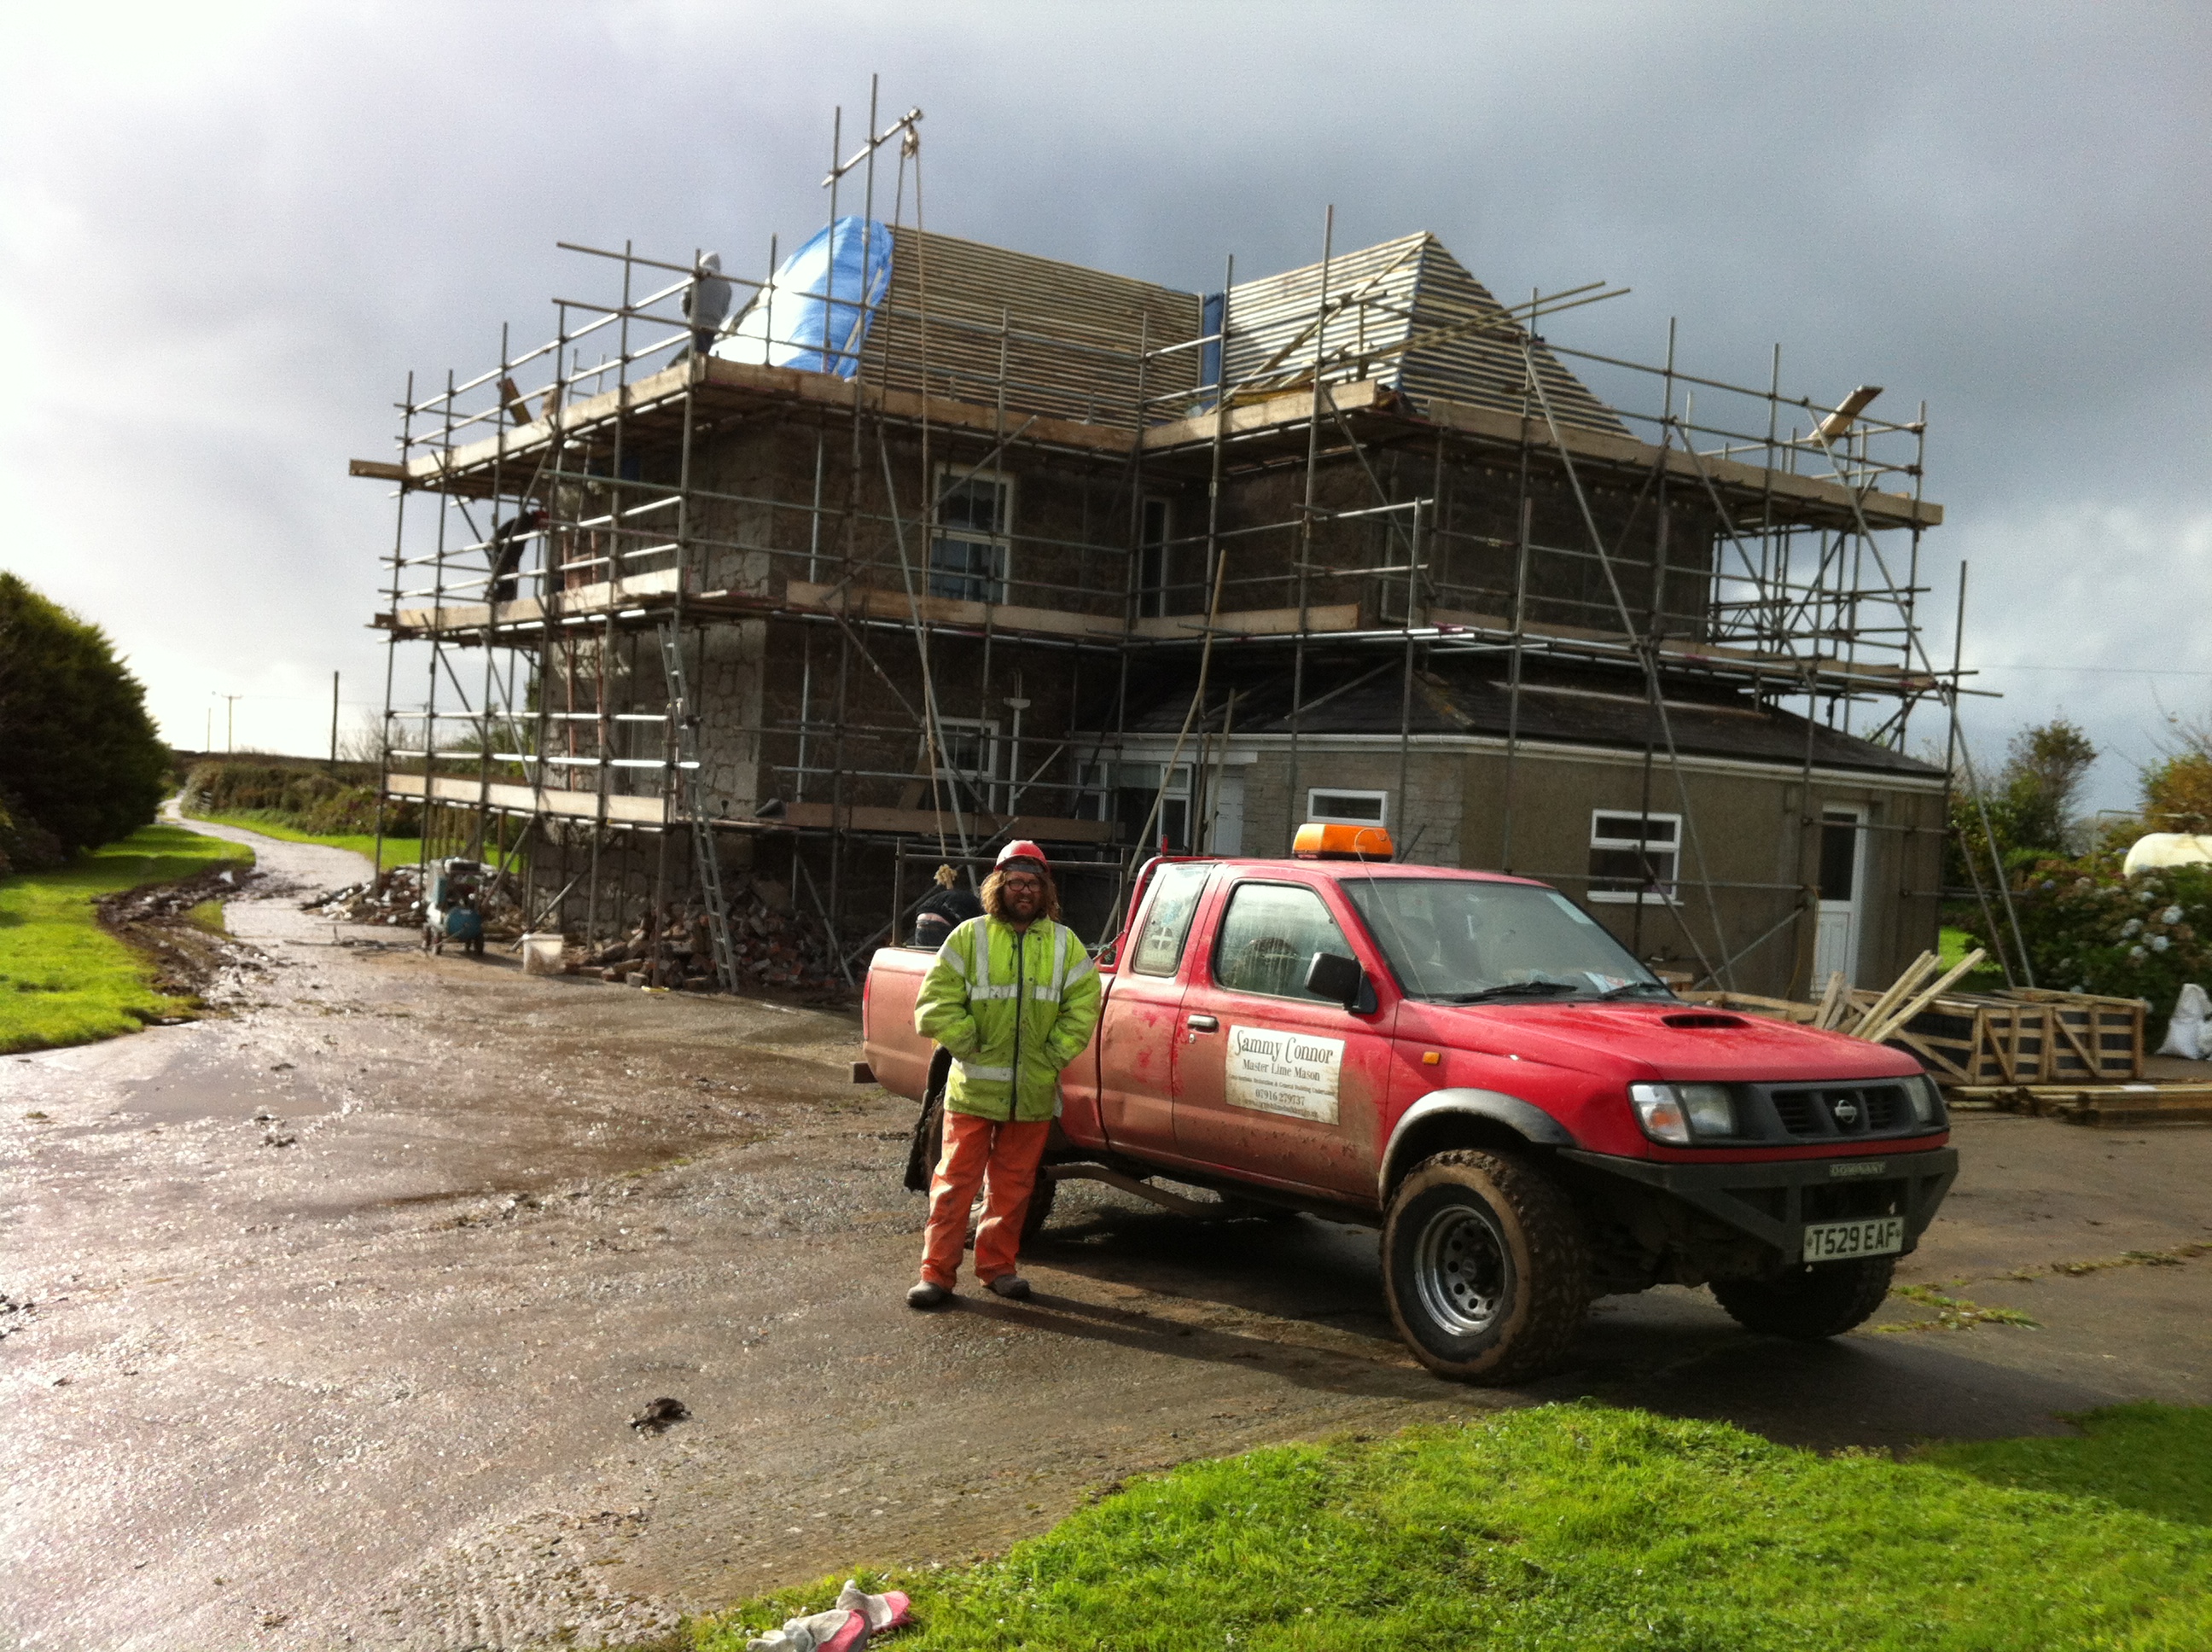
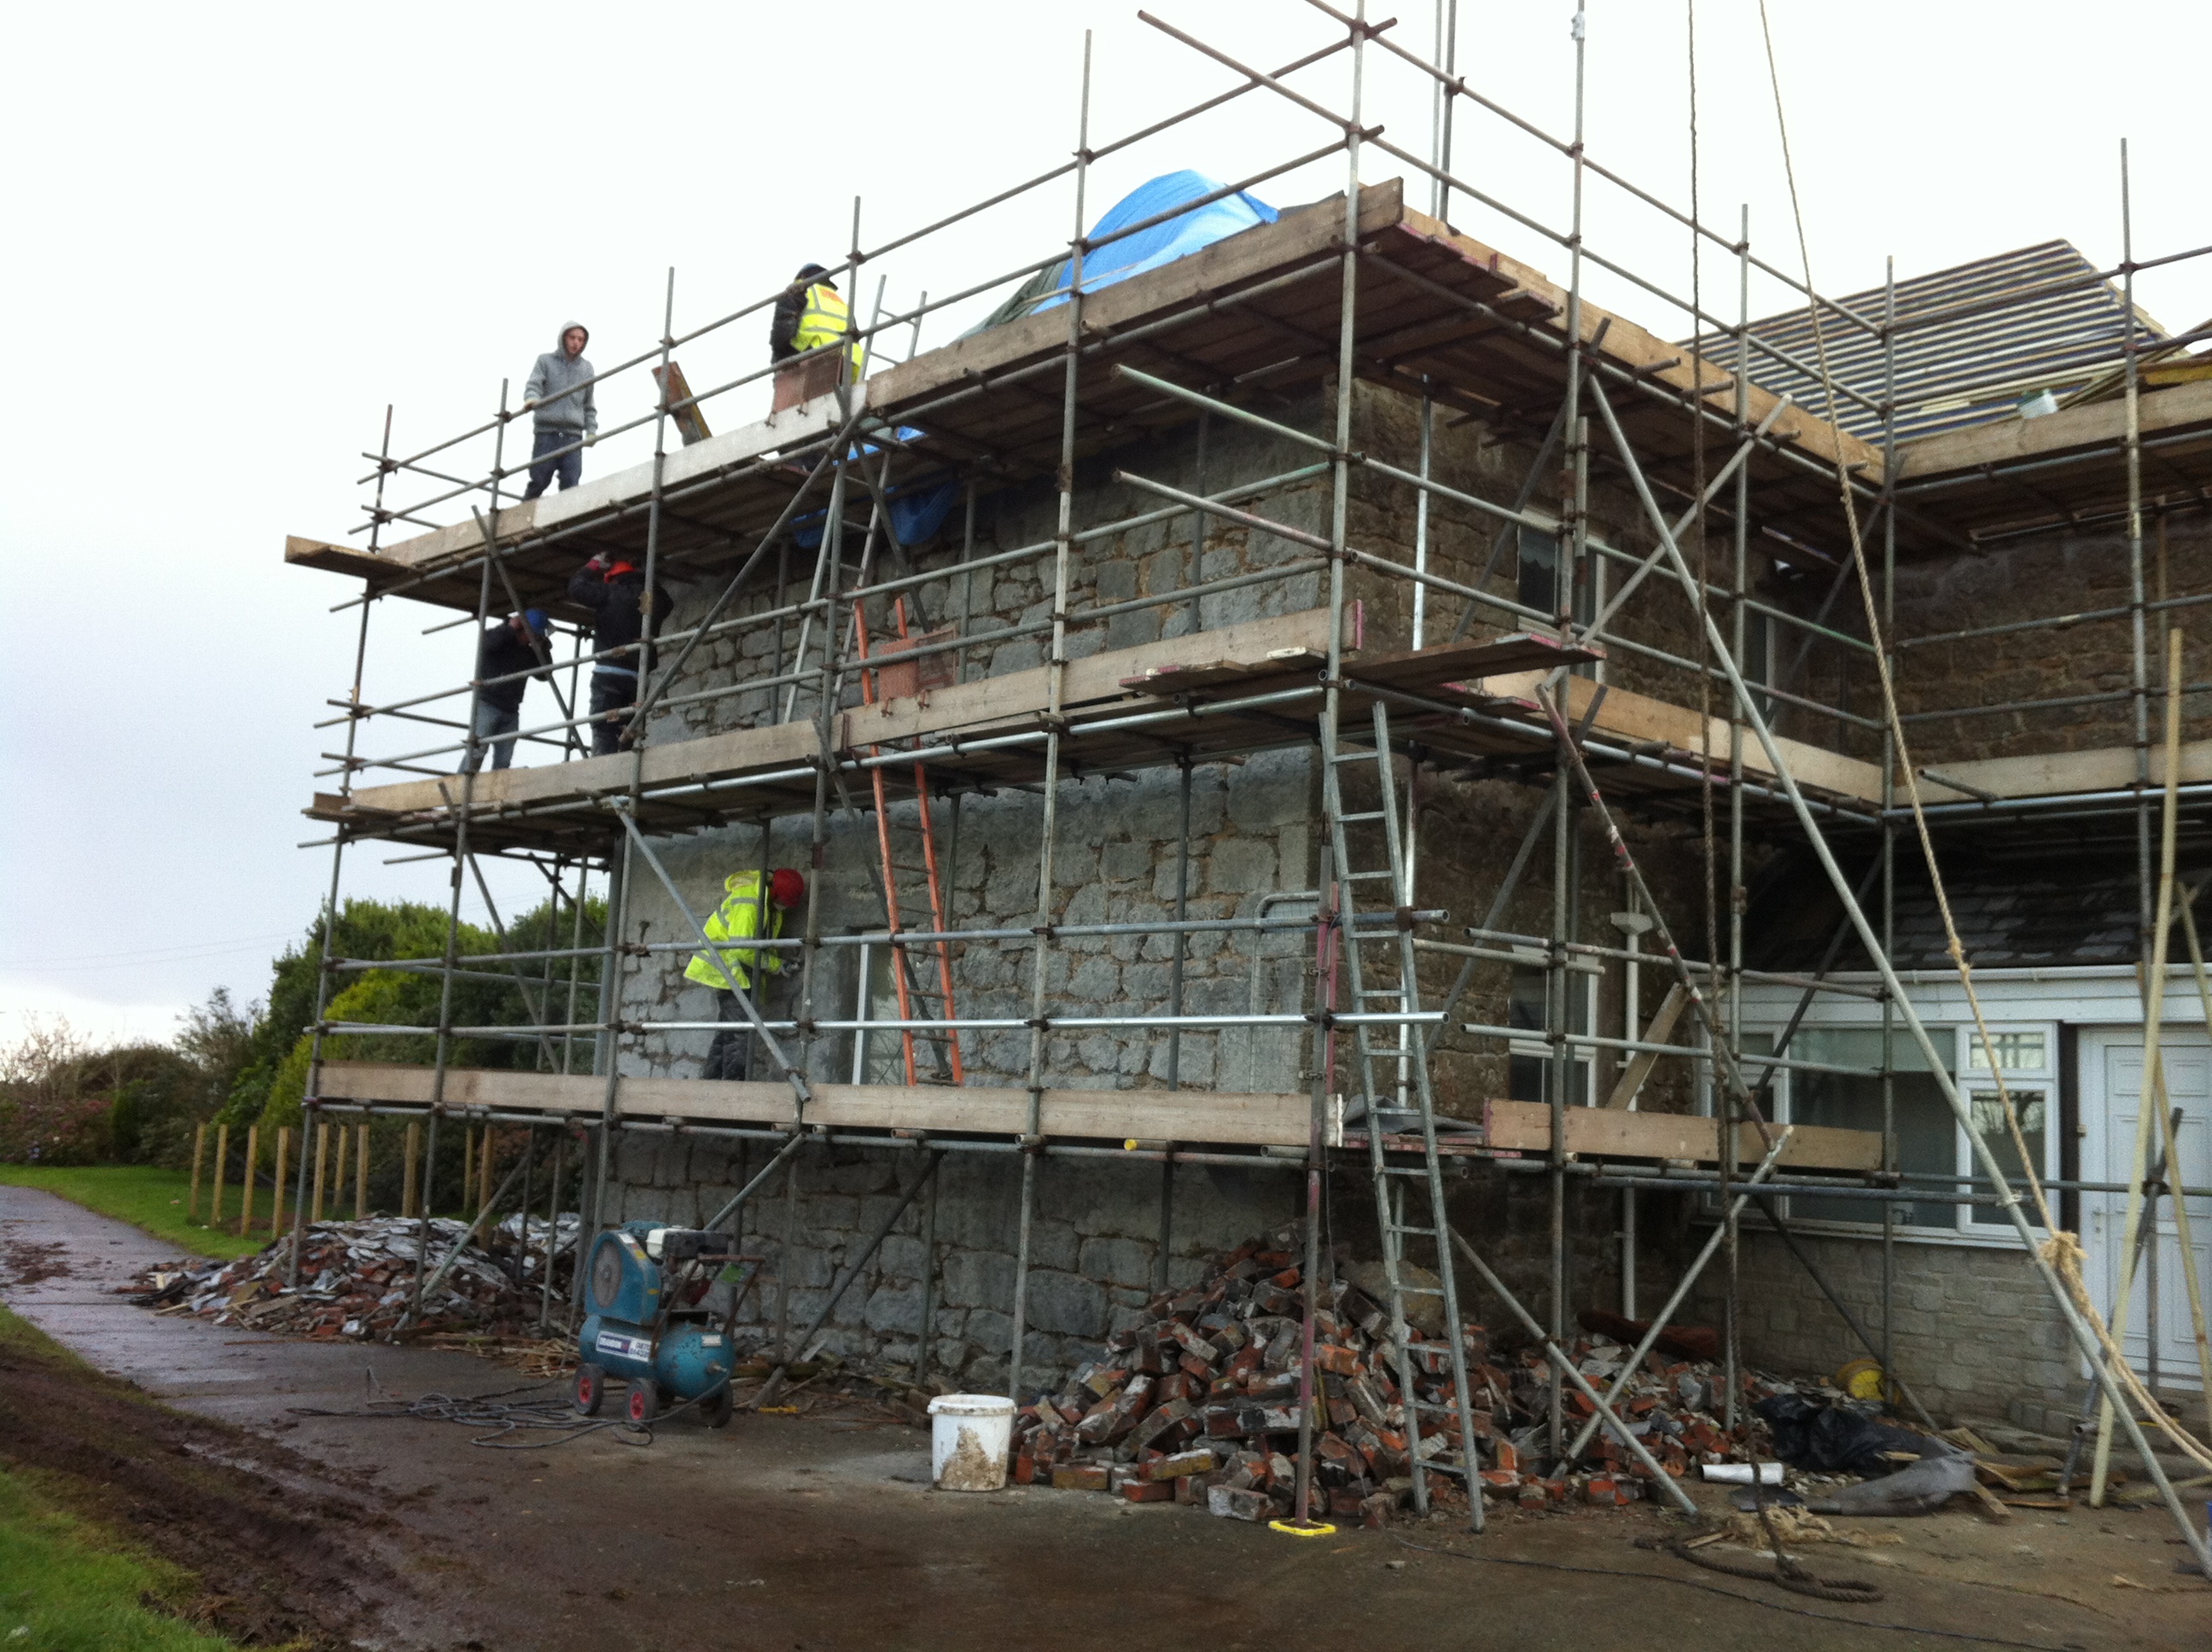
This has been one of our most challenging jobs to date . It has involved the complete renovation of a beautiful farm house situated in a very exposed position. We have replaced the roof, removed all external pointing , re pointed and rendered with lime then clad it in warm shell boards and rendered in hydrophobic lime . We have added a new window and converted an existing door into a new window and completely changed the layout of the bedroom configuration. Along with snagging all the common unforeseen problems such as rotten timbers lintels and joists . Its one of the first times this method of externally insulating and waterproofing has been used on a Cornish house . An will bring it up to new build standards of insulation. Its an ongoing project and we will endeavour to update as sections are completed.
-
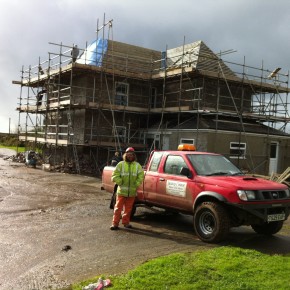
- More to come as the job progresses . TTFN from me. Sammy C
-
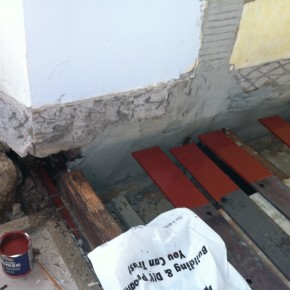
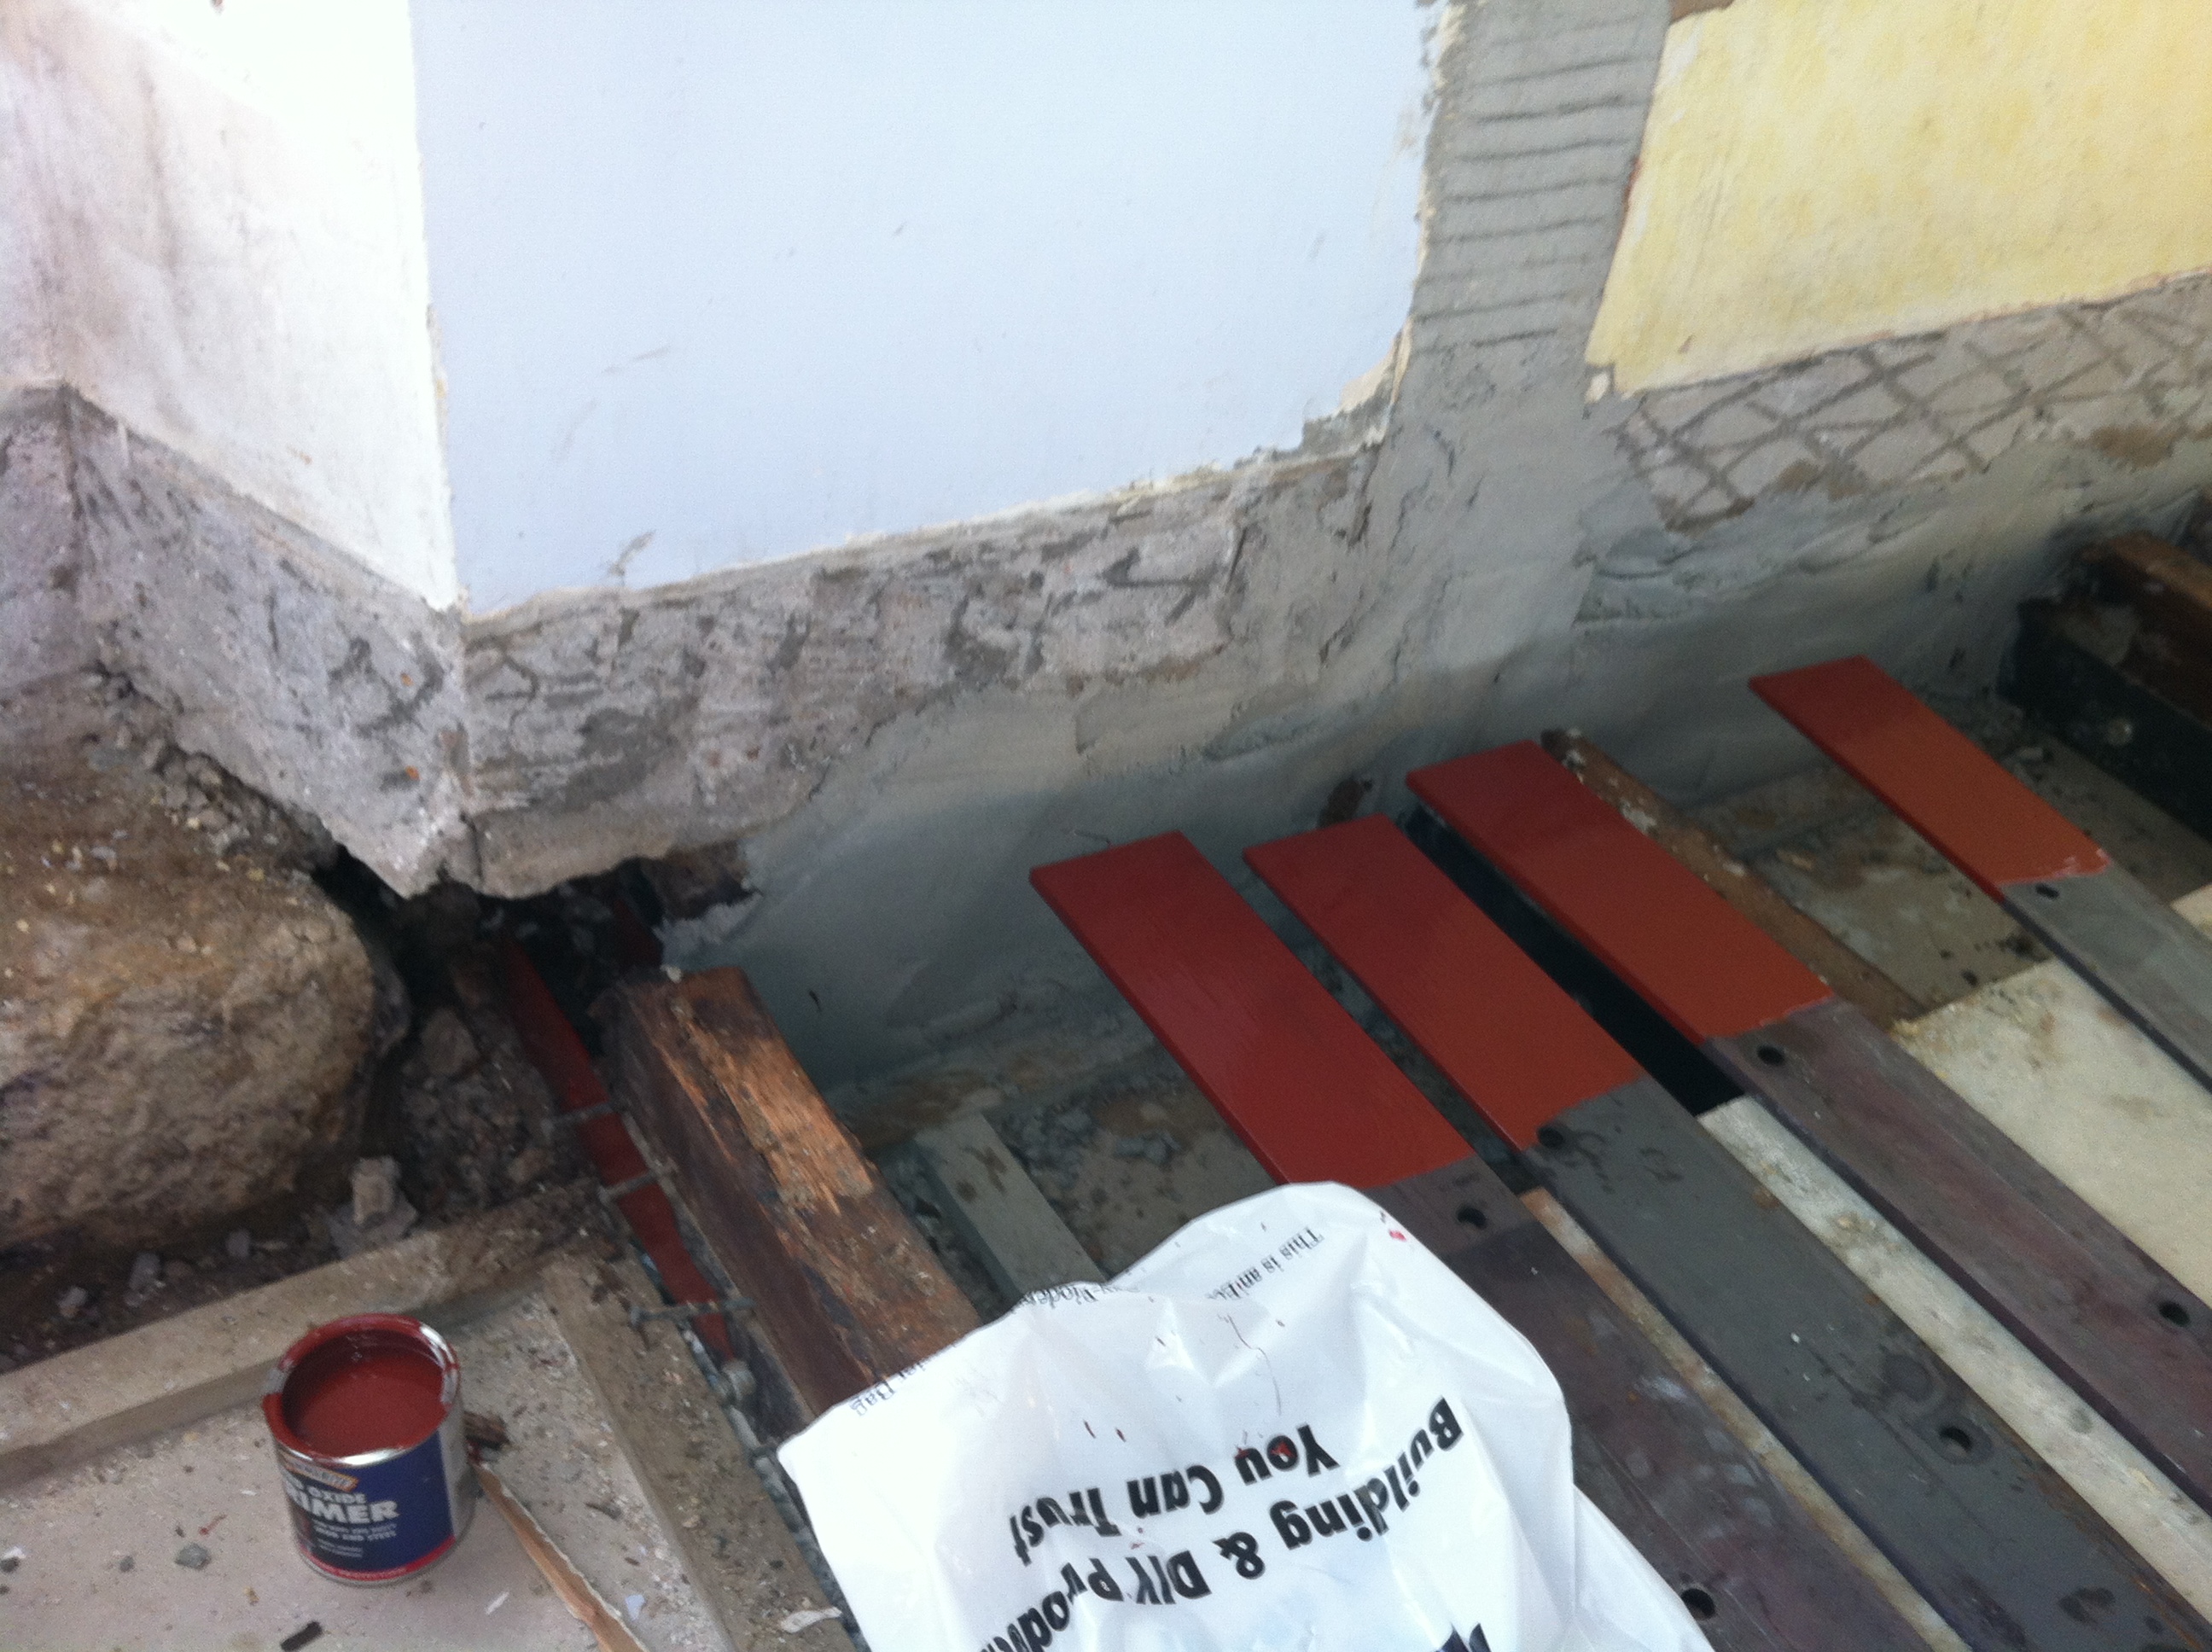
- Many of the floor joists had rotted in the walls. We inserted steel reinforcments coated in red oxide. It solved the problem and insured it would never happen again.
-
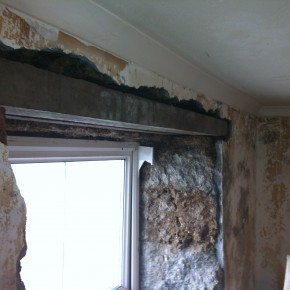
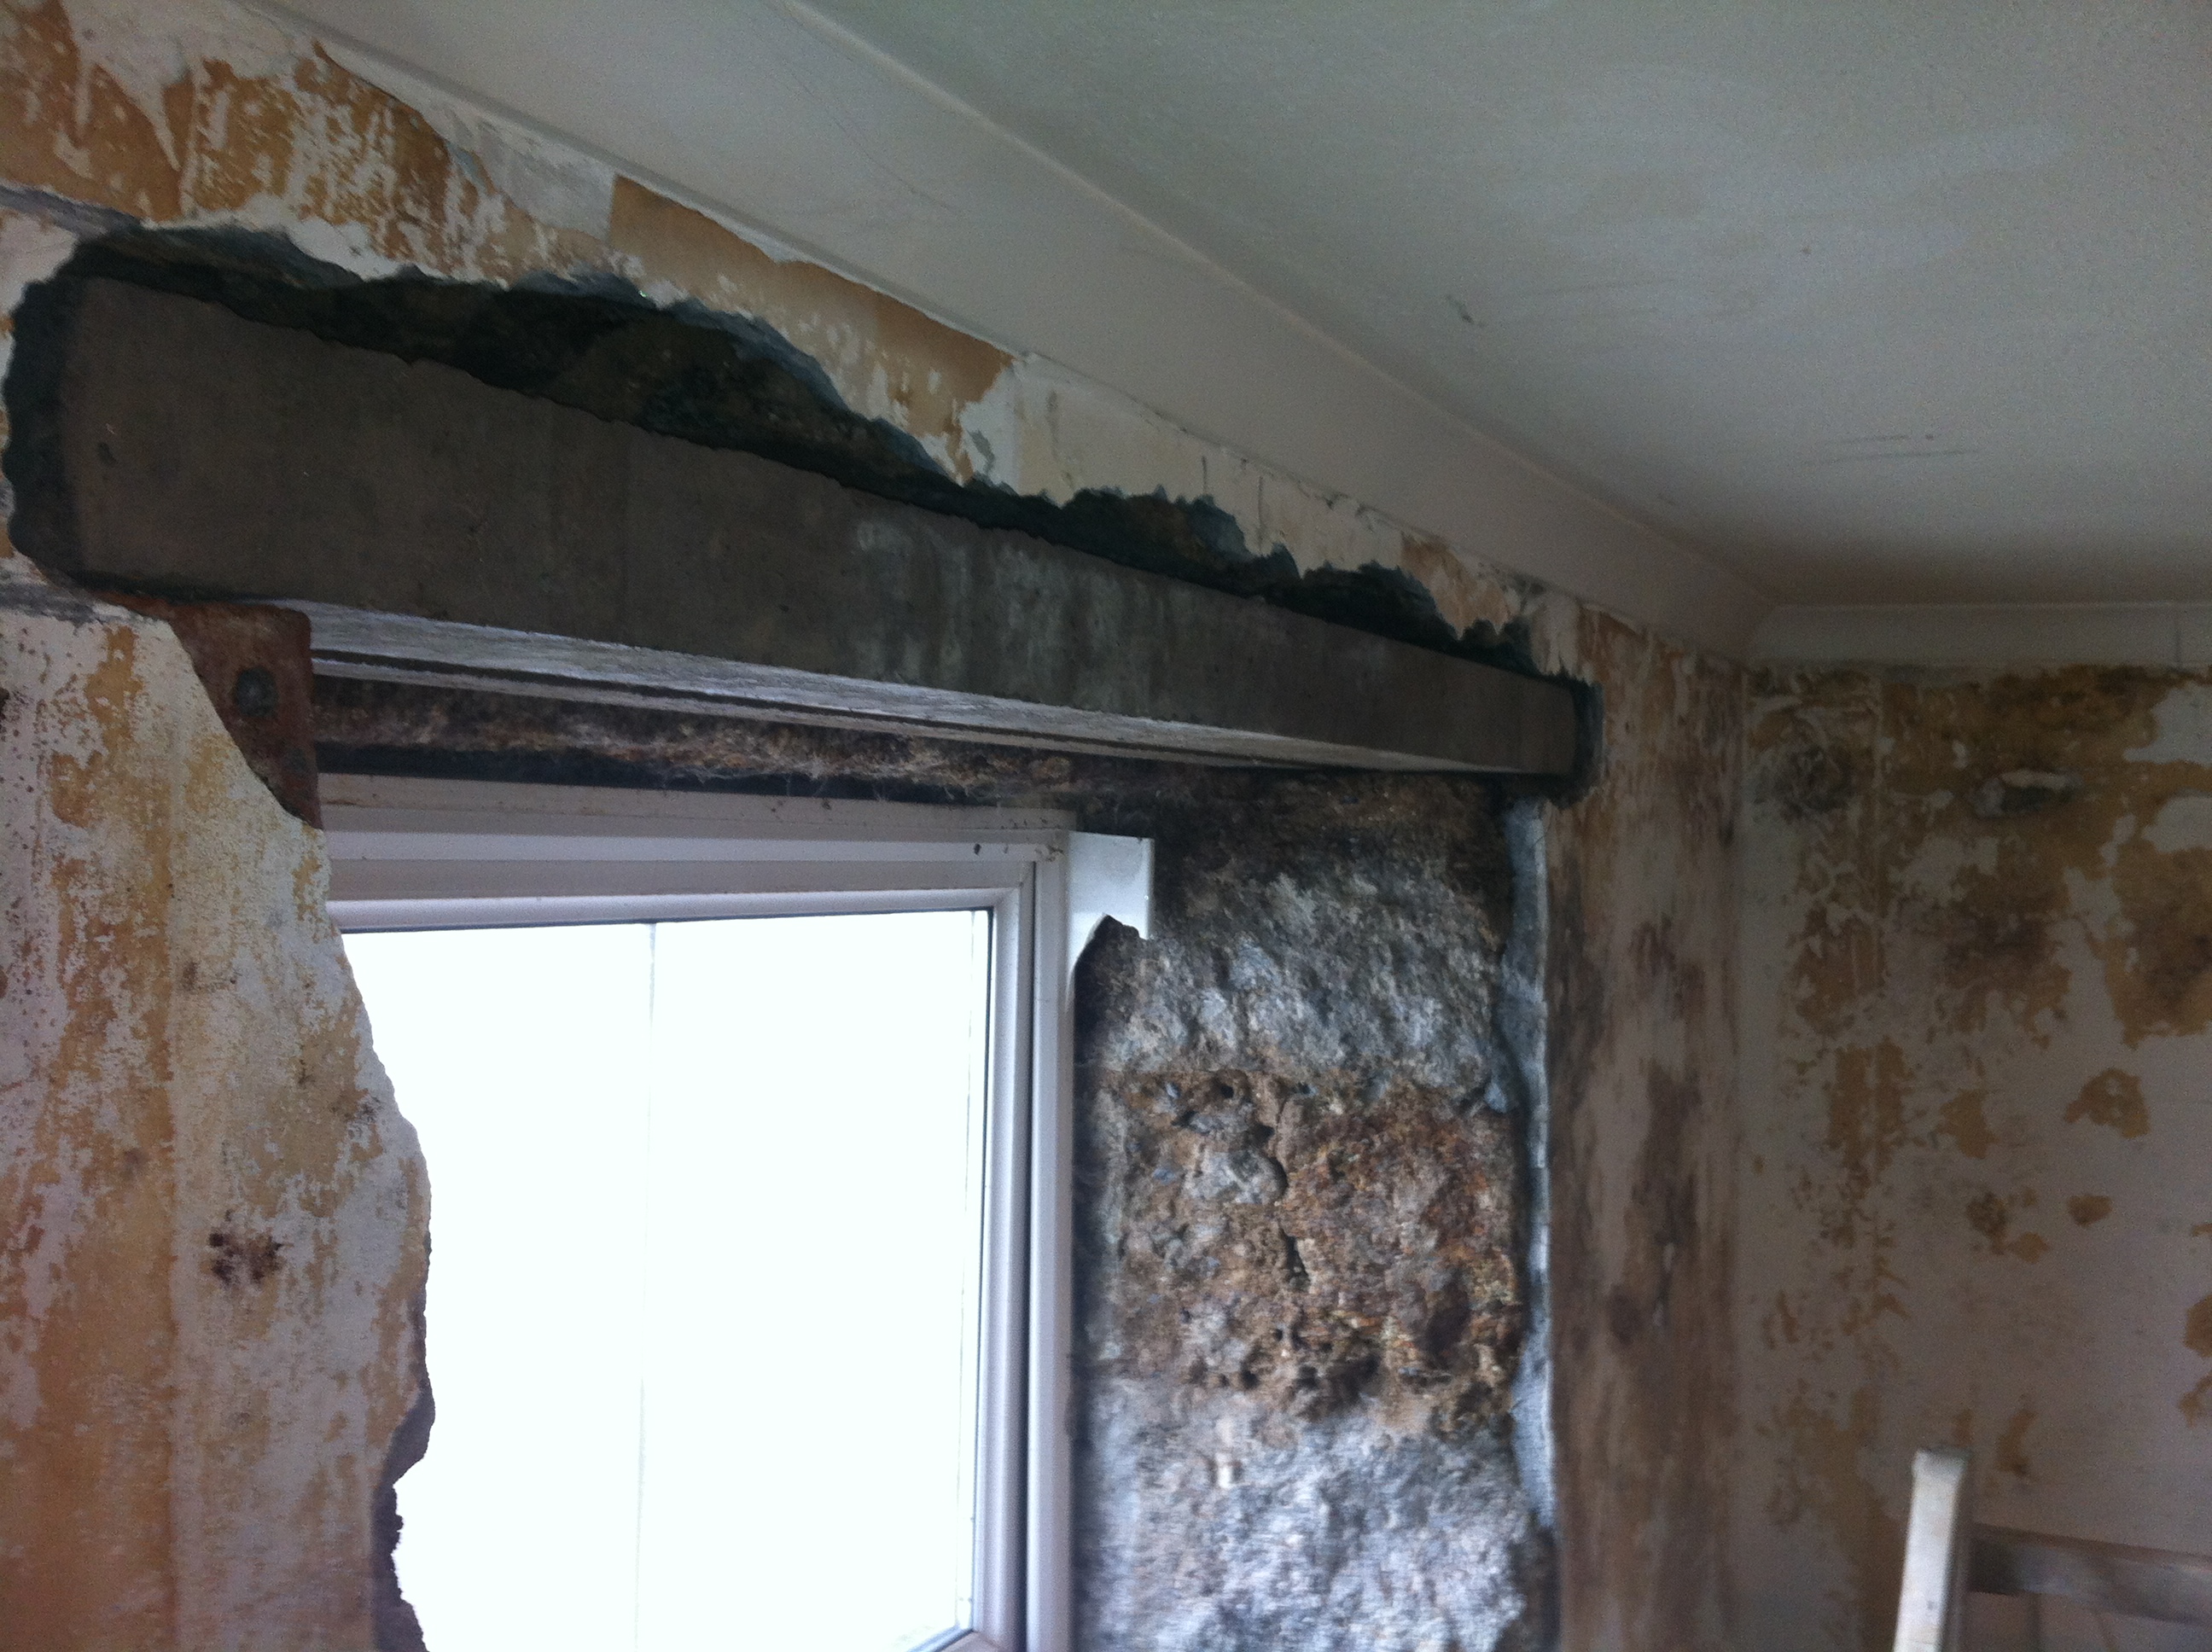
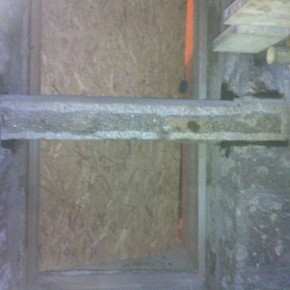
- Many of the internal wooden window lintels had rotted out. We replaced them with reinforced concrete lintels.
-

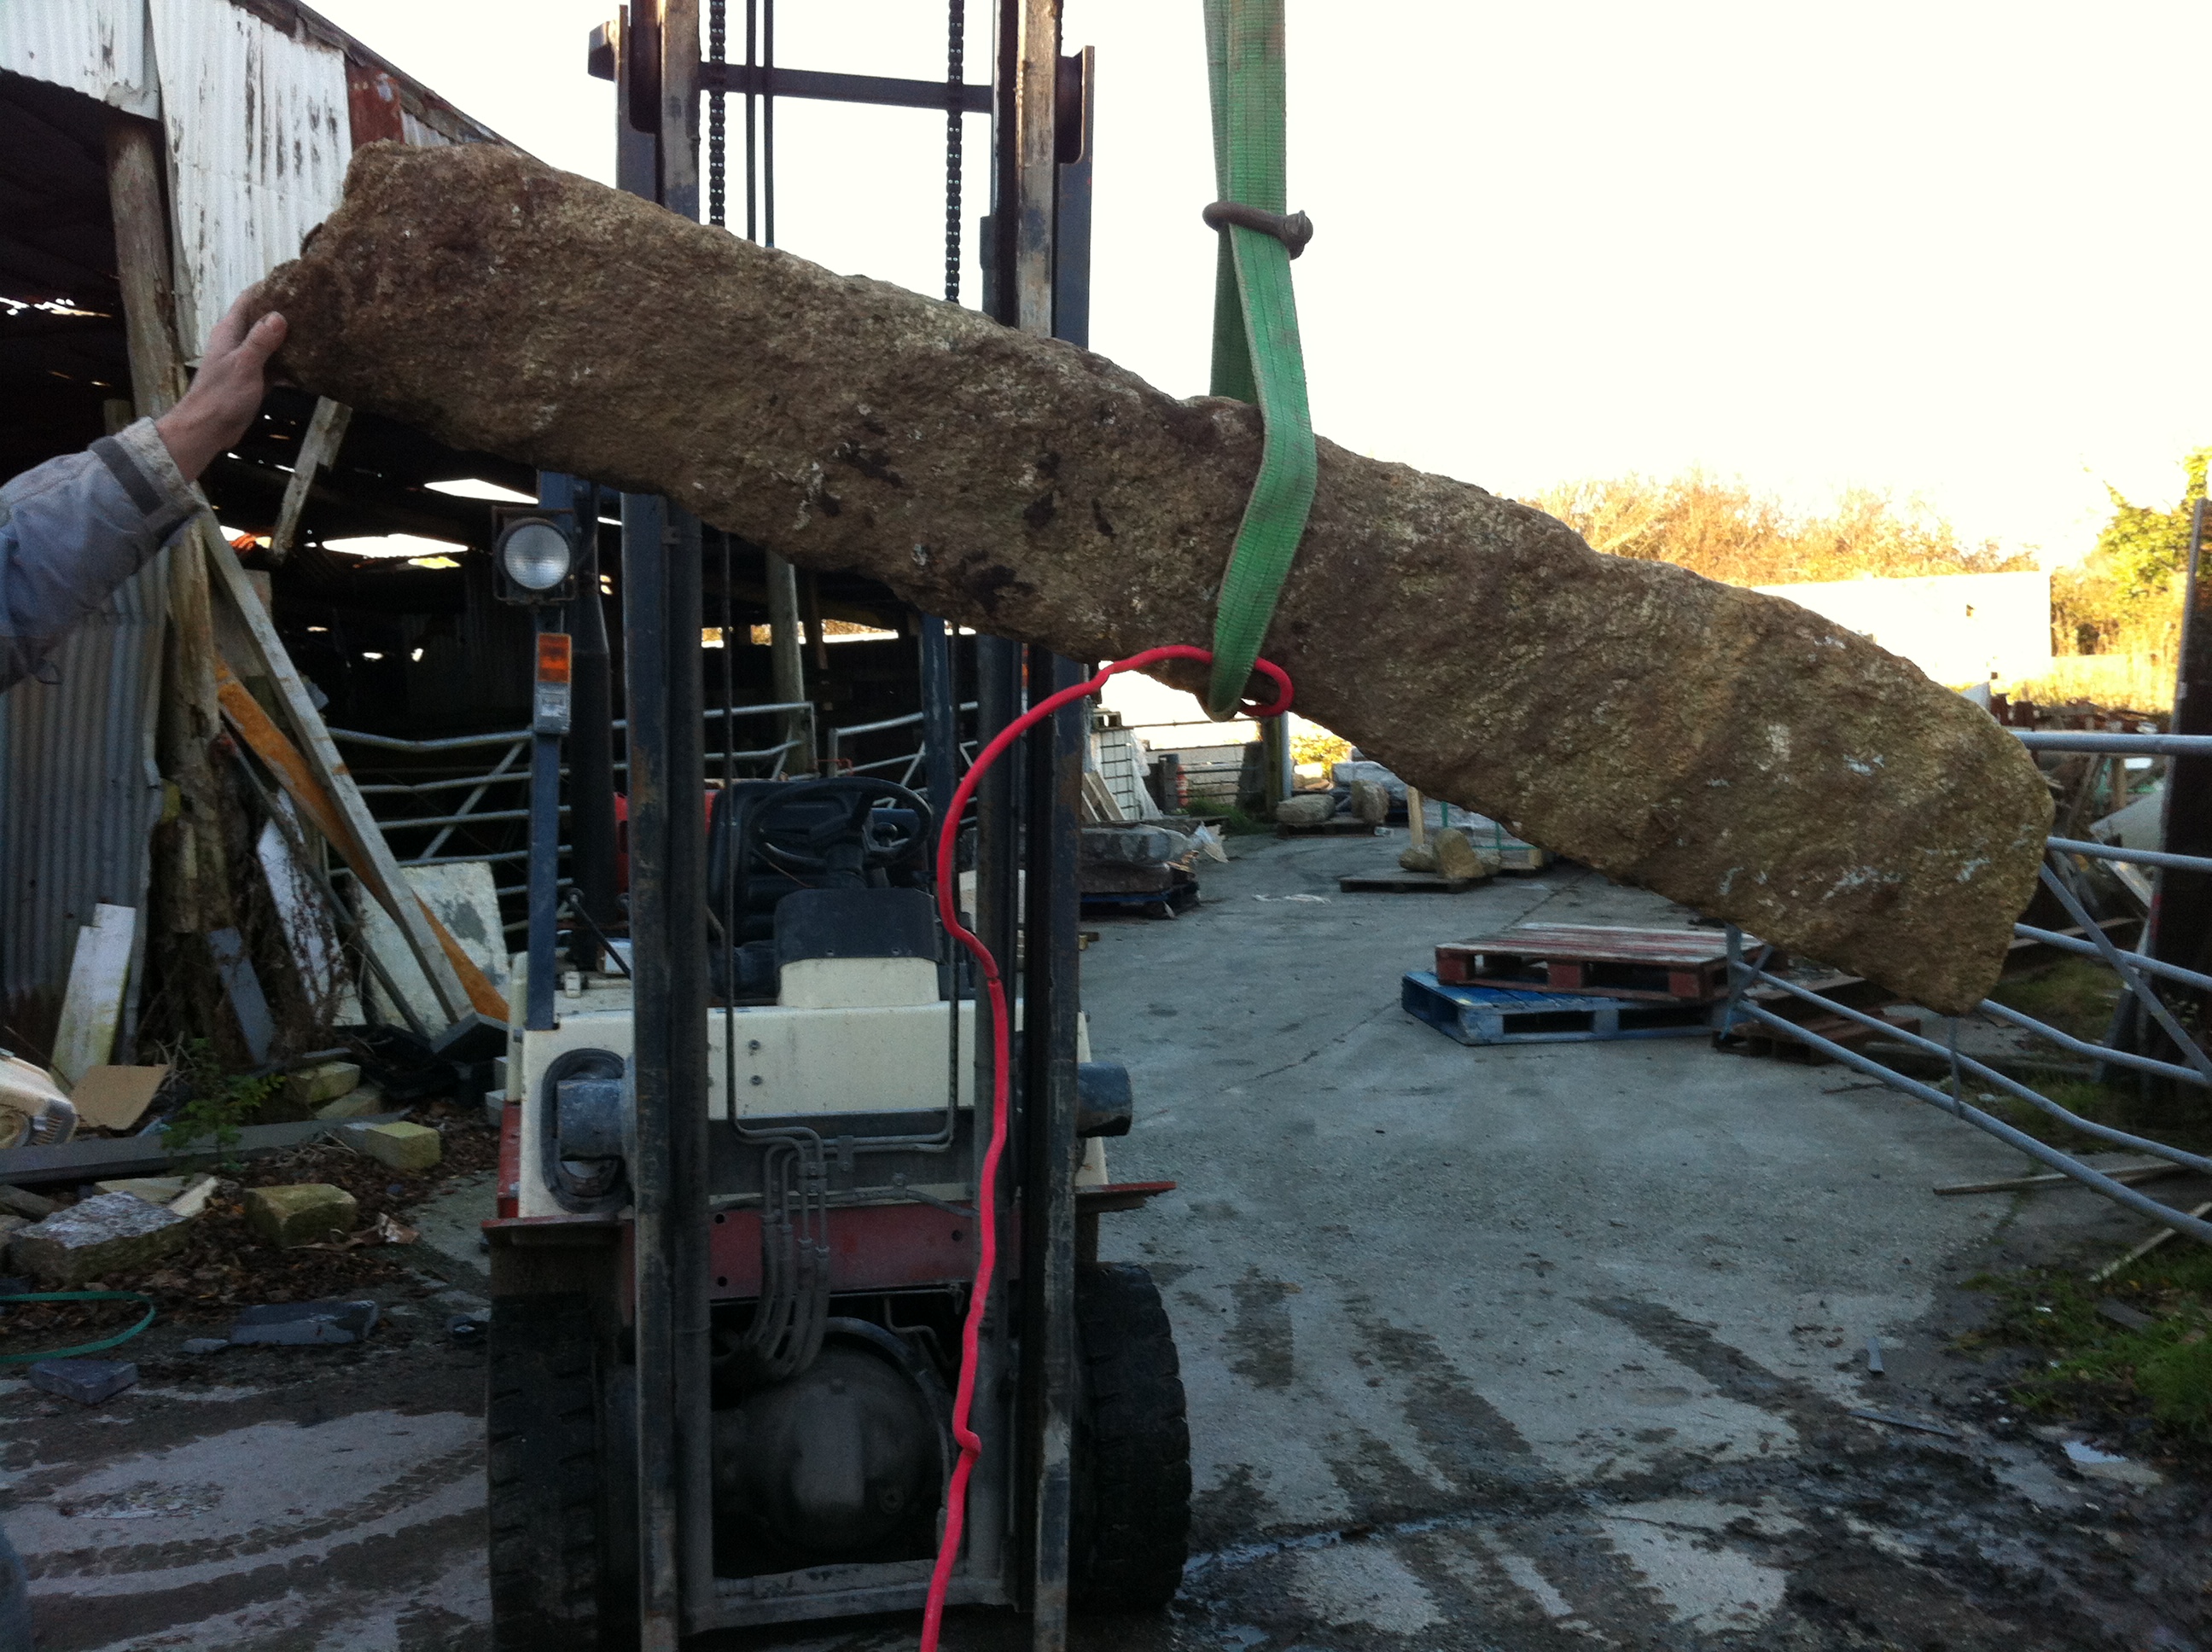
- This is the stone used . As you can see it was a rough old gate post before Andrew worked his magick on it.
-
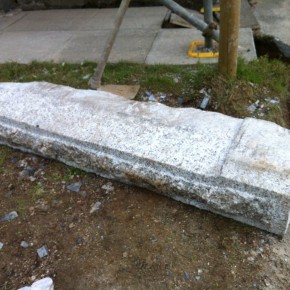
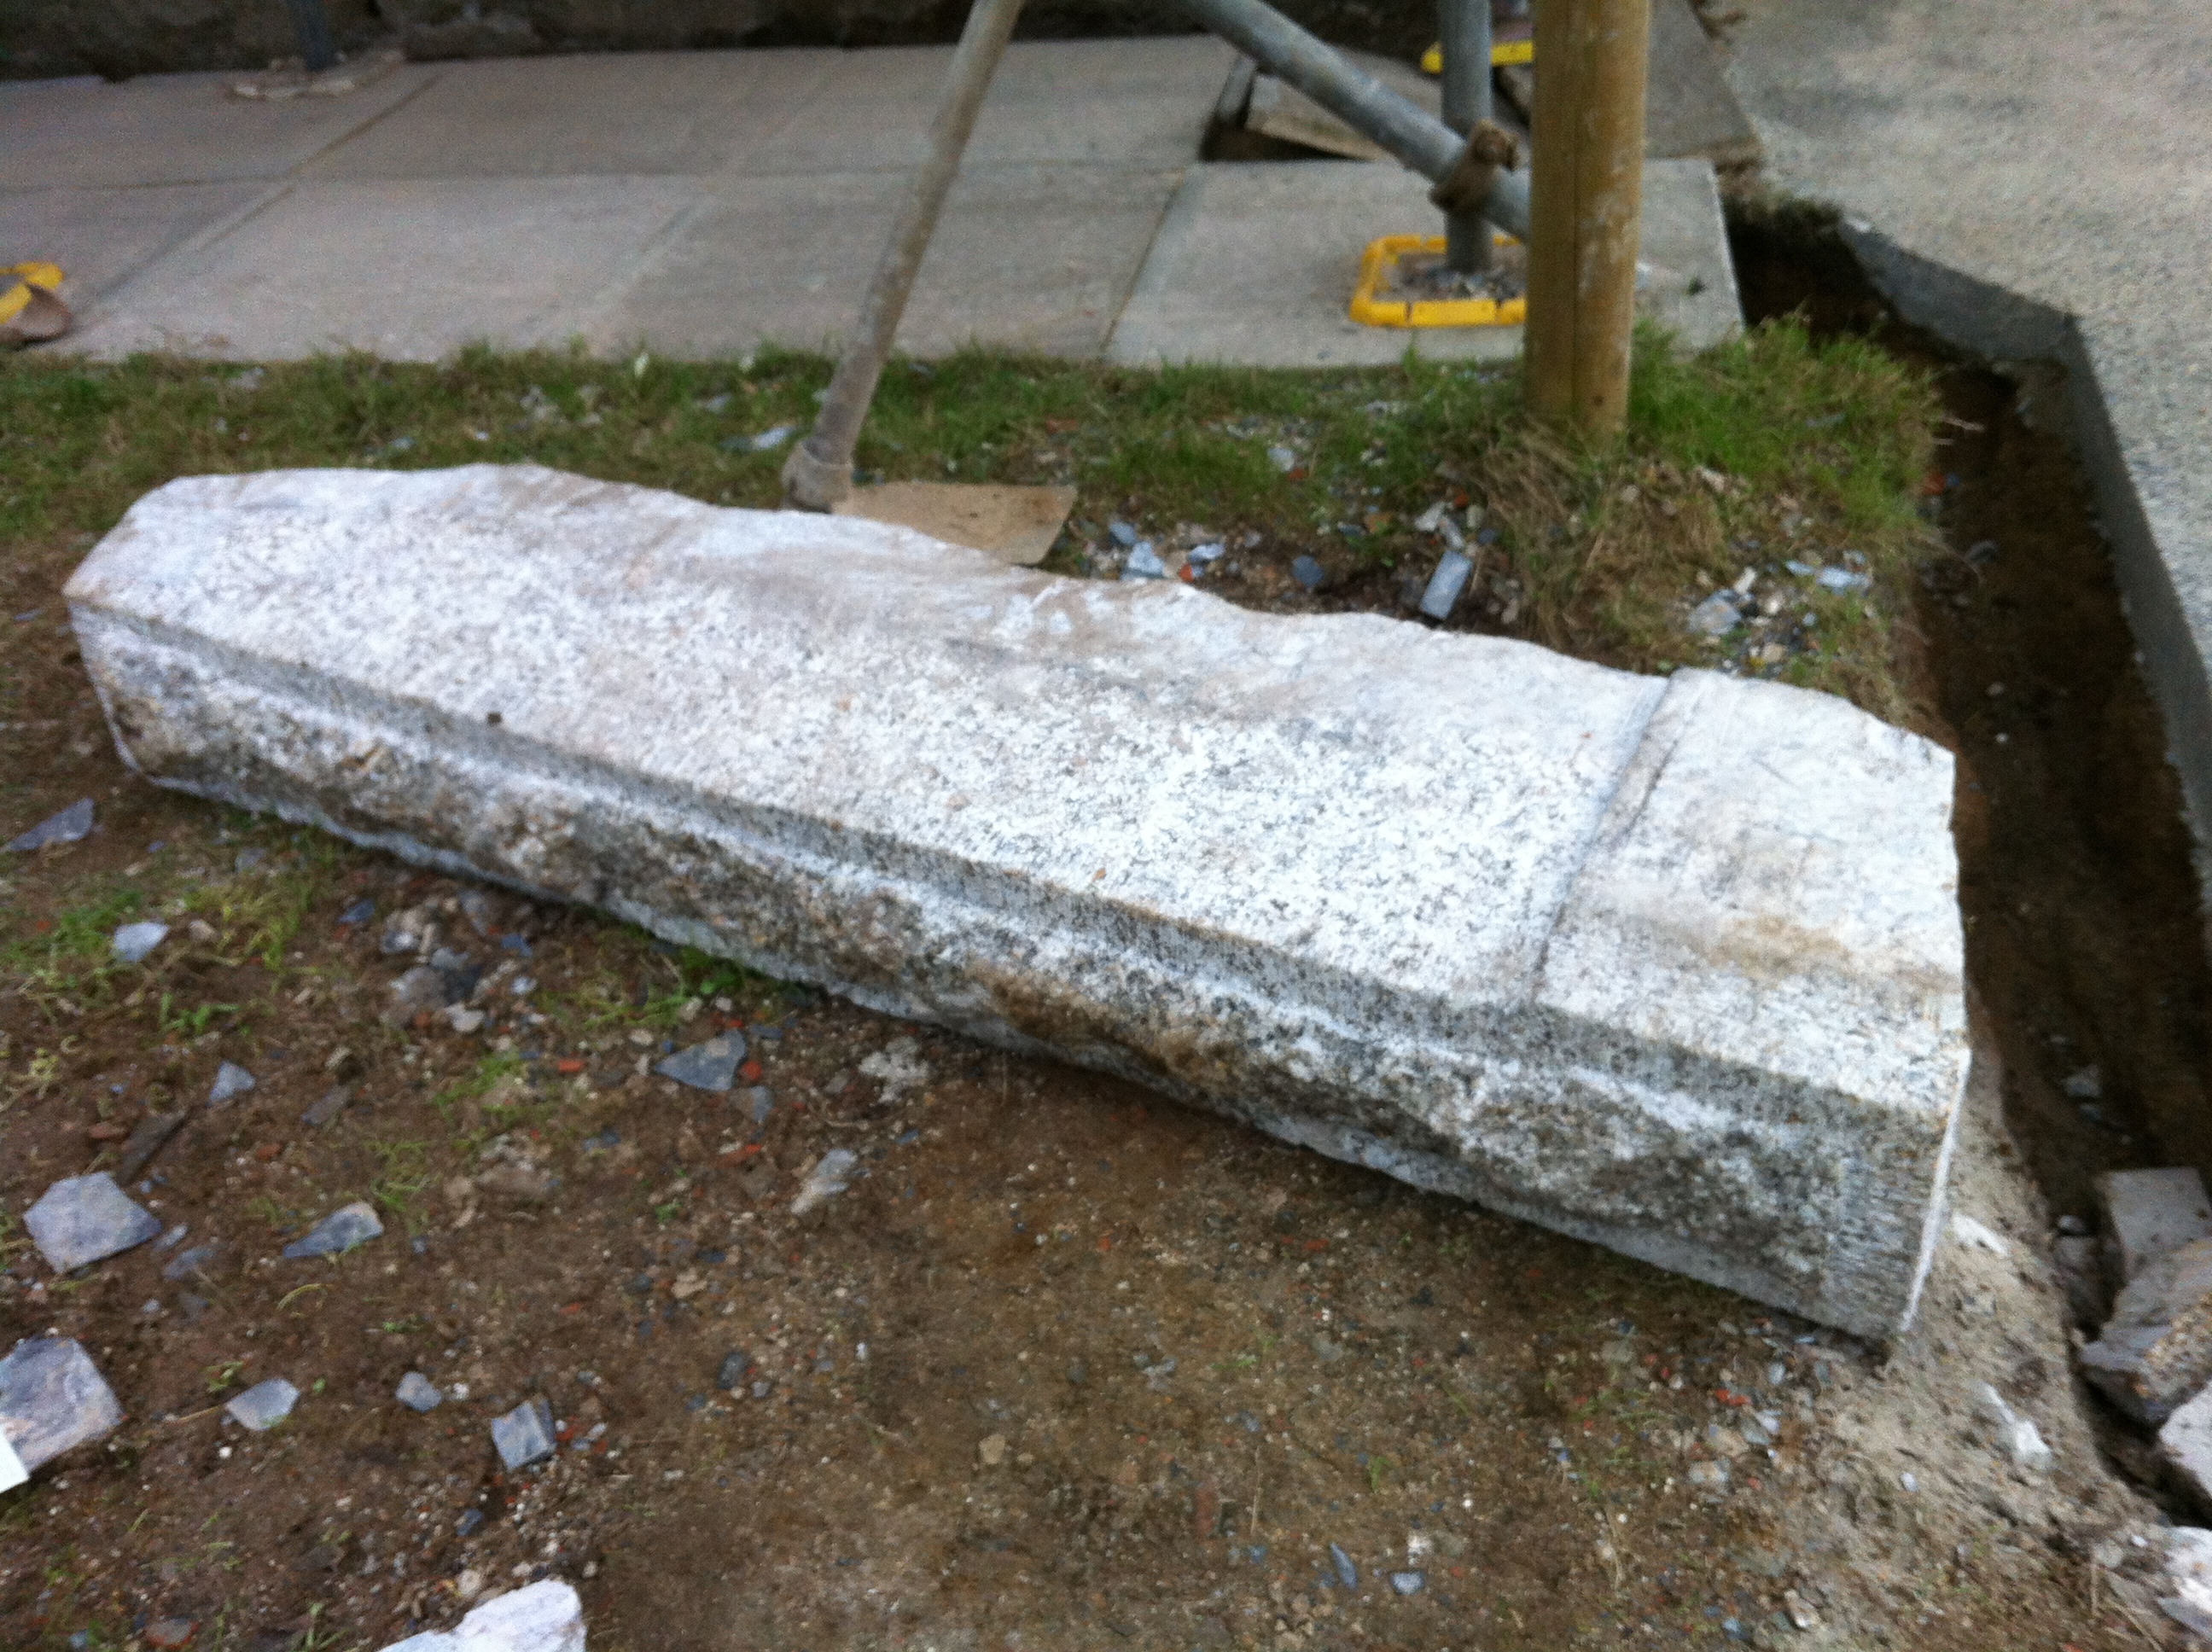
- Here you can see the stone we had cut prior to instalation. I was very pleased with the job done by Andrew from Duchy Granite
-
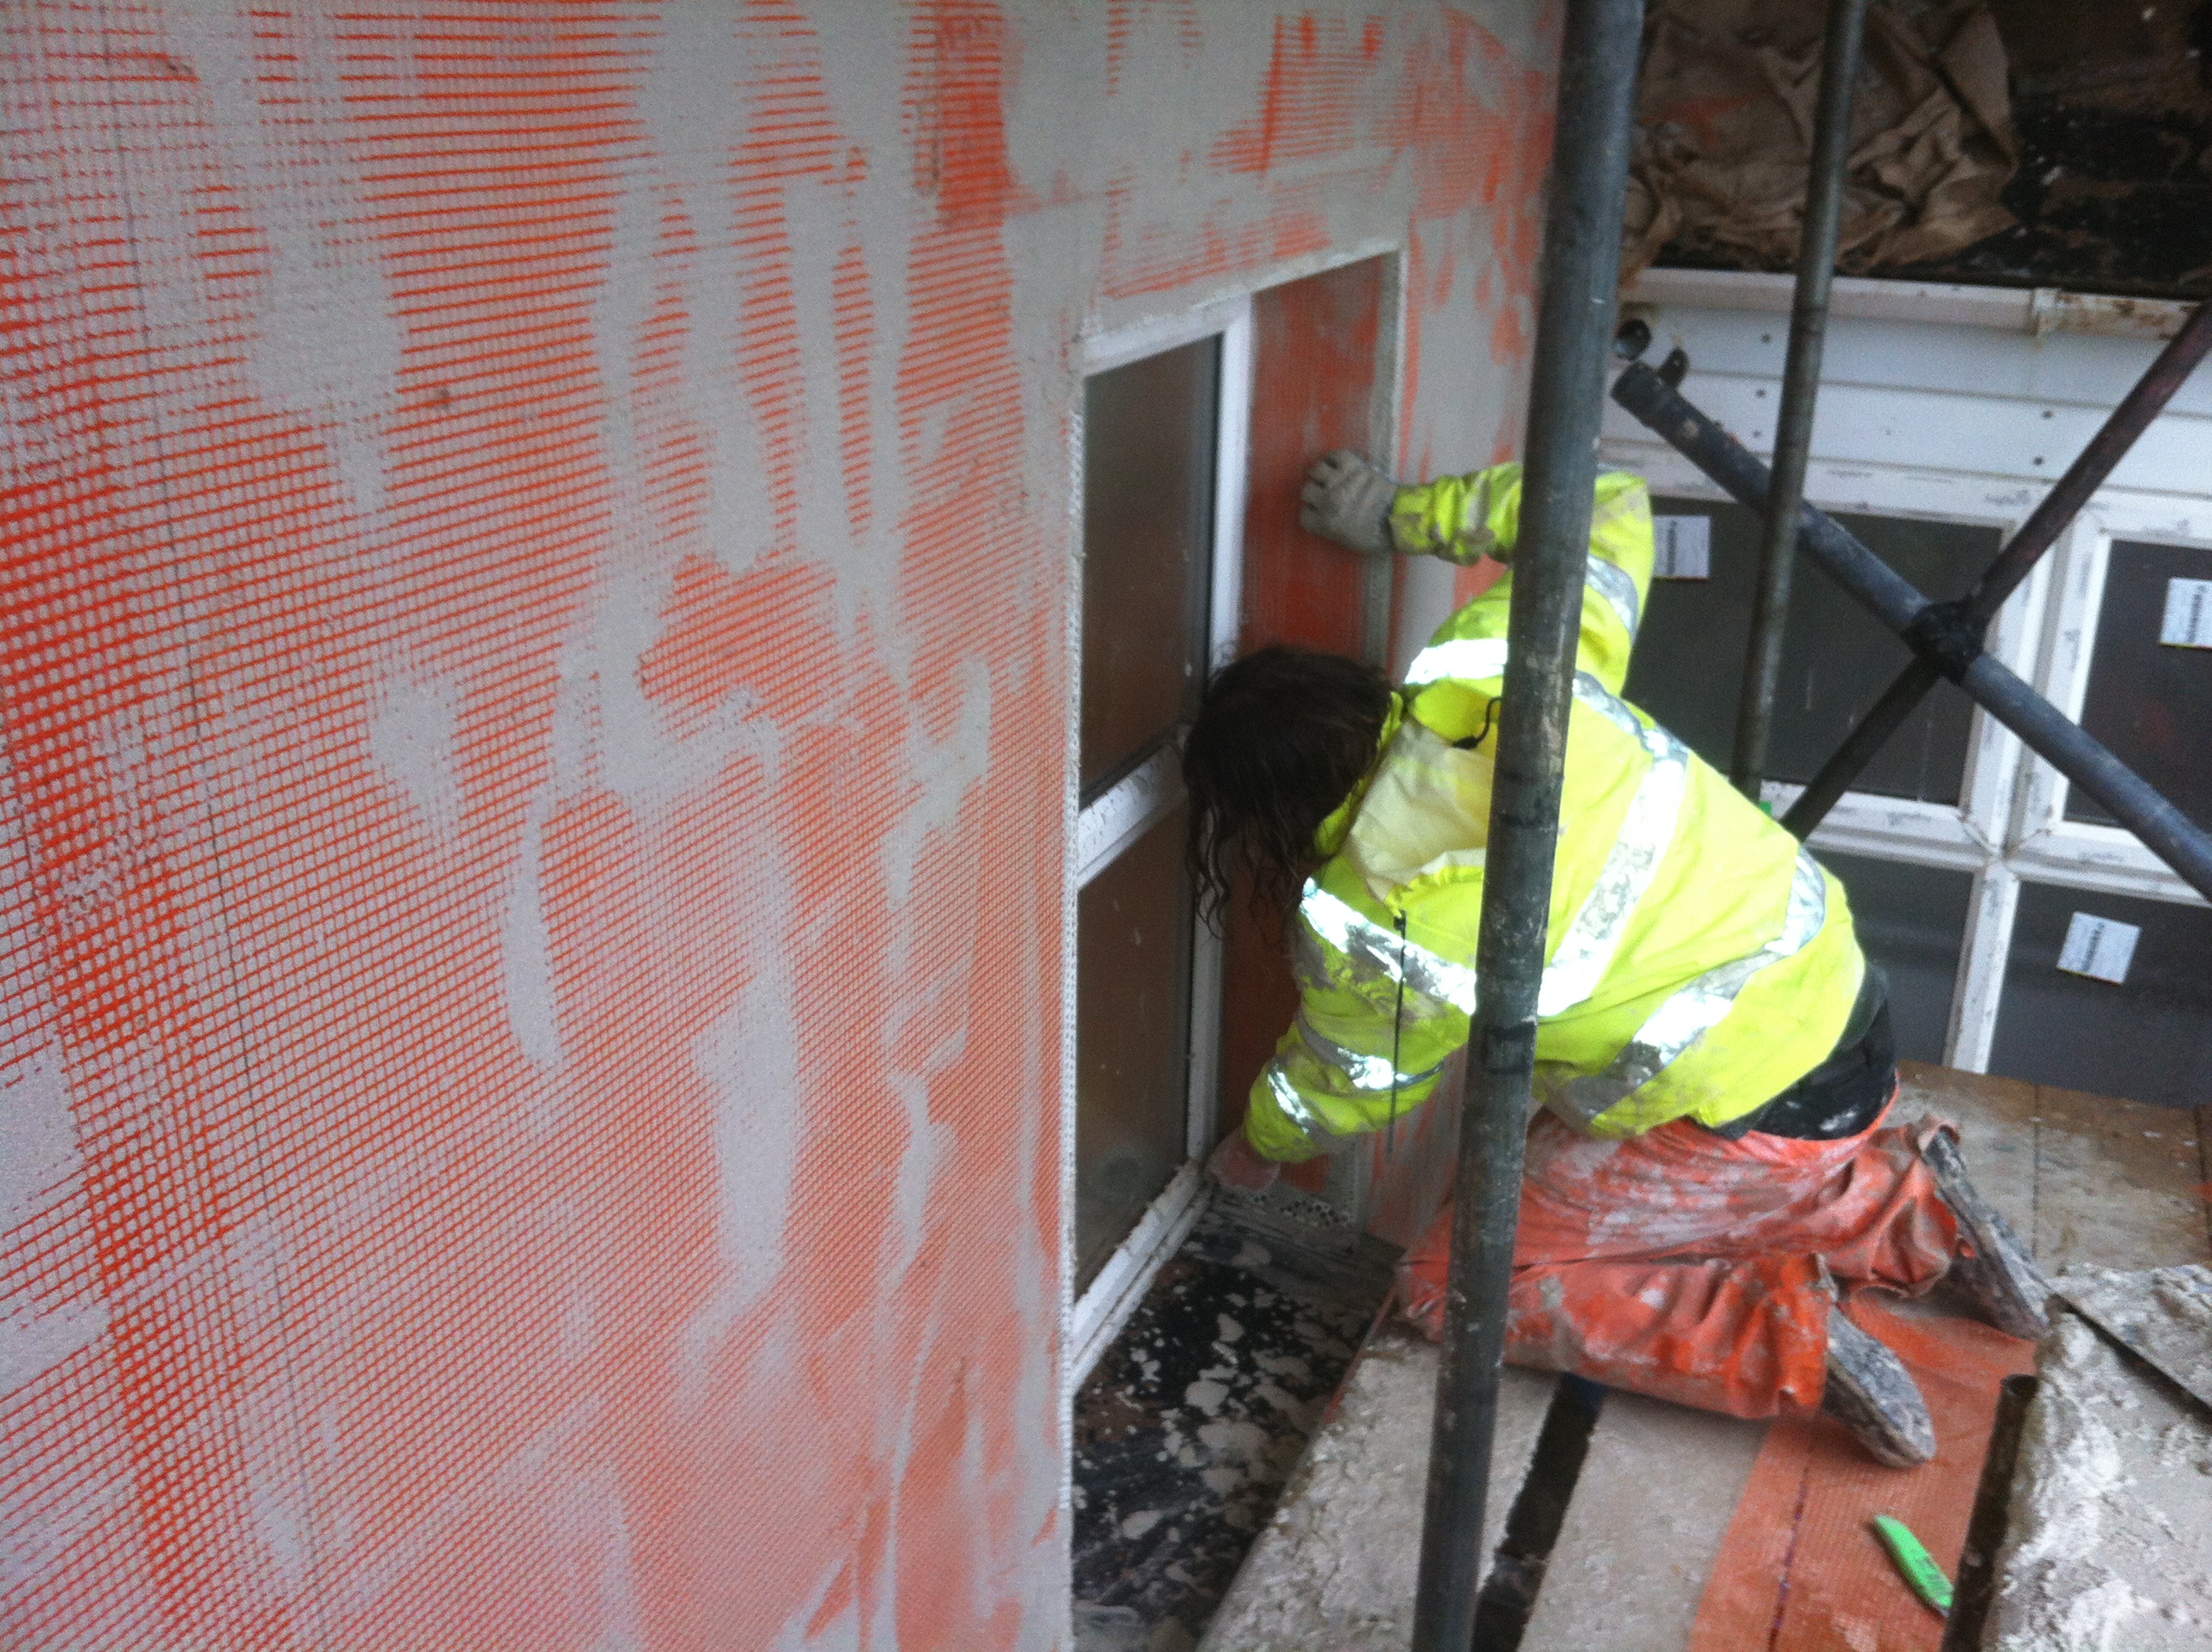
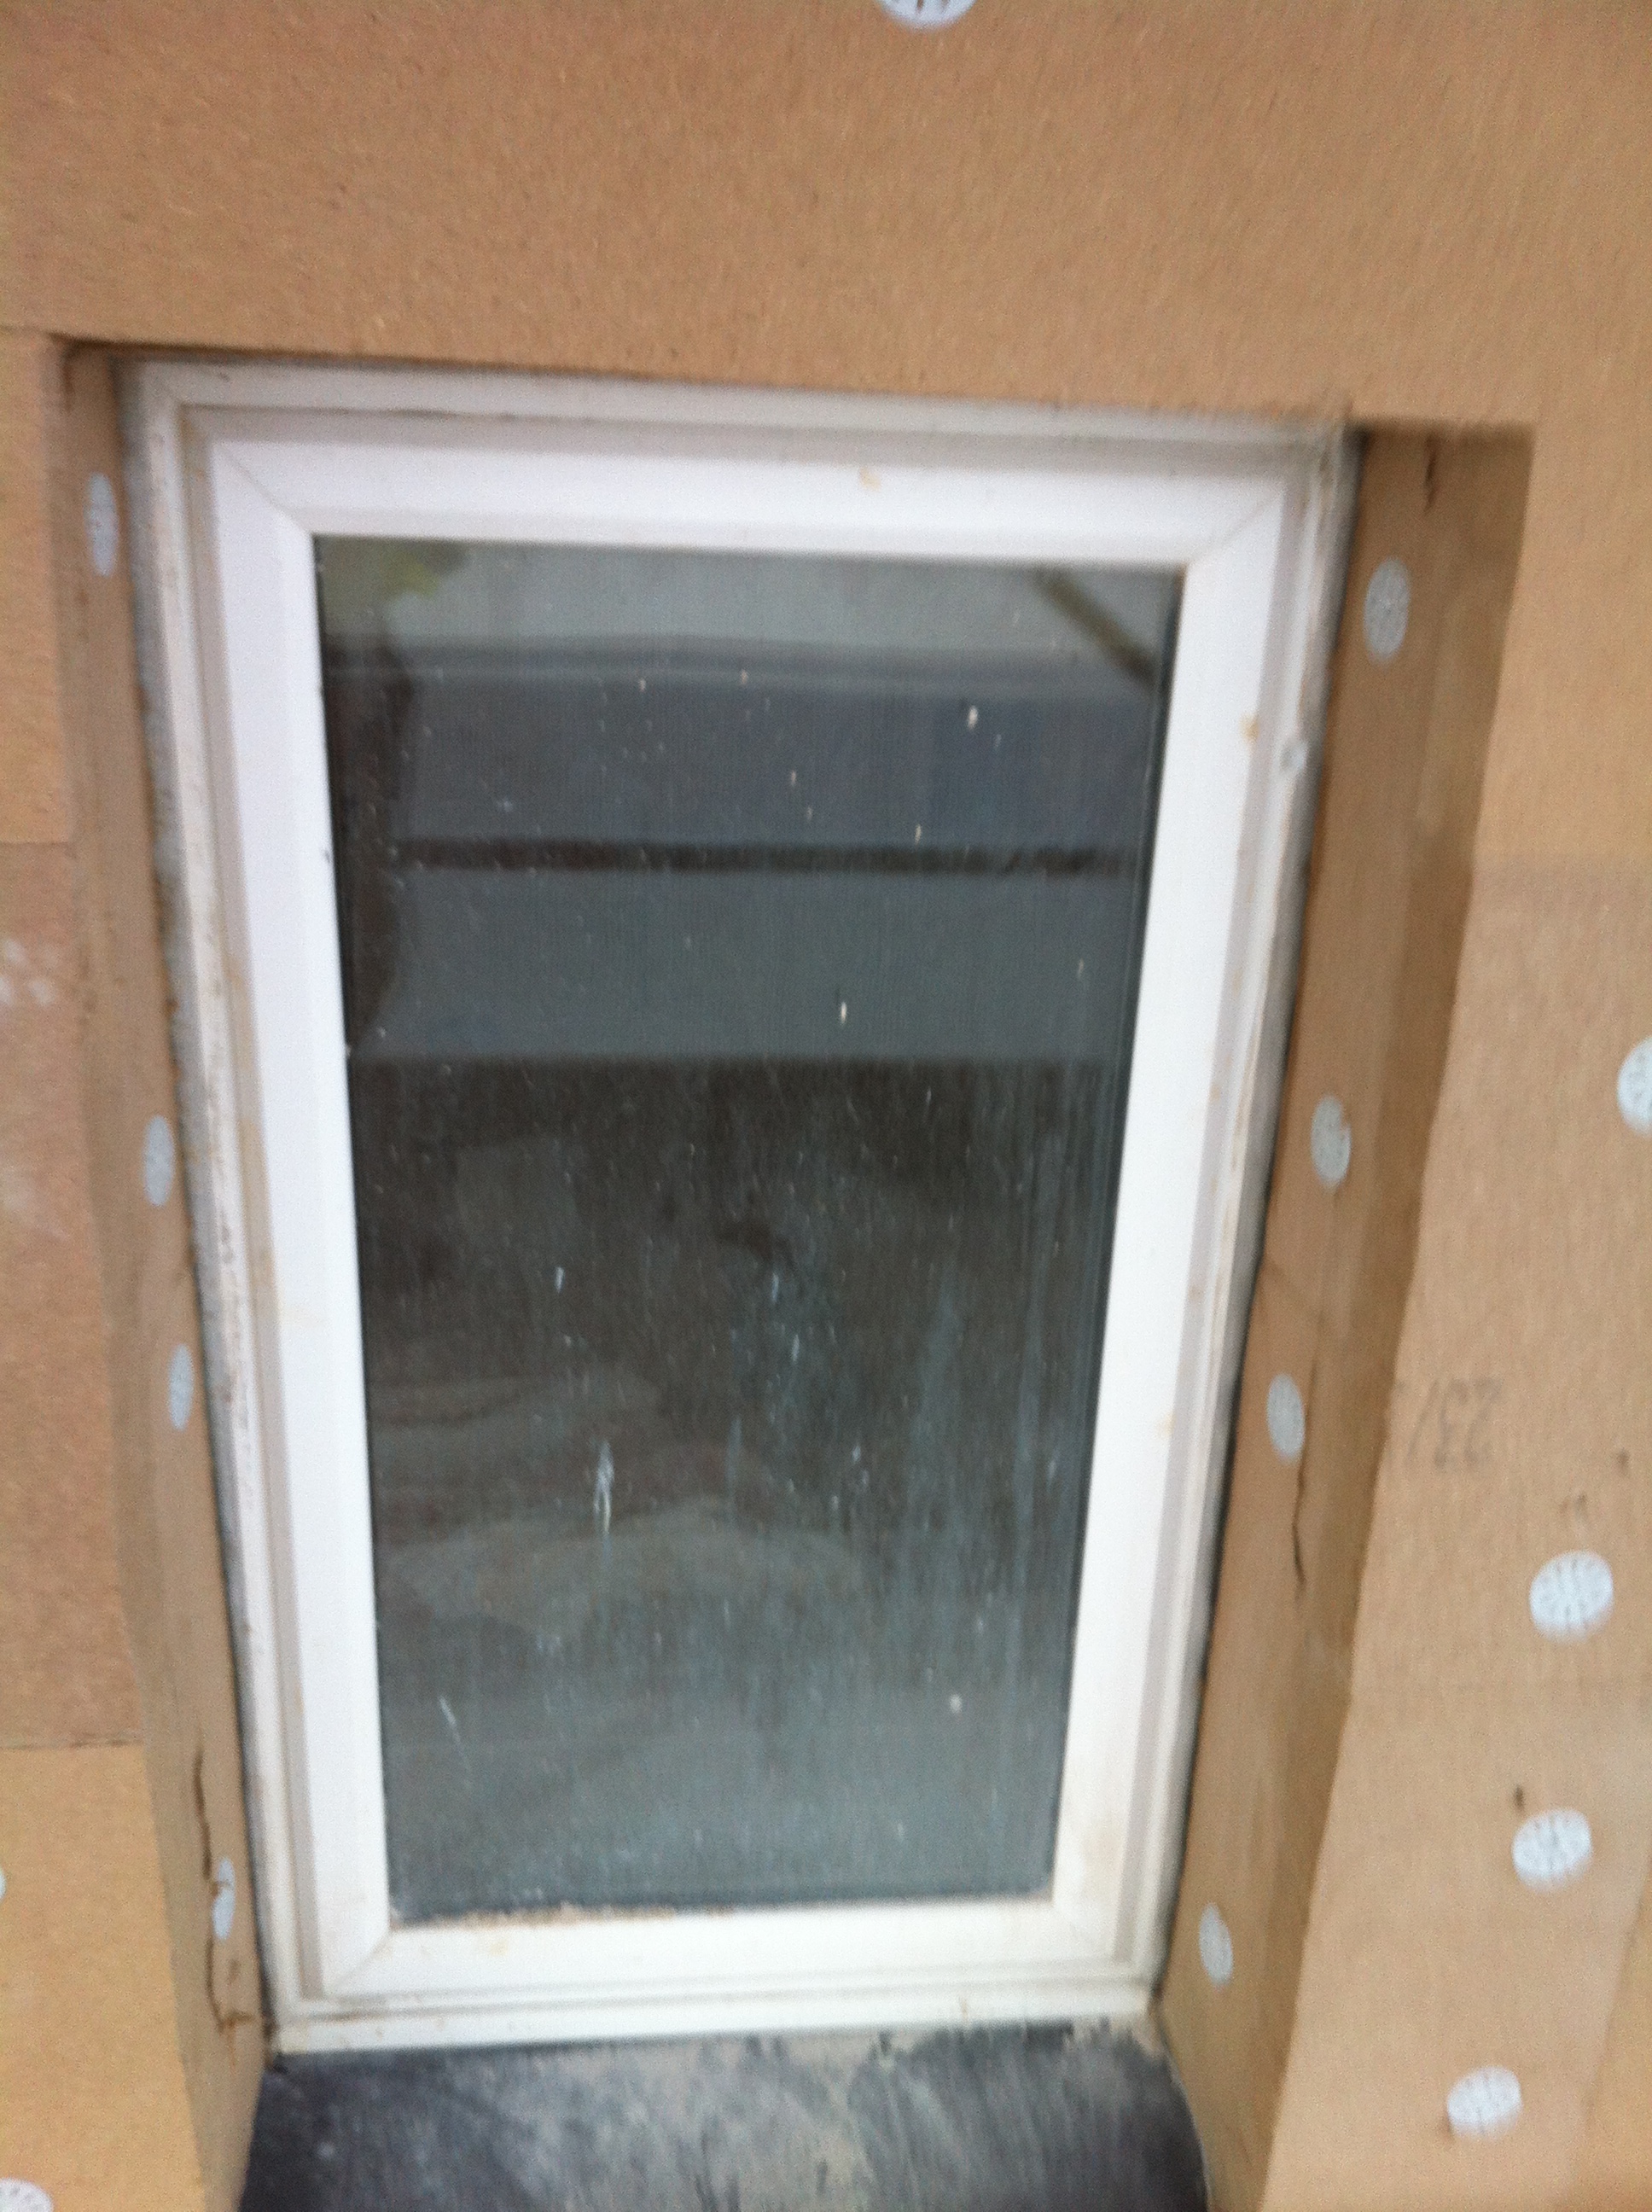
- We had to change an existing doorway into a window and it nessisary was to have a new window cill cut to match the existing stonework.

-
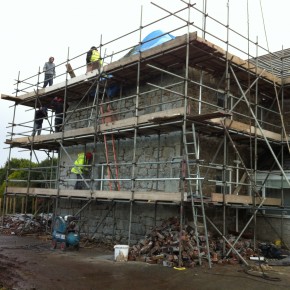
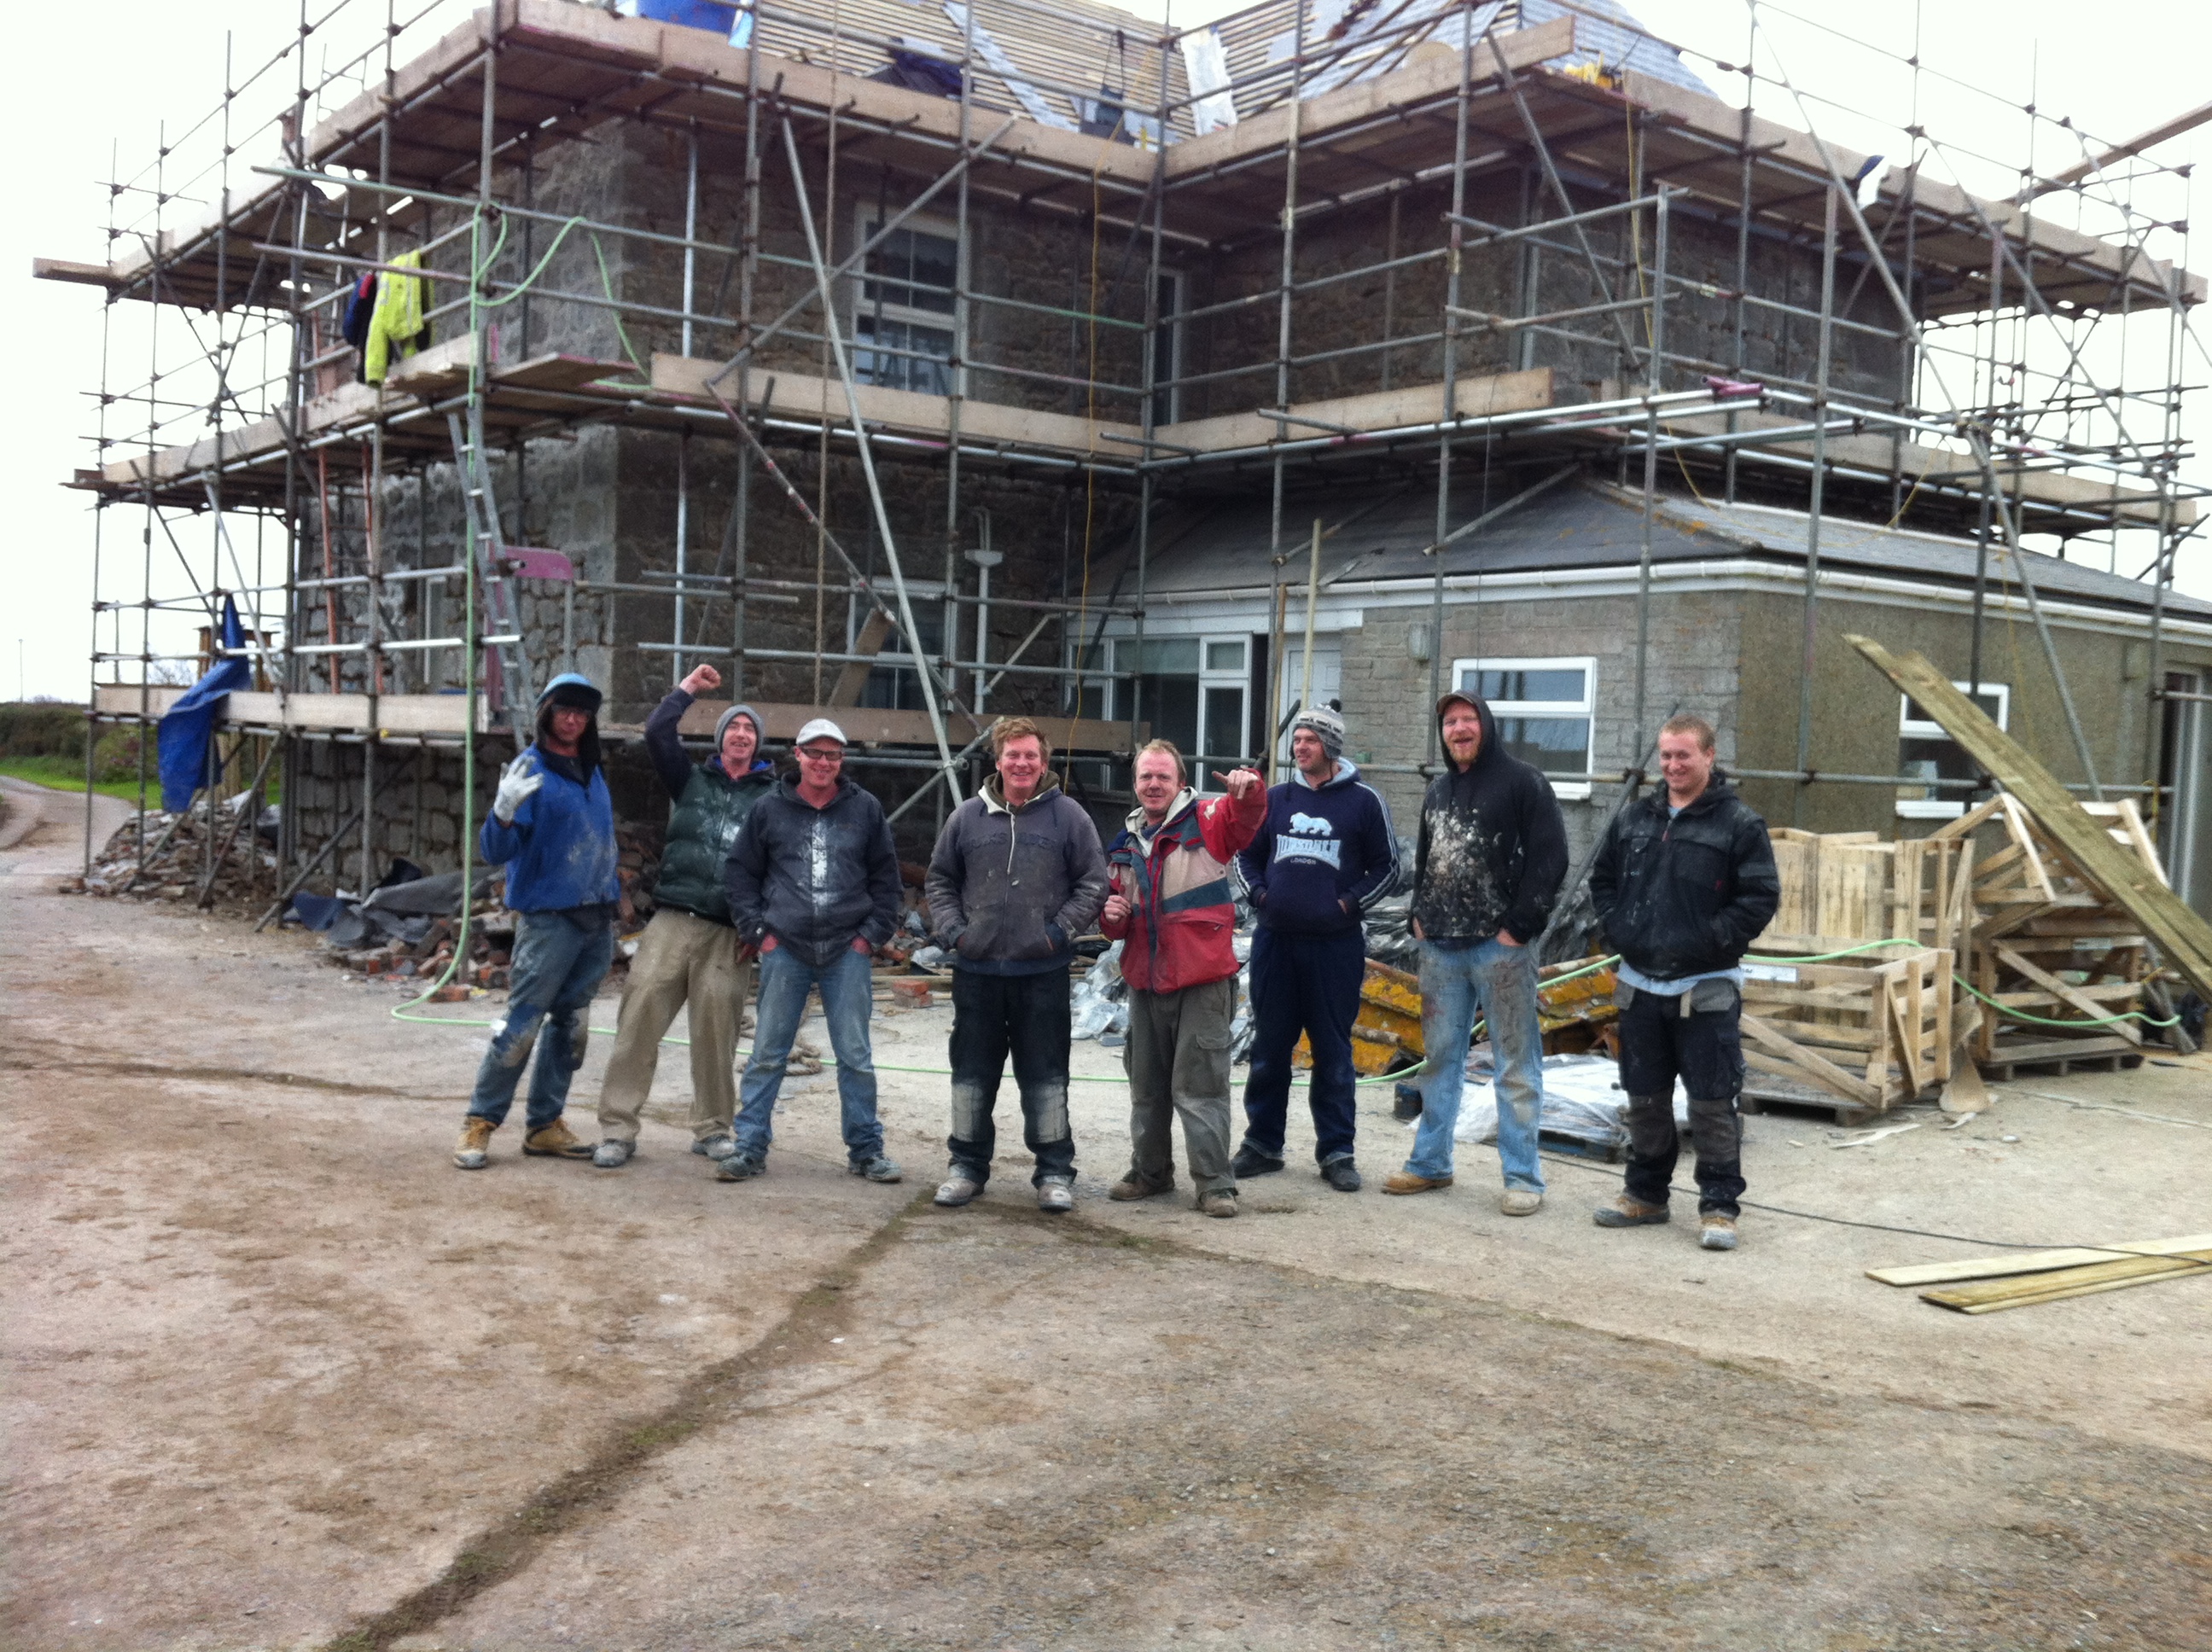
- This was a big job with many trades working alongside each other.
-
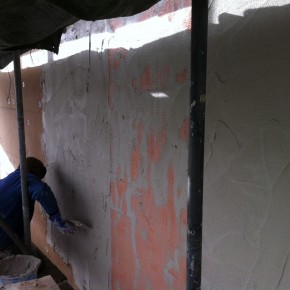
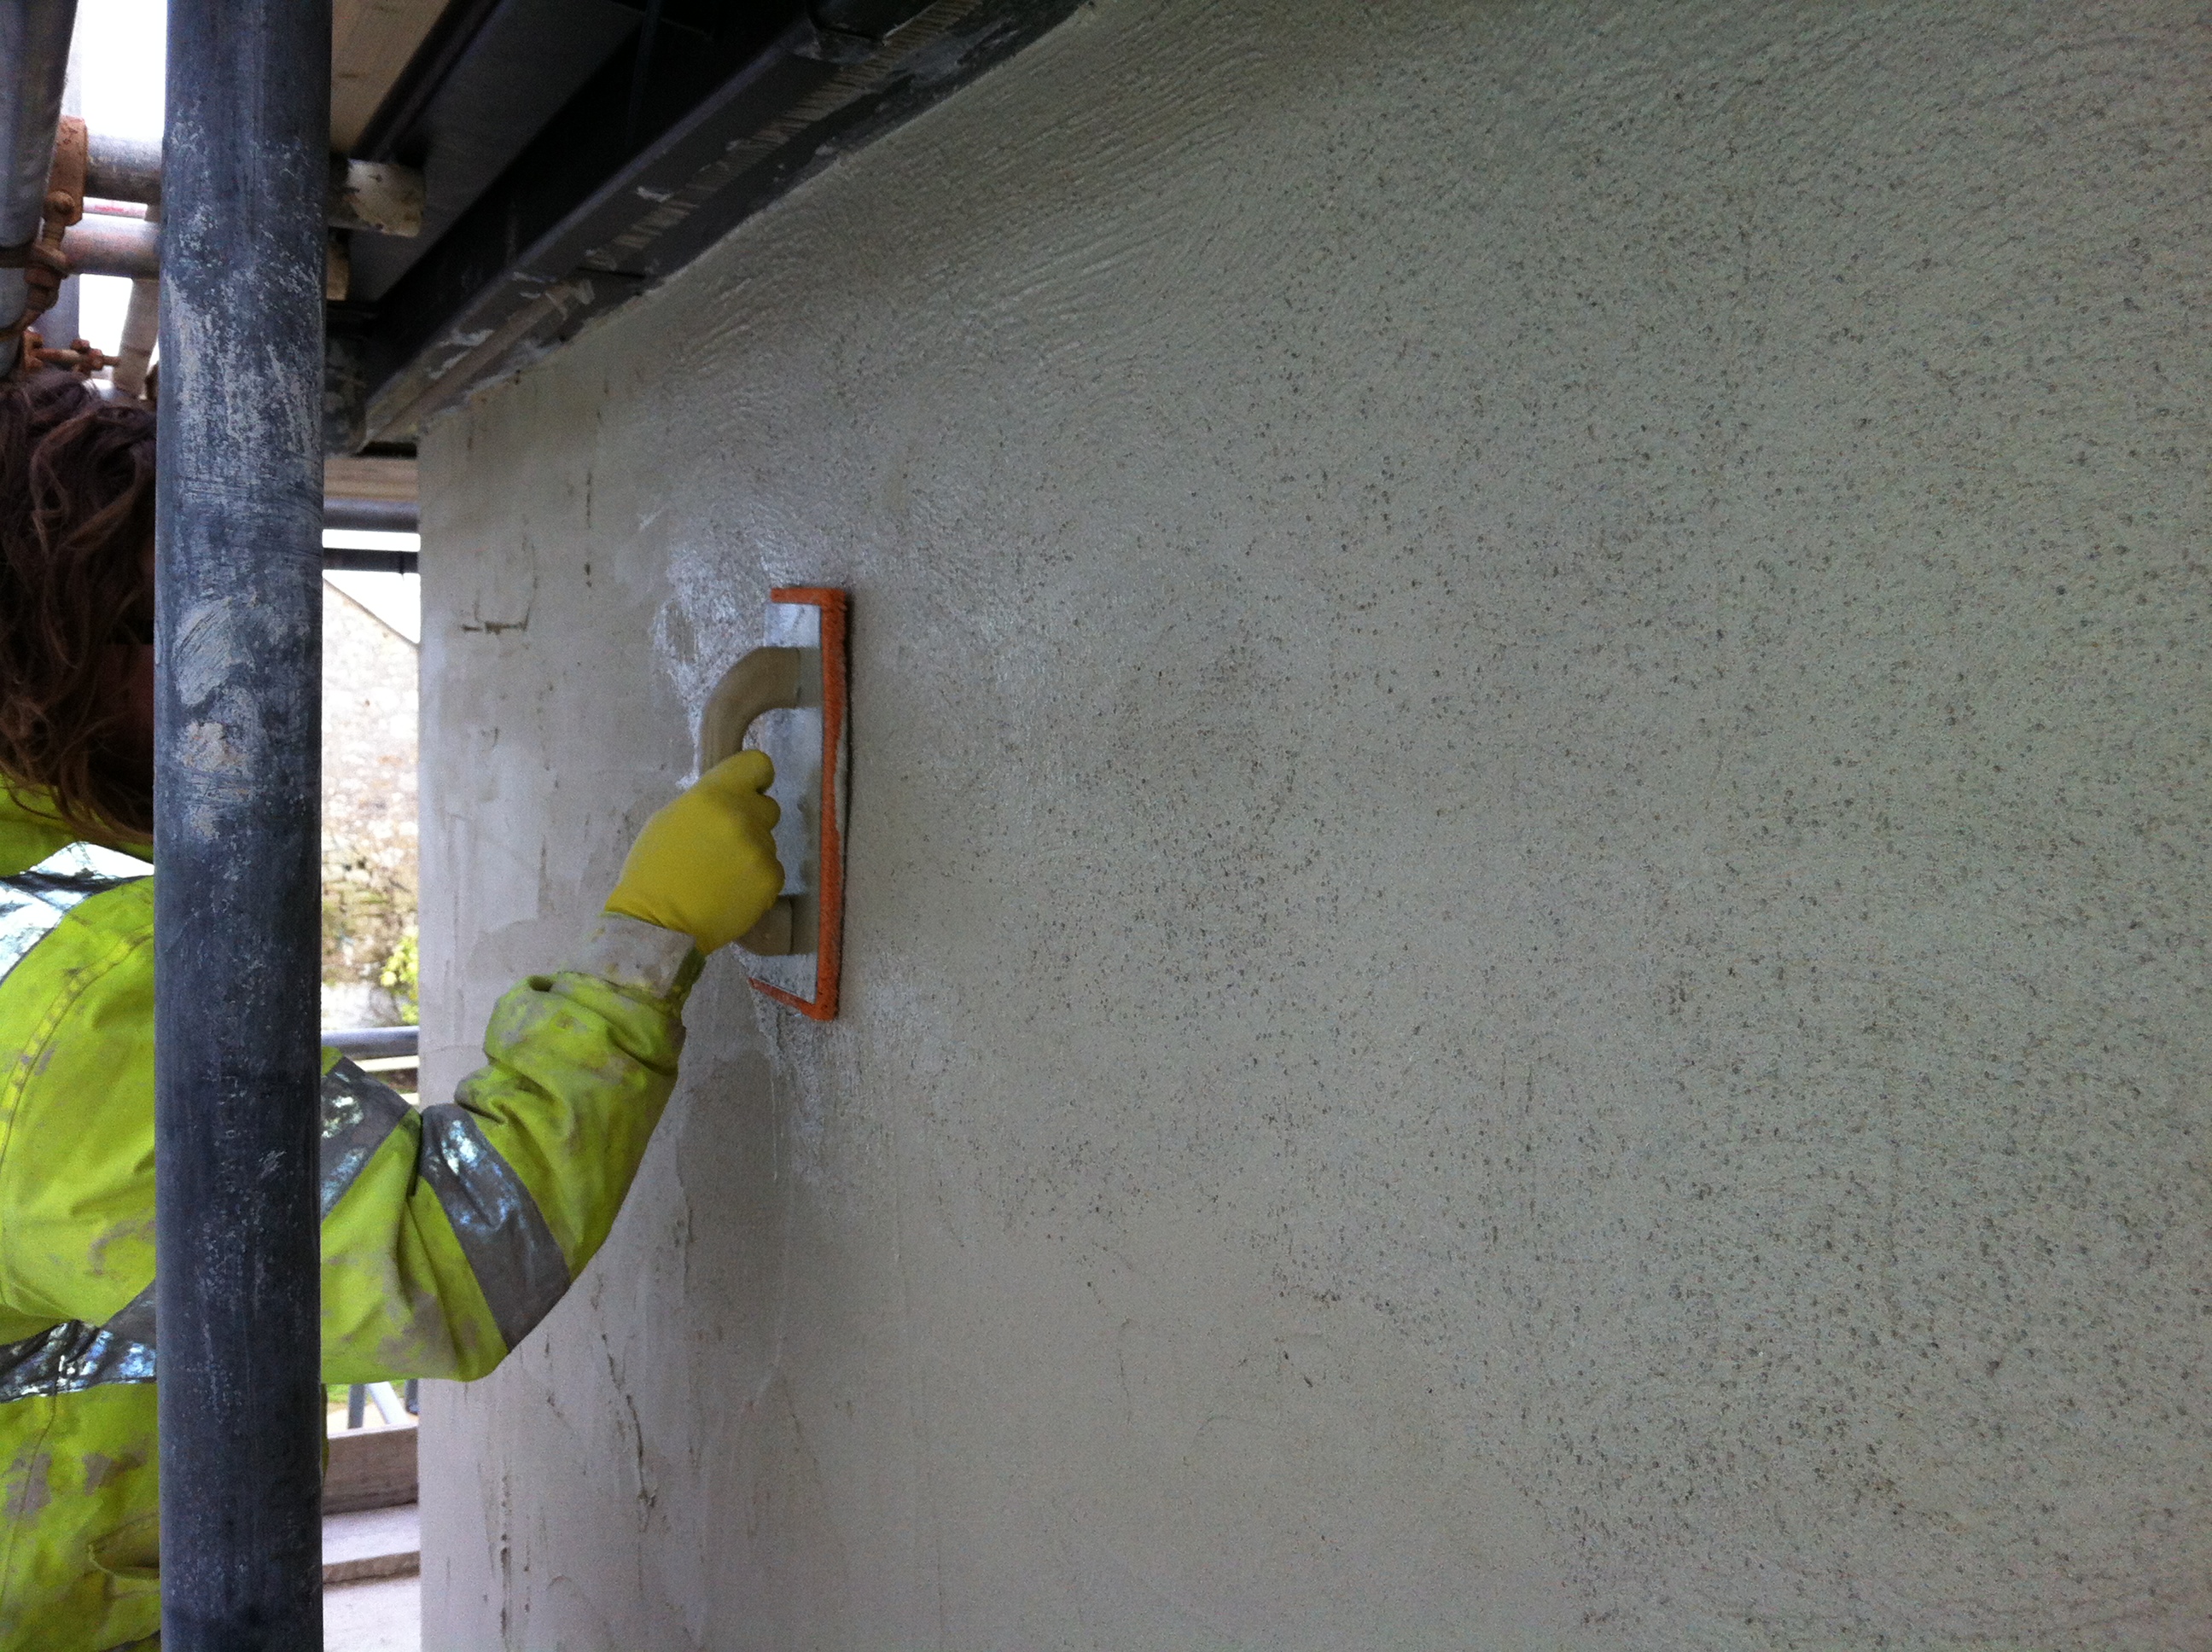
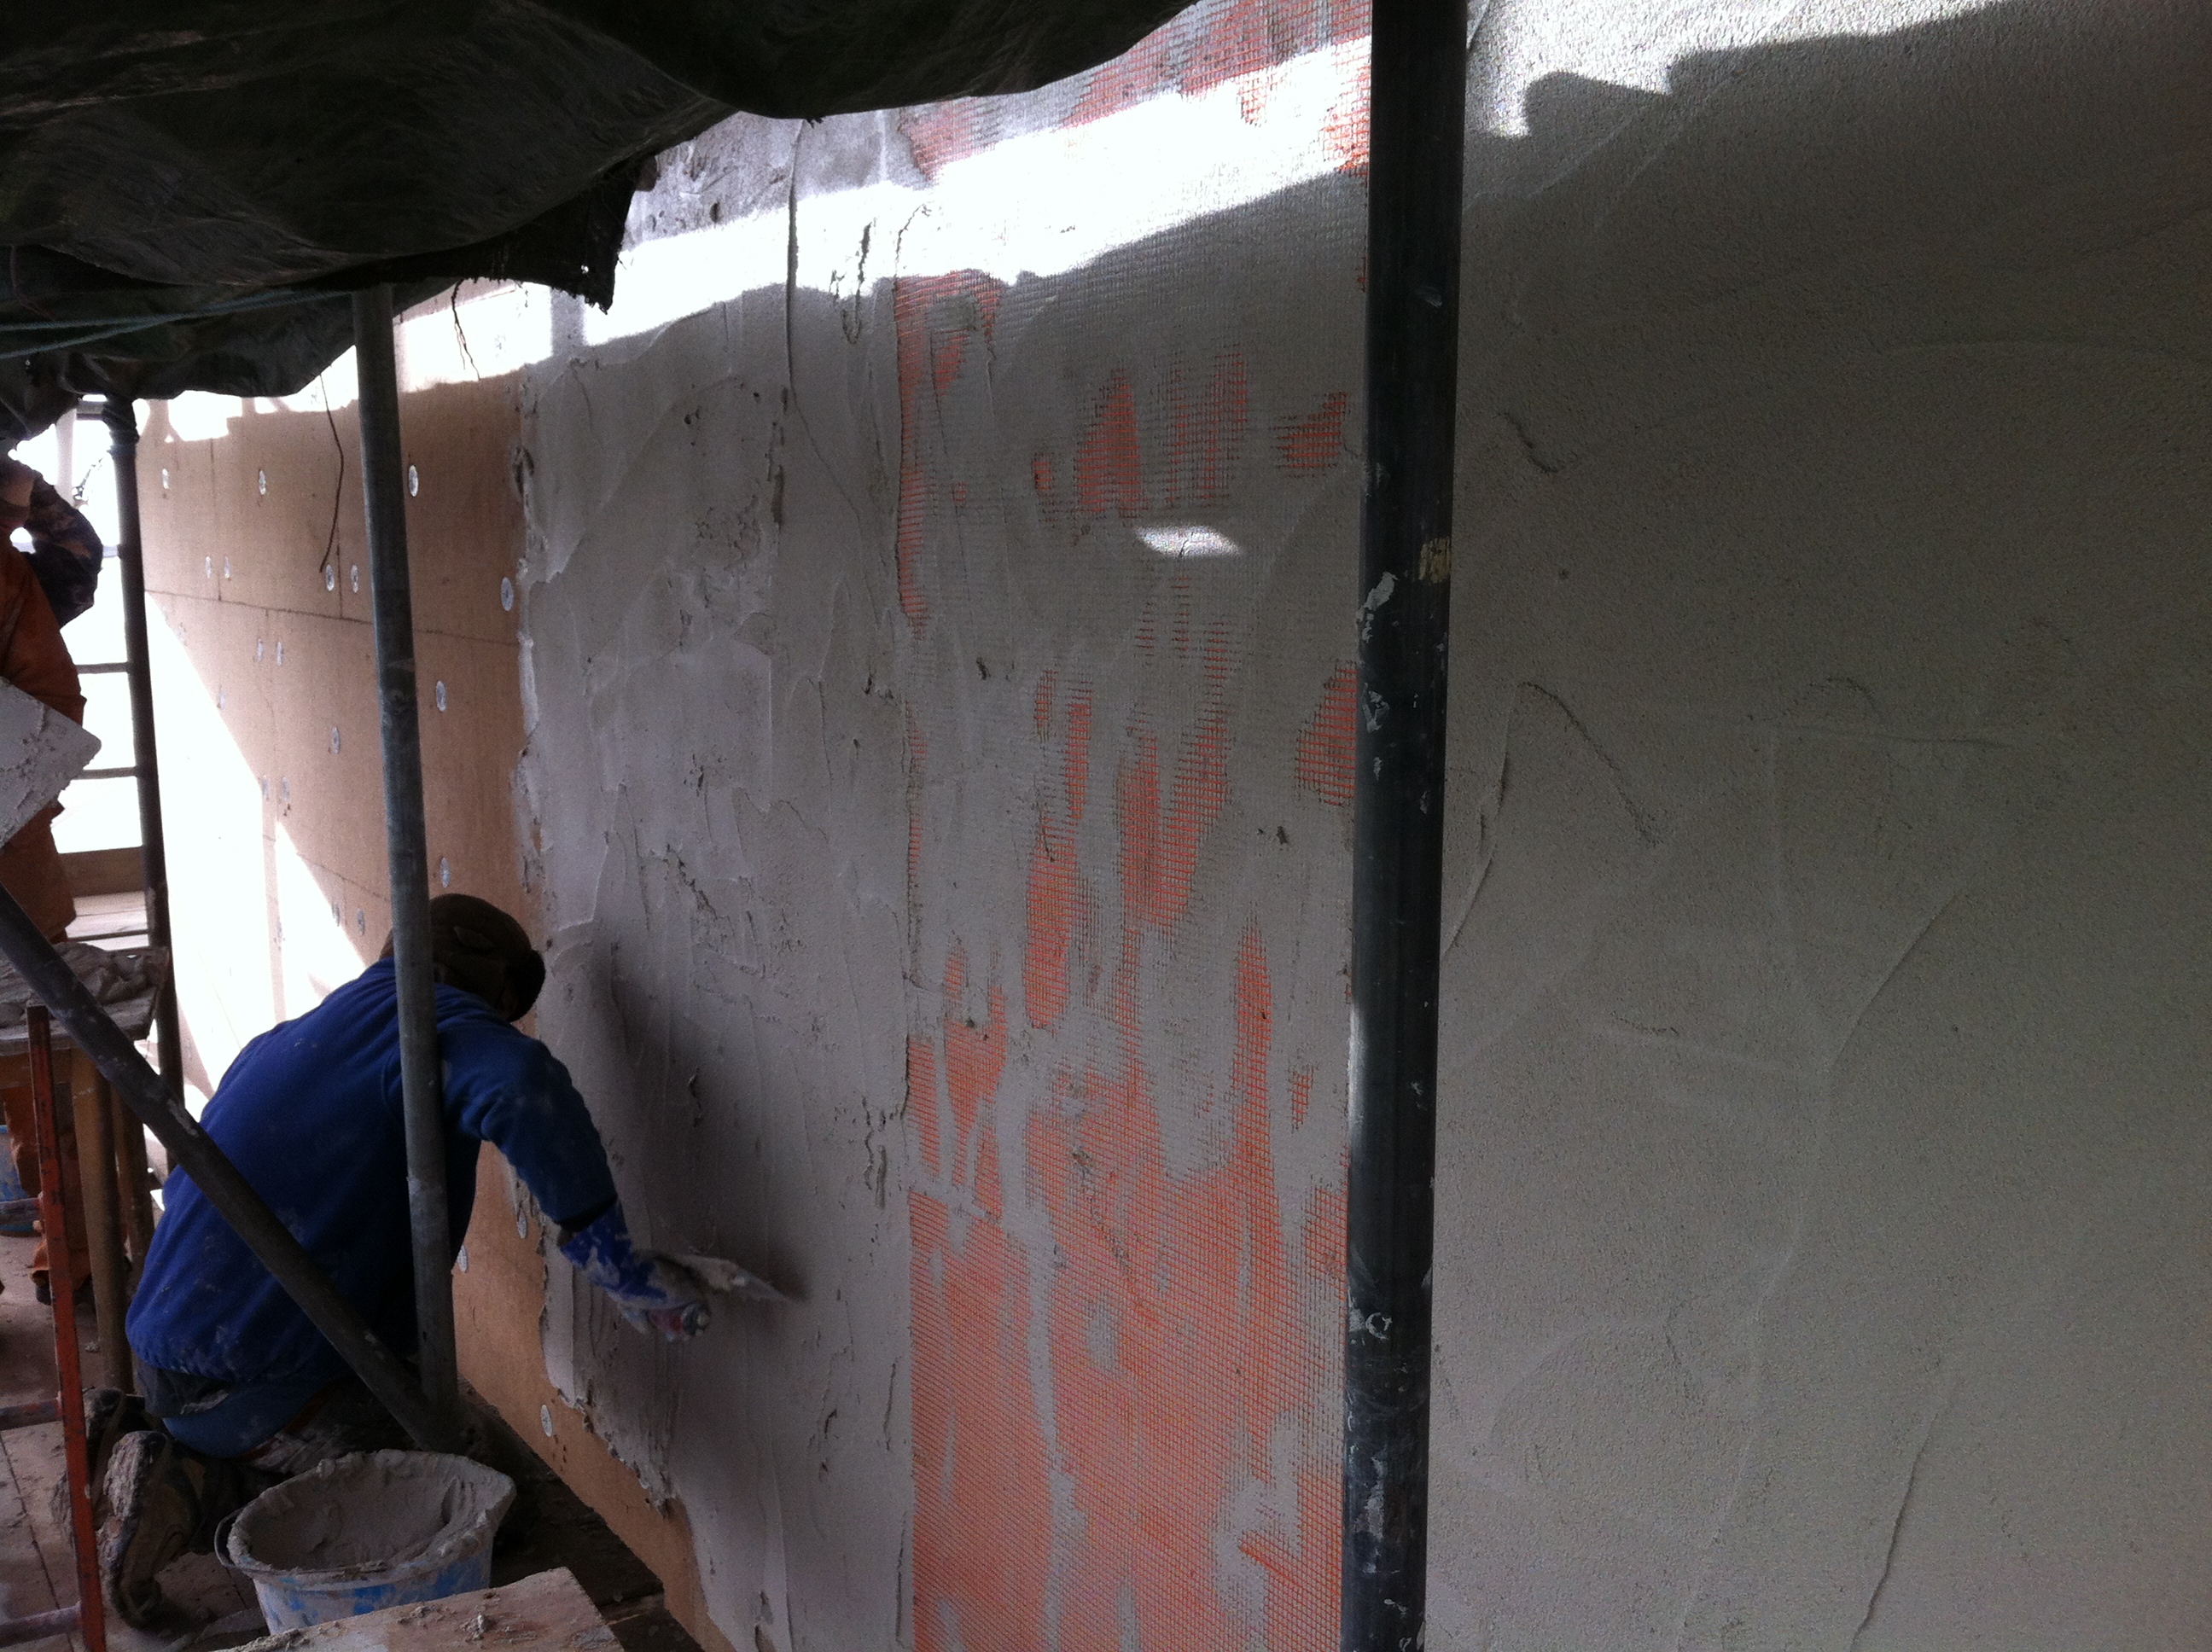
- Here is a view of the 3 layers being applied in one hit.
-
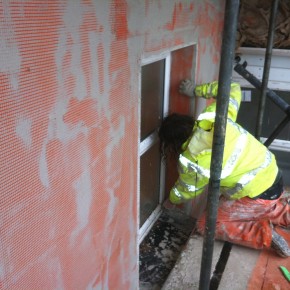
- Care was taken to apply at least 2 layers of the mesh to the window reveals. Also a special wing mesh was used on all external corners.
-
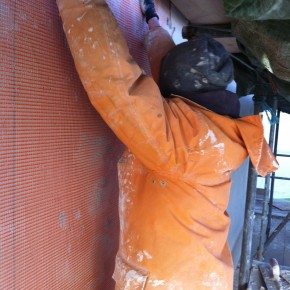
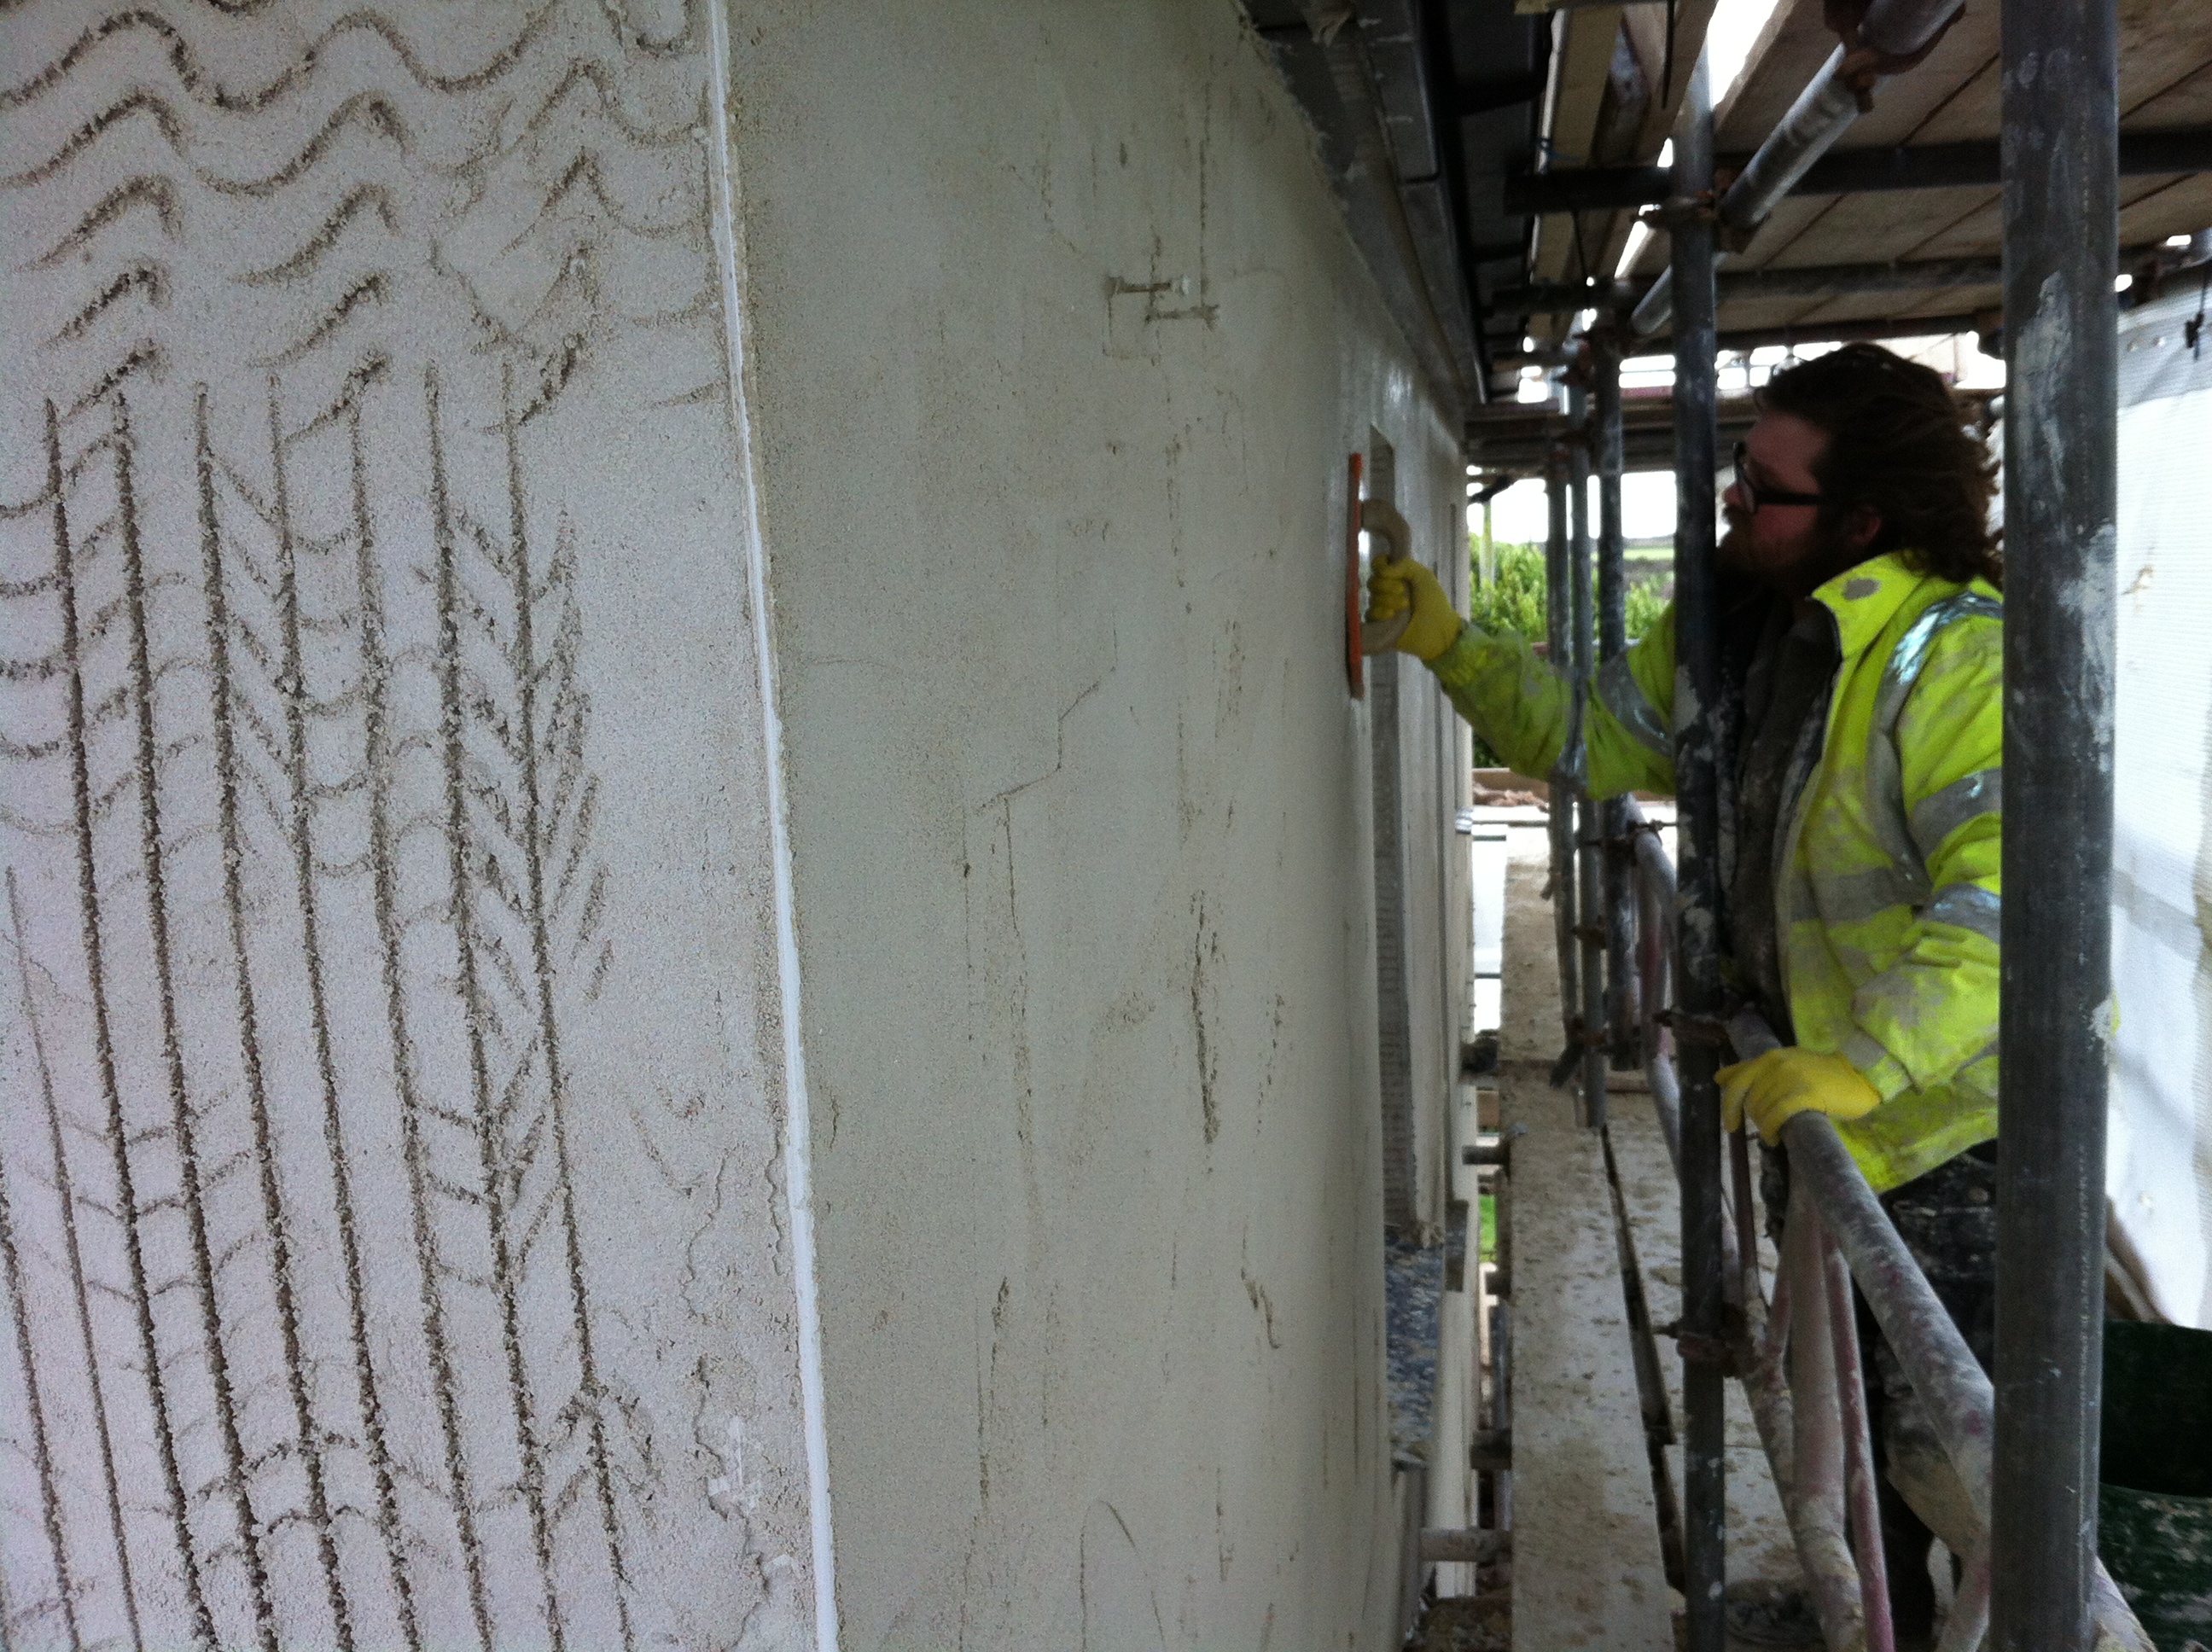
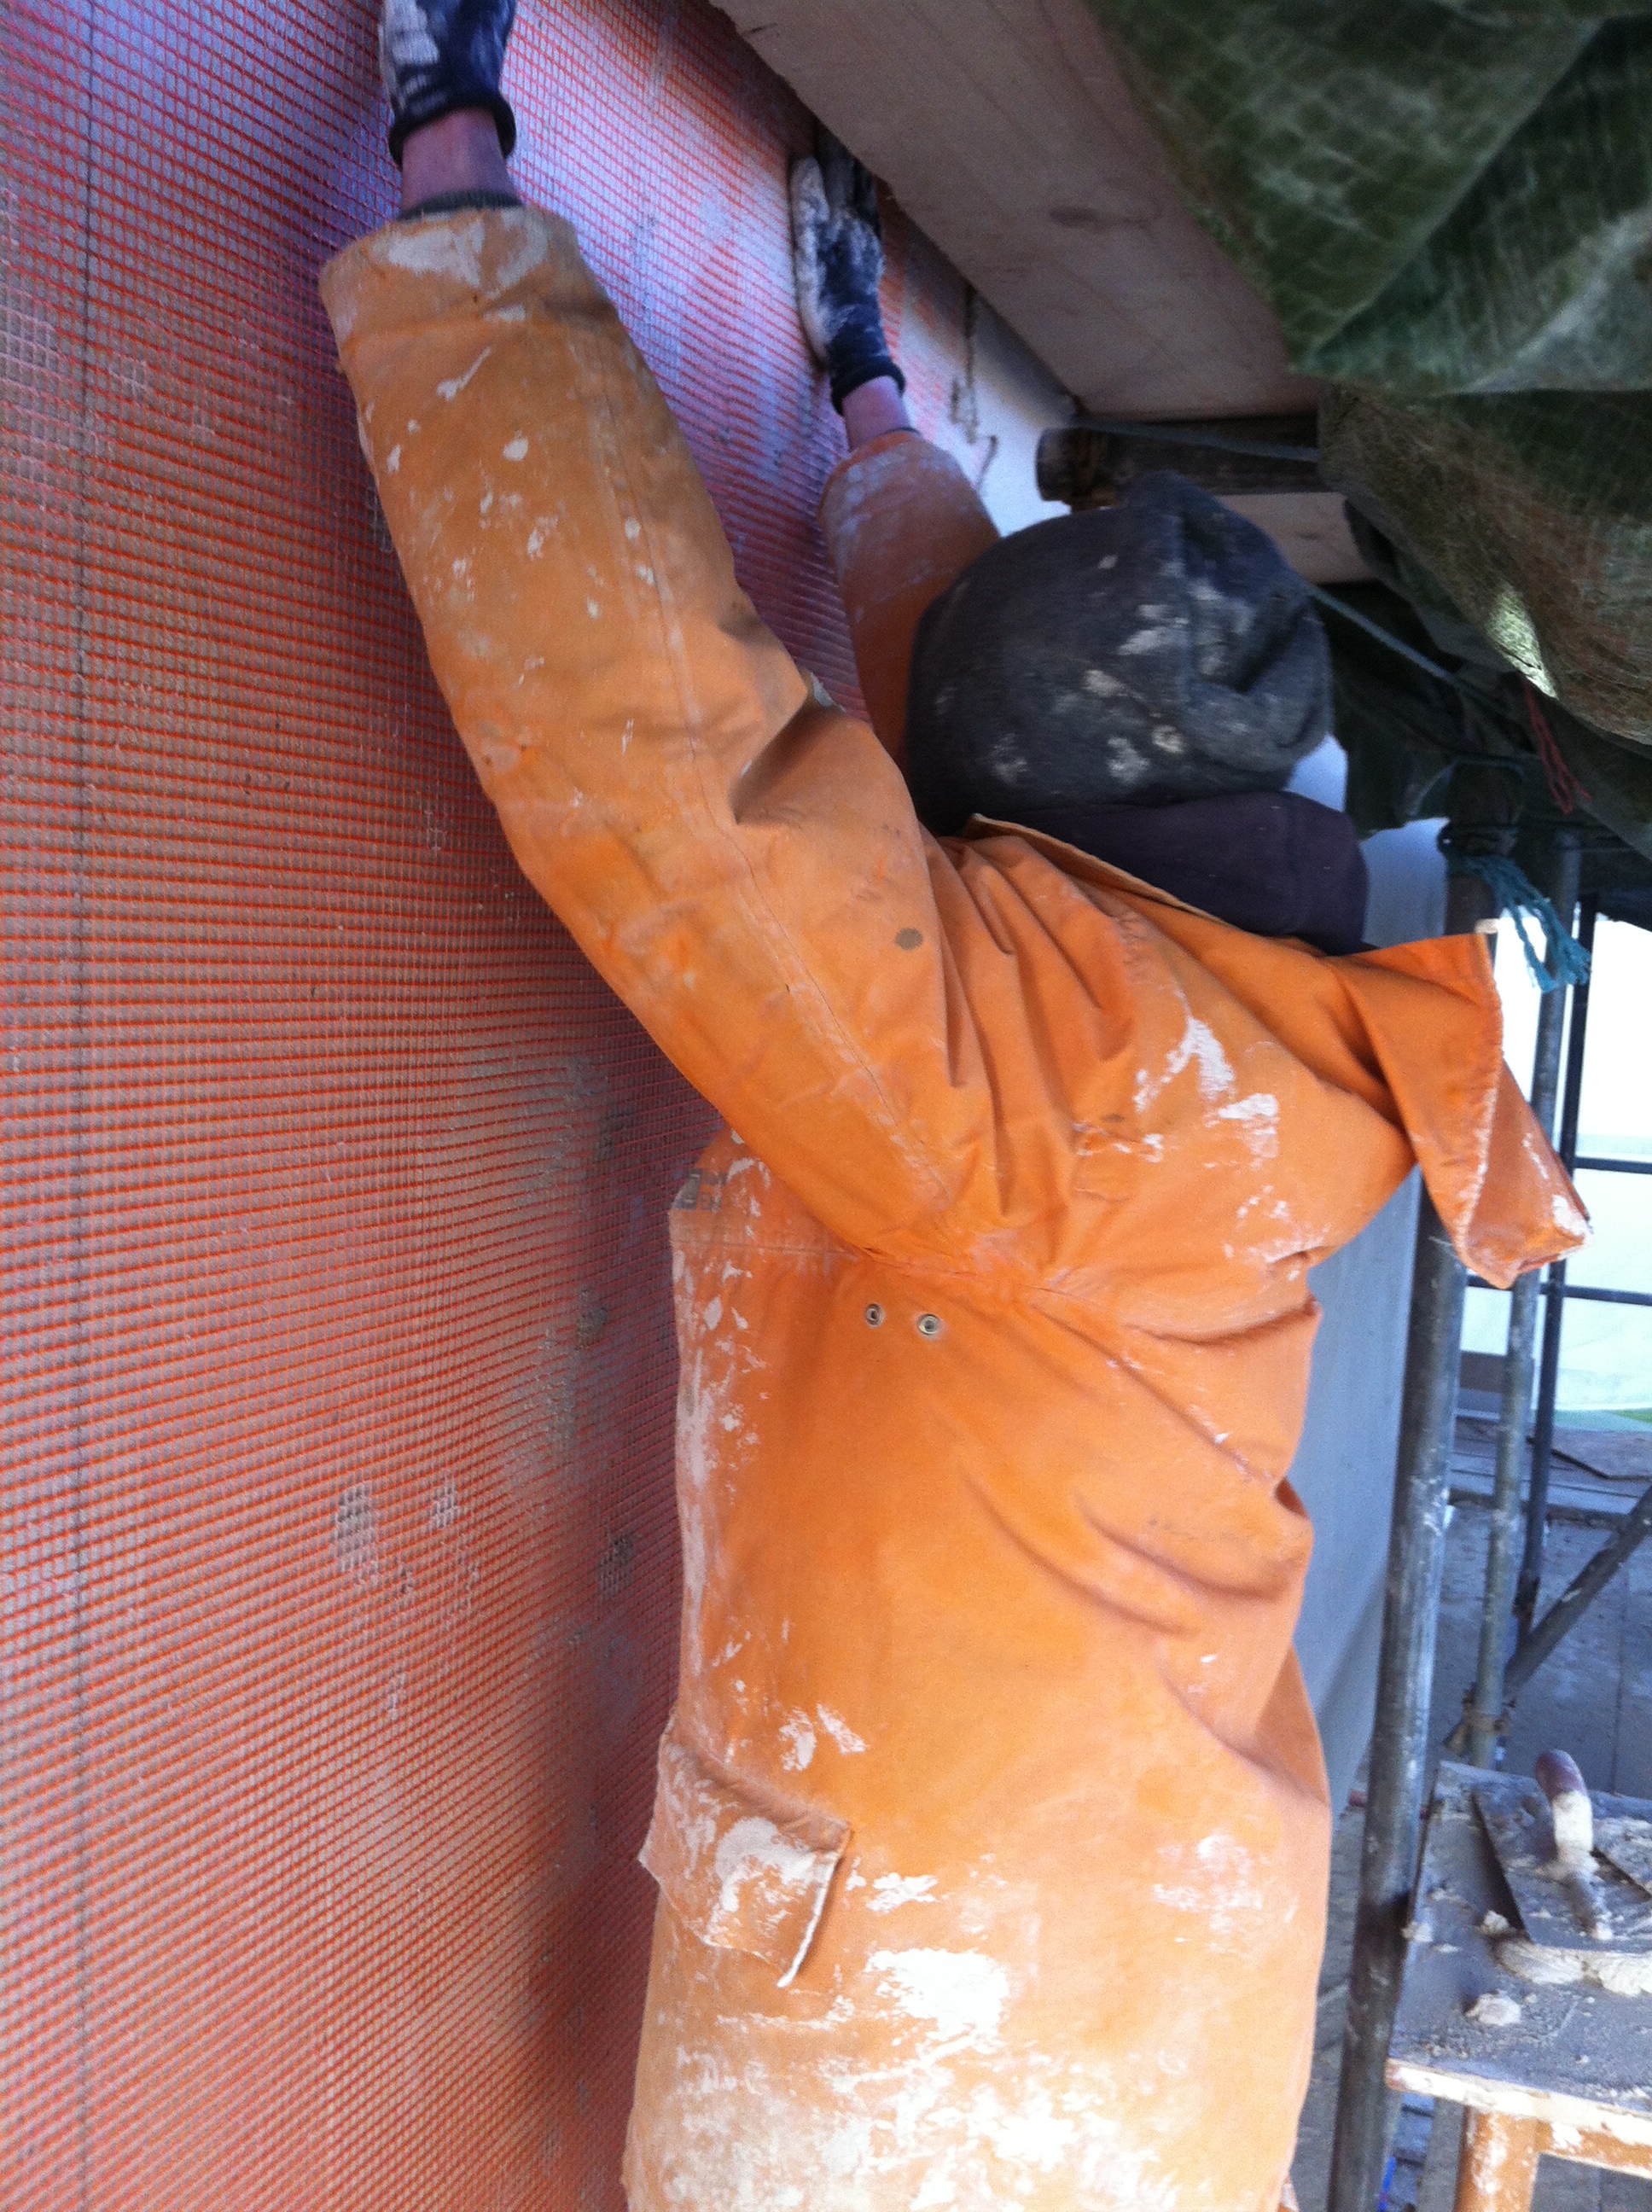
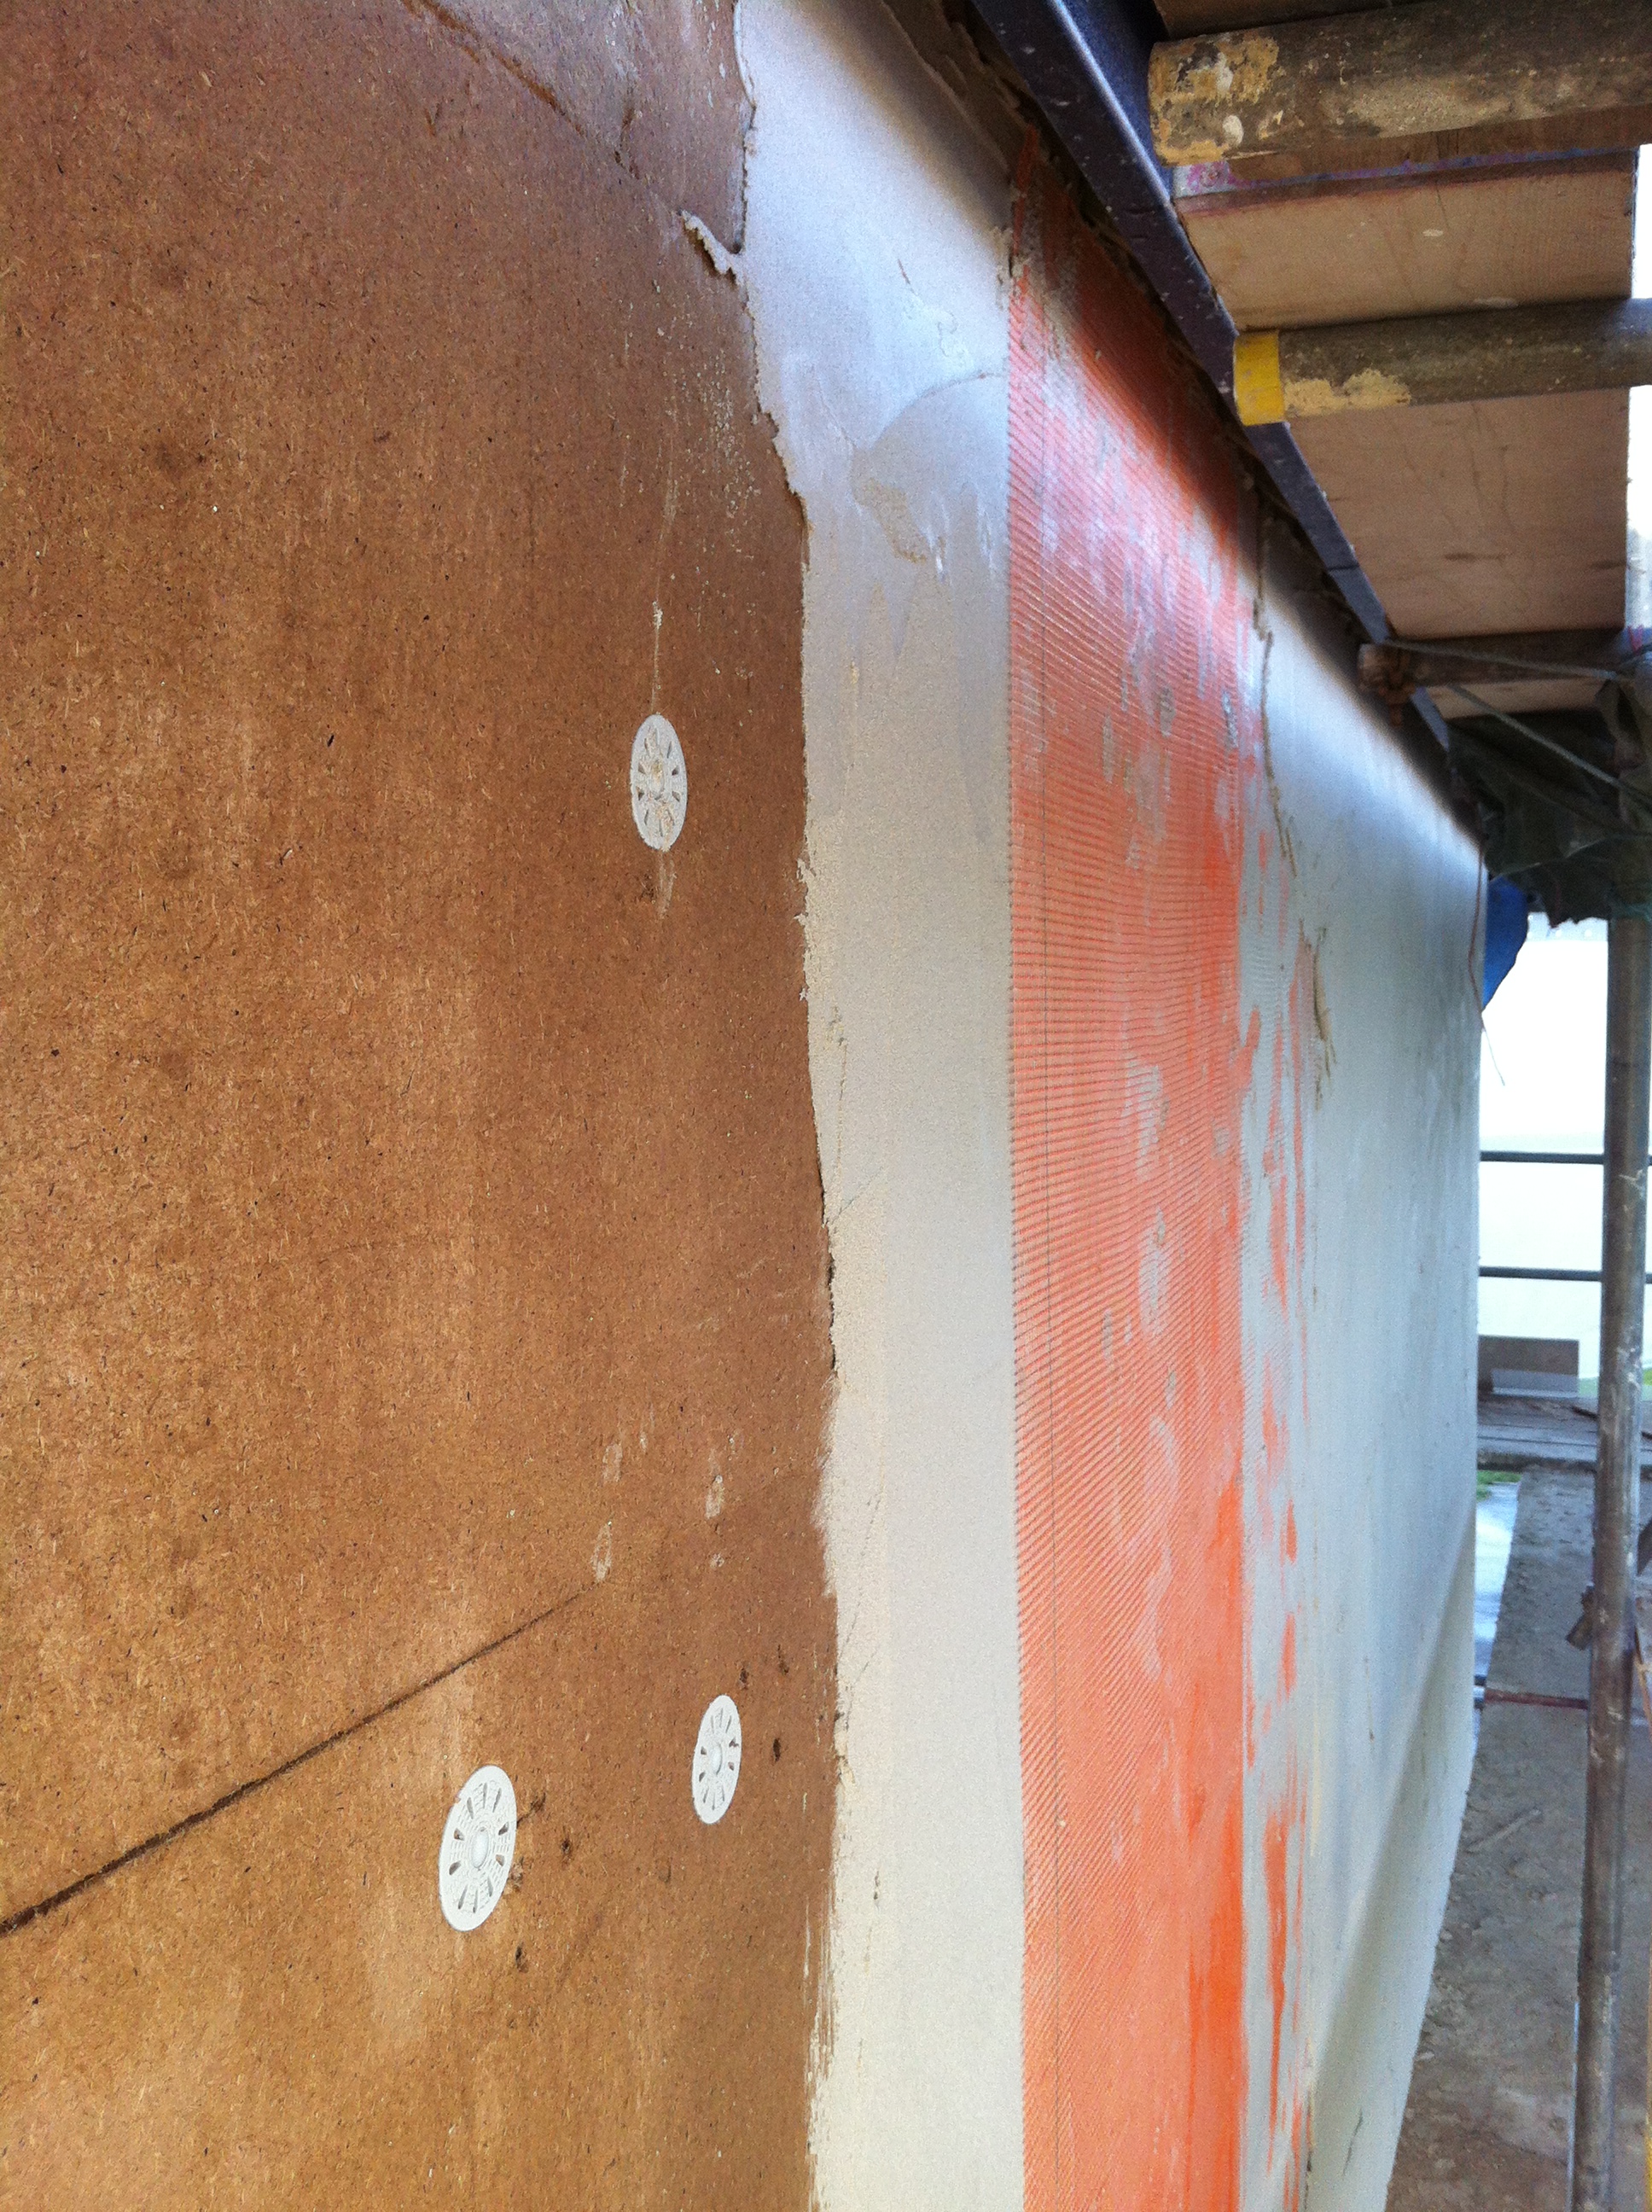
- Here Richie is applying the nylon mesh.
-
- The first coat required 3 layers. First 5mm of base coat then a nylon mesh and a final 5mm of base coat to encapsulate the mesh.
-

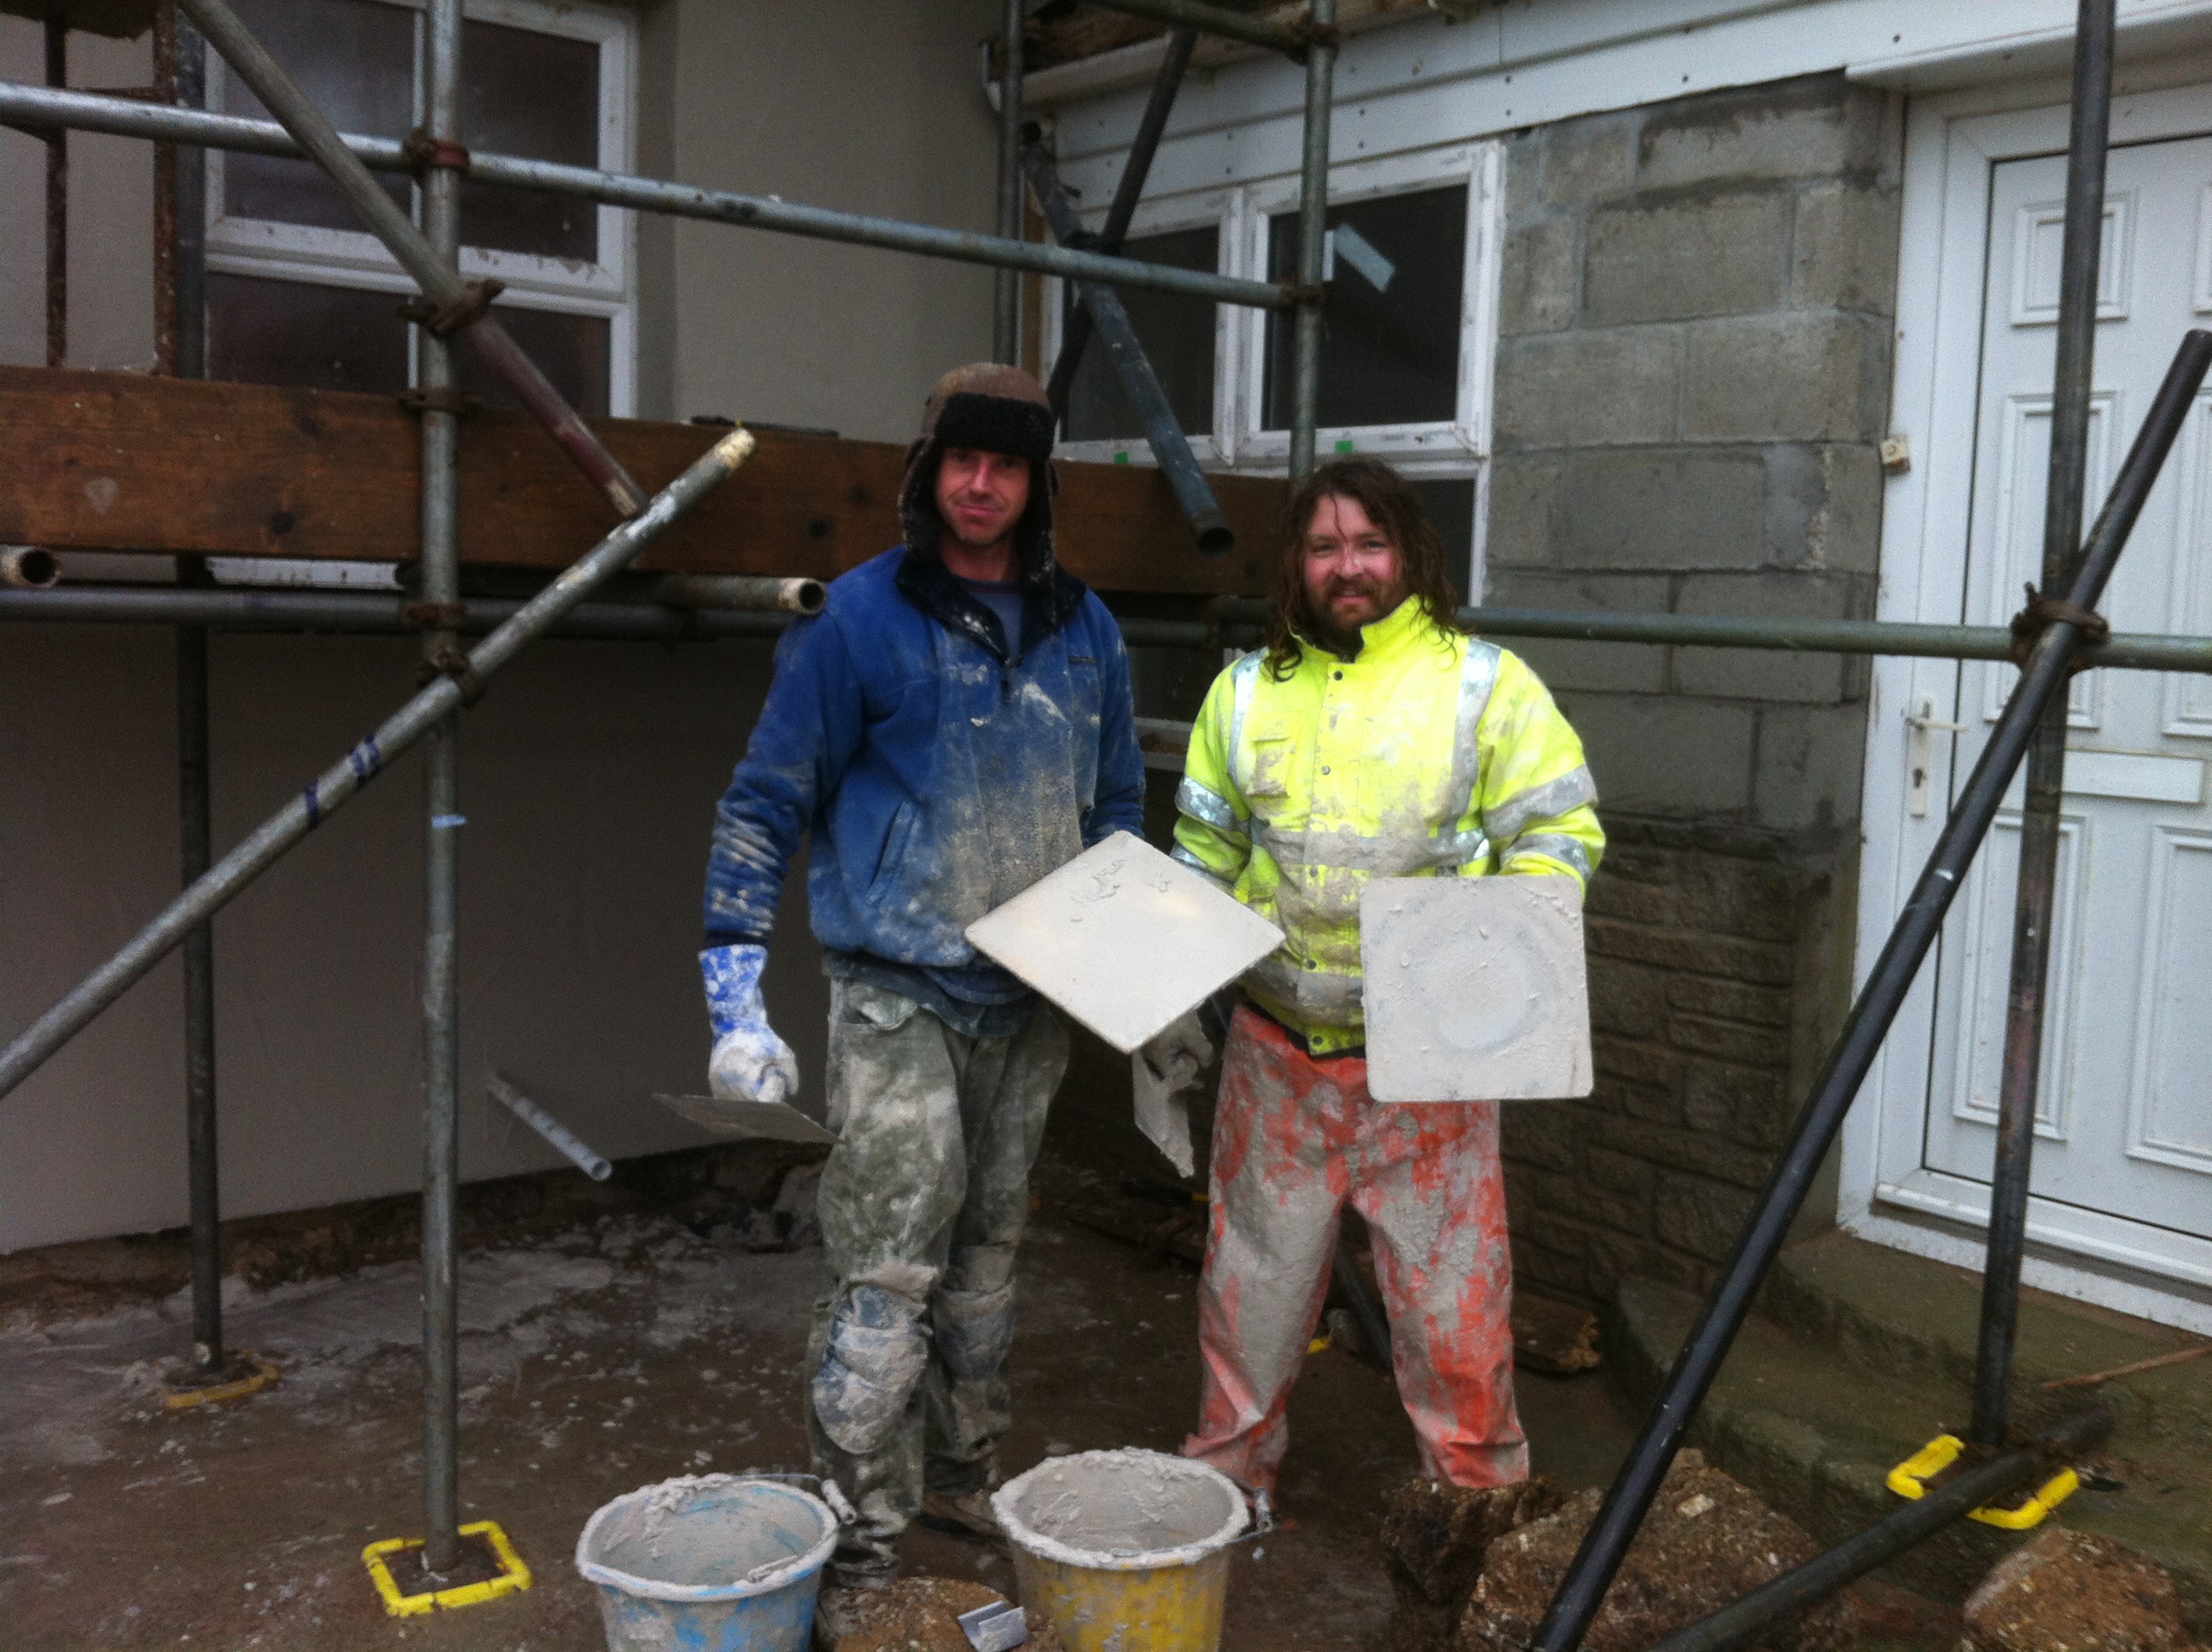
- Two lime renderers in there element.
-
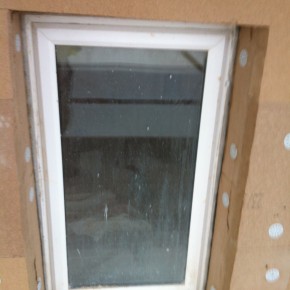
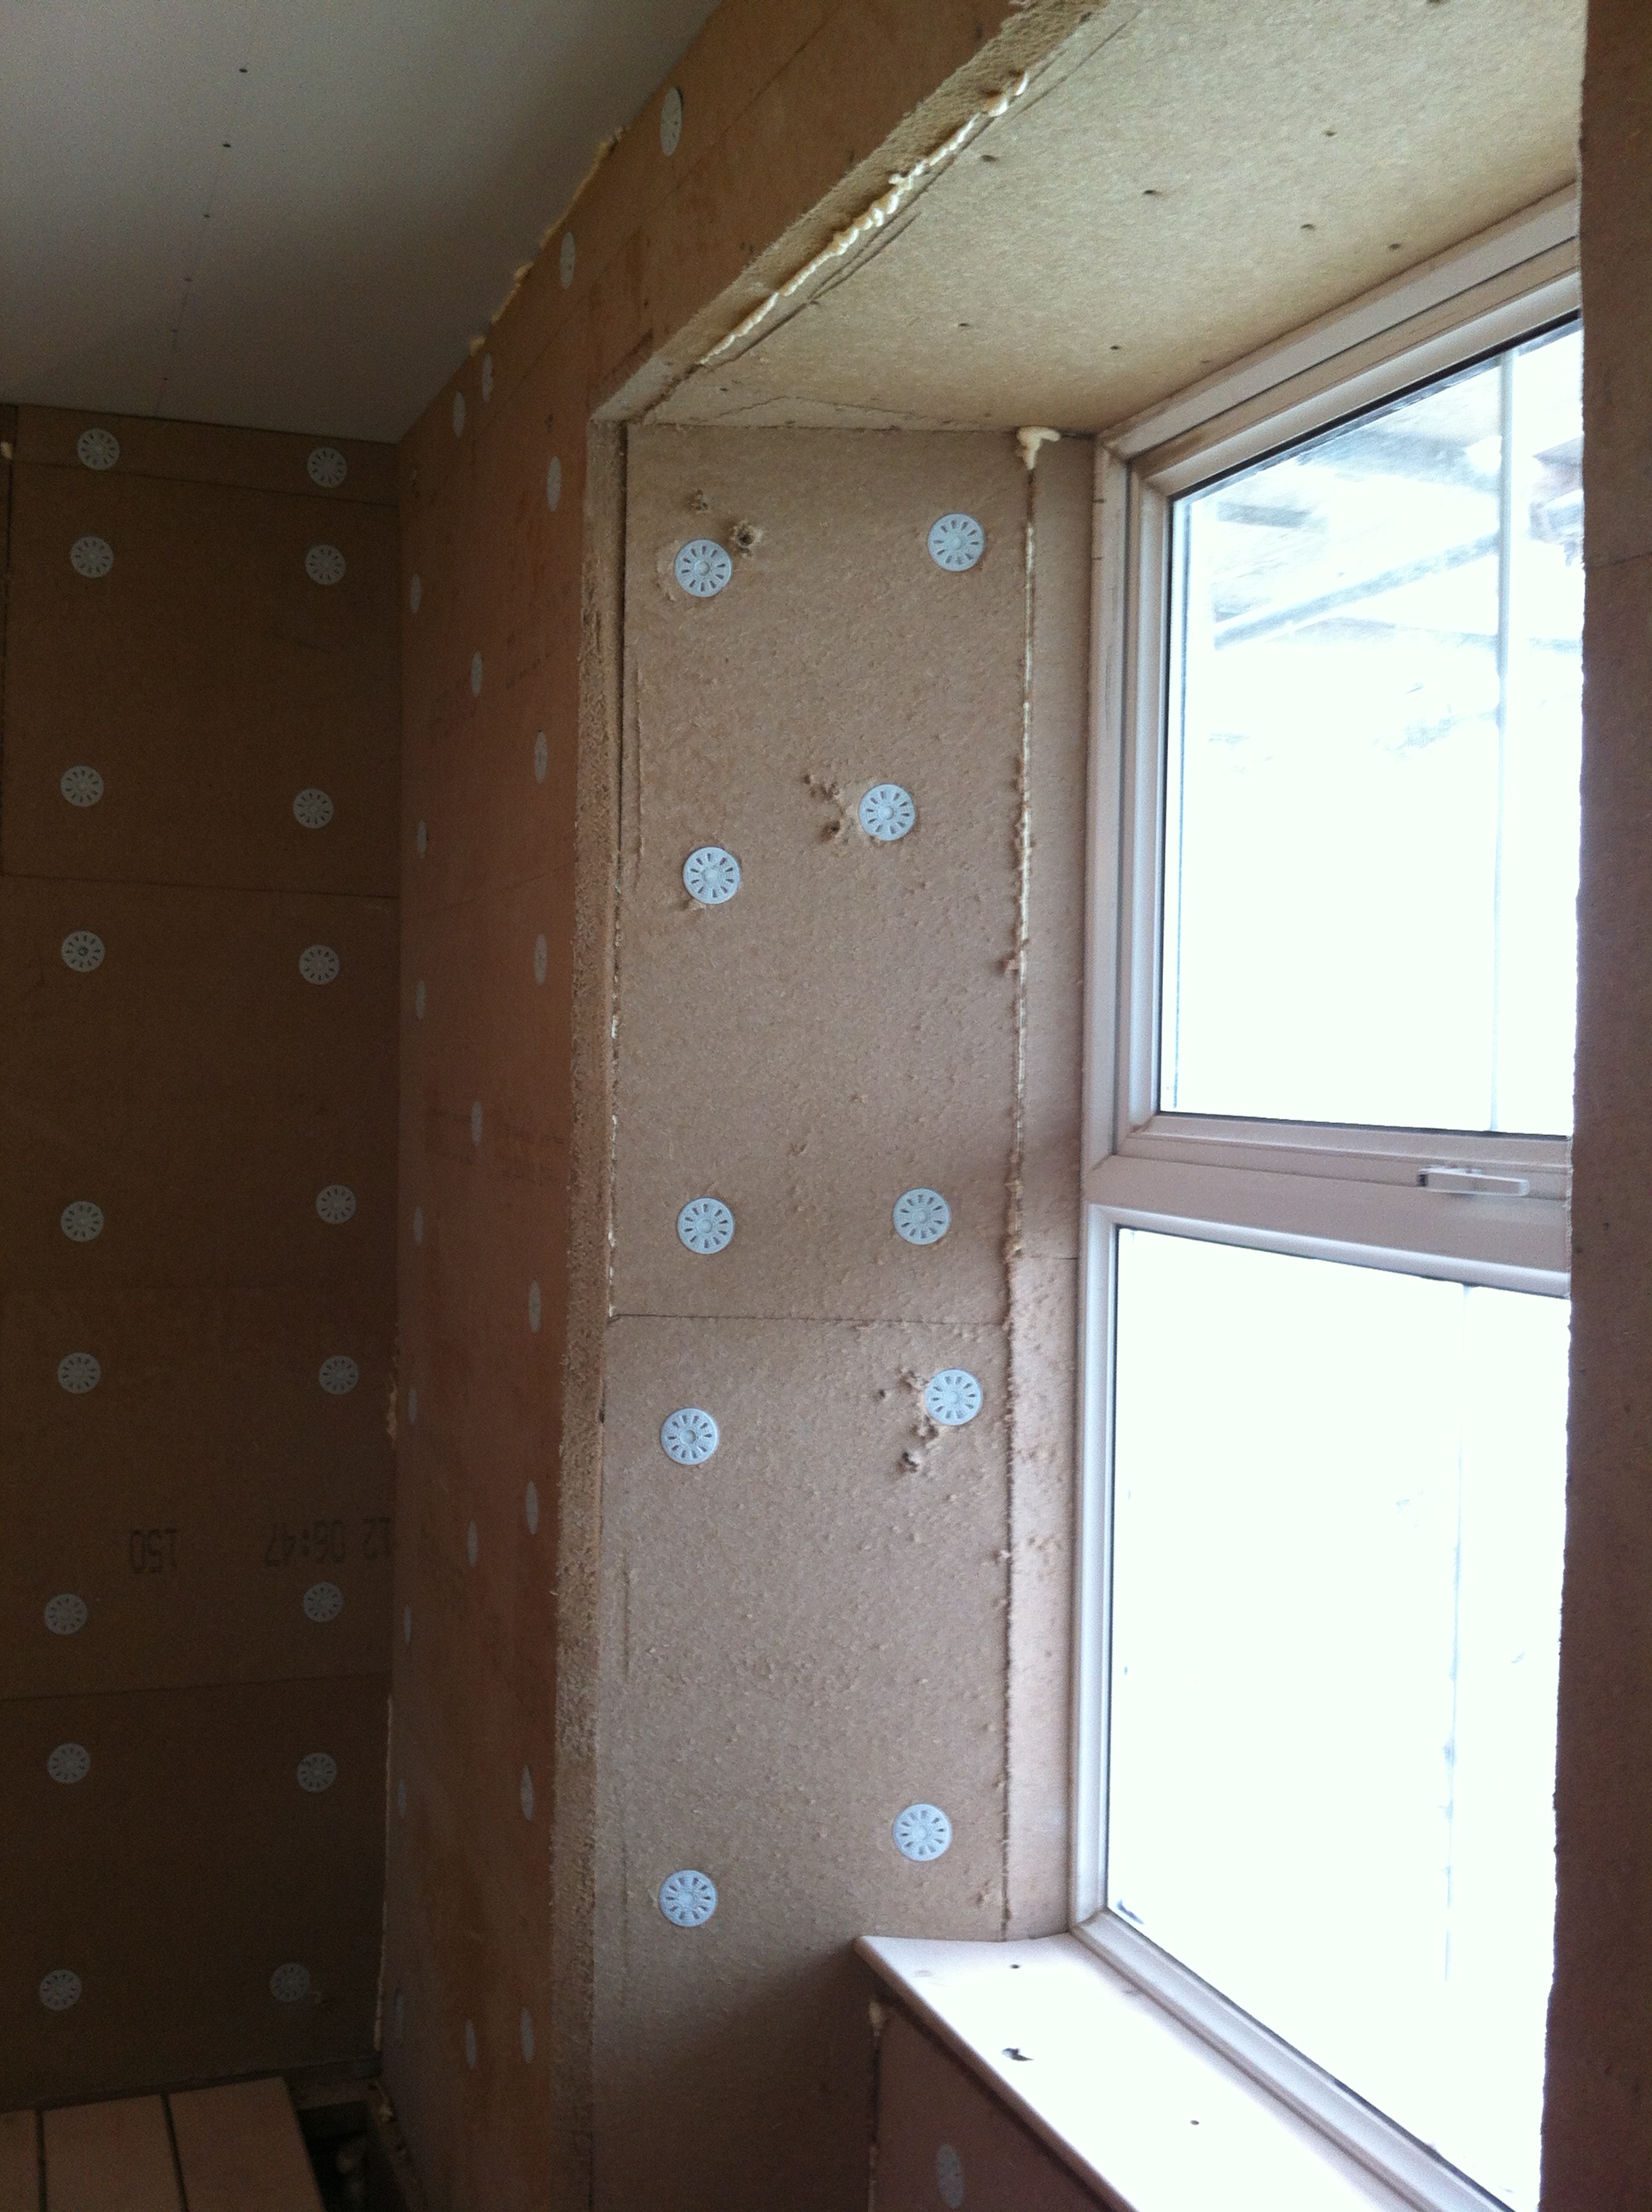
- Care was taken around the windows to prevent any cold bridging.
-
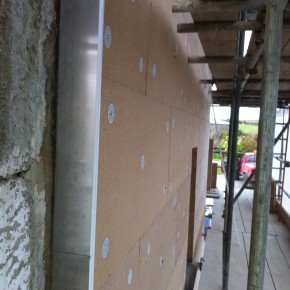
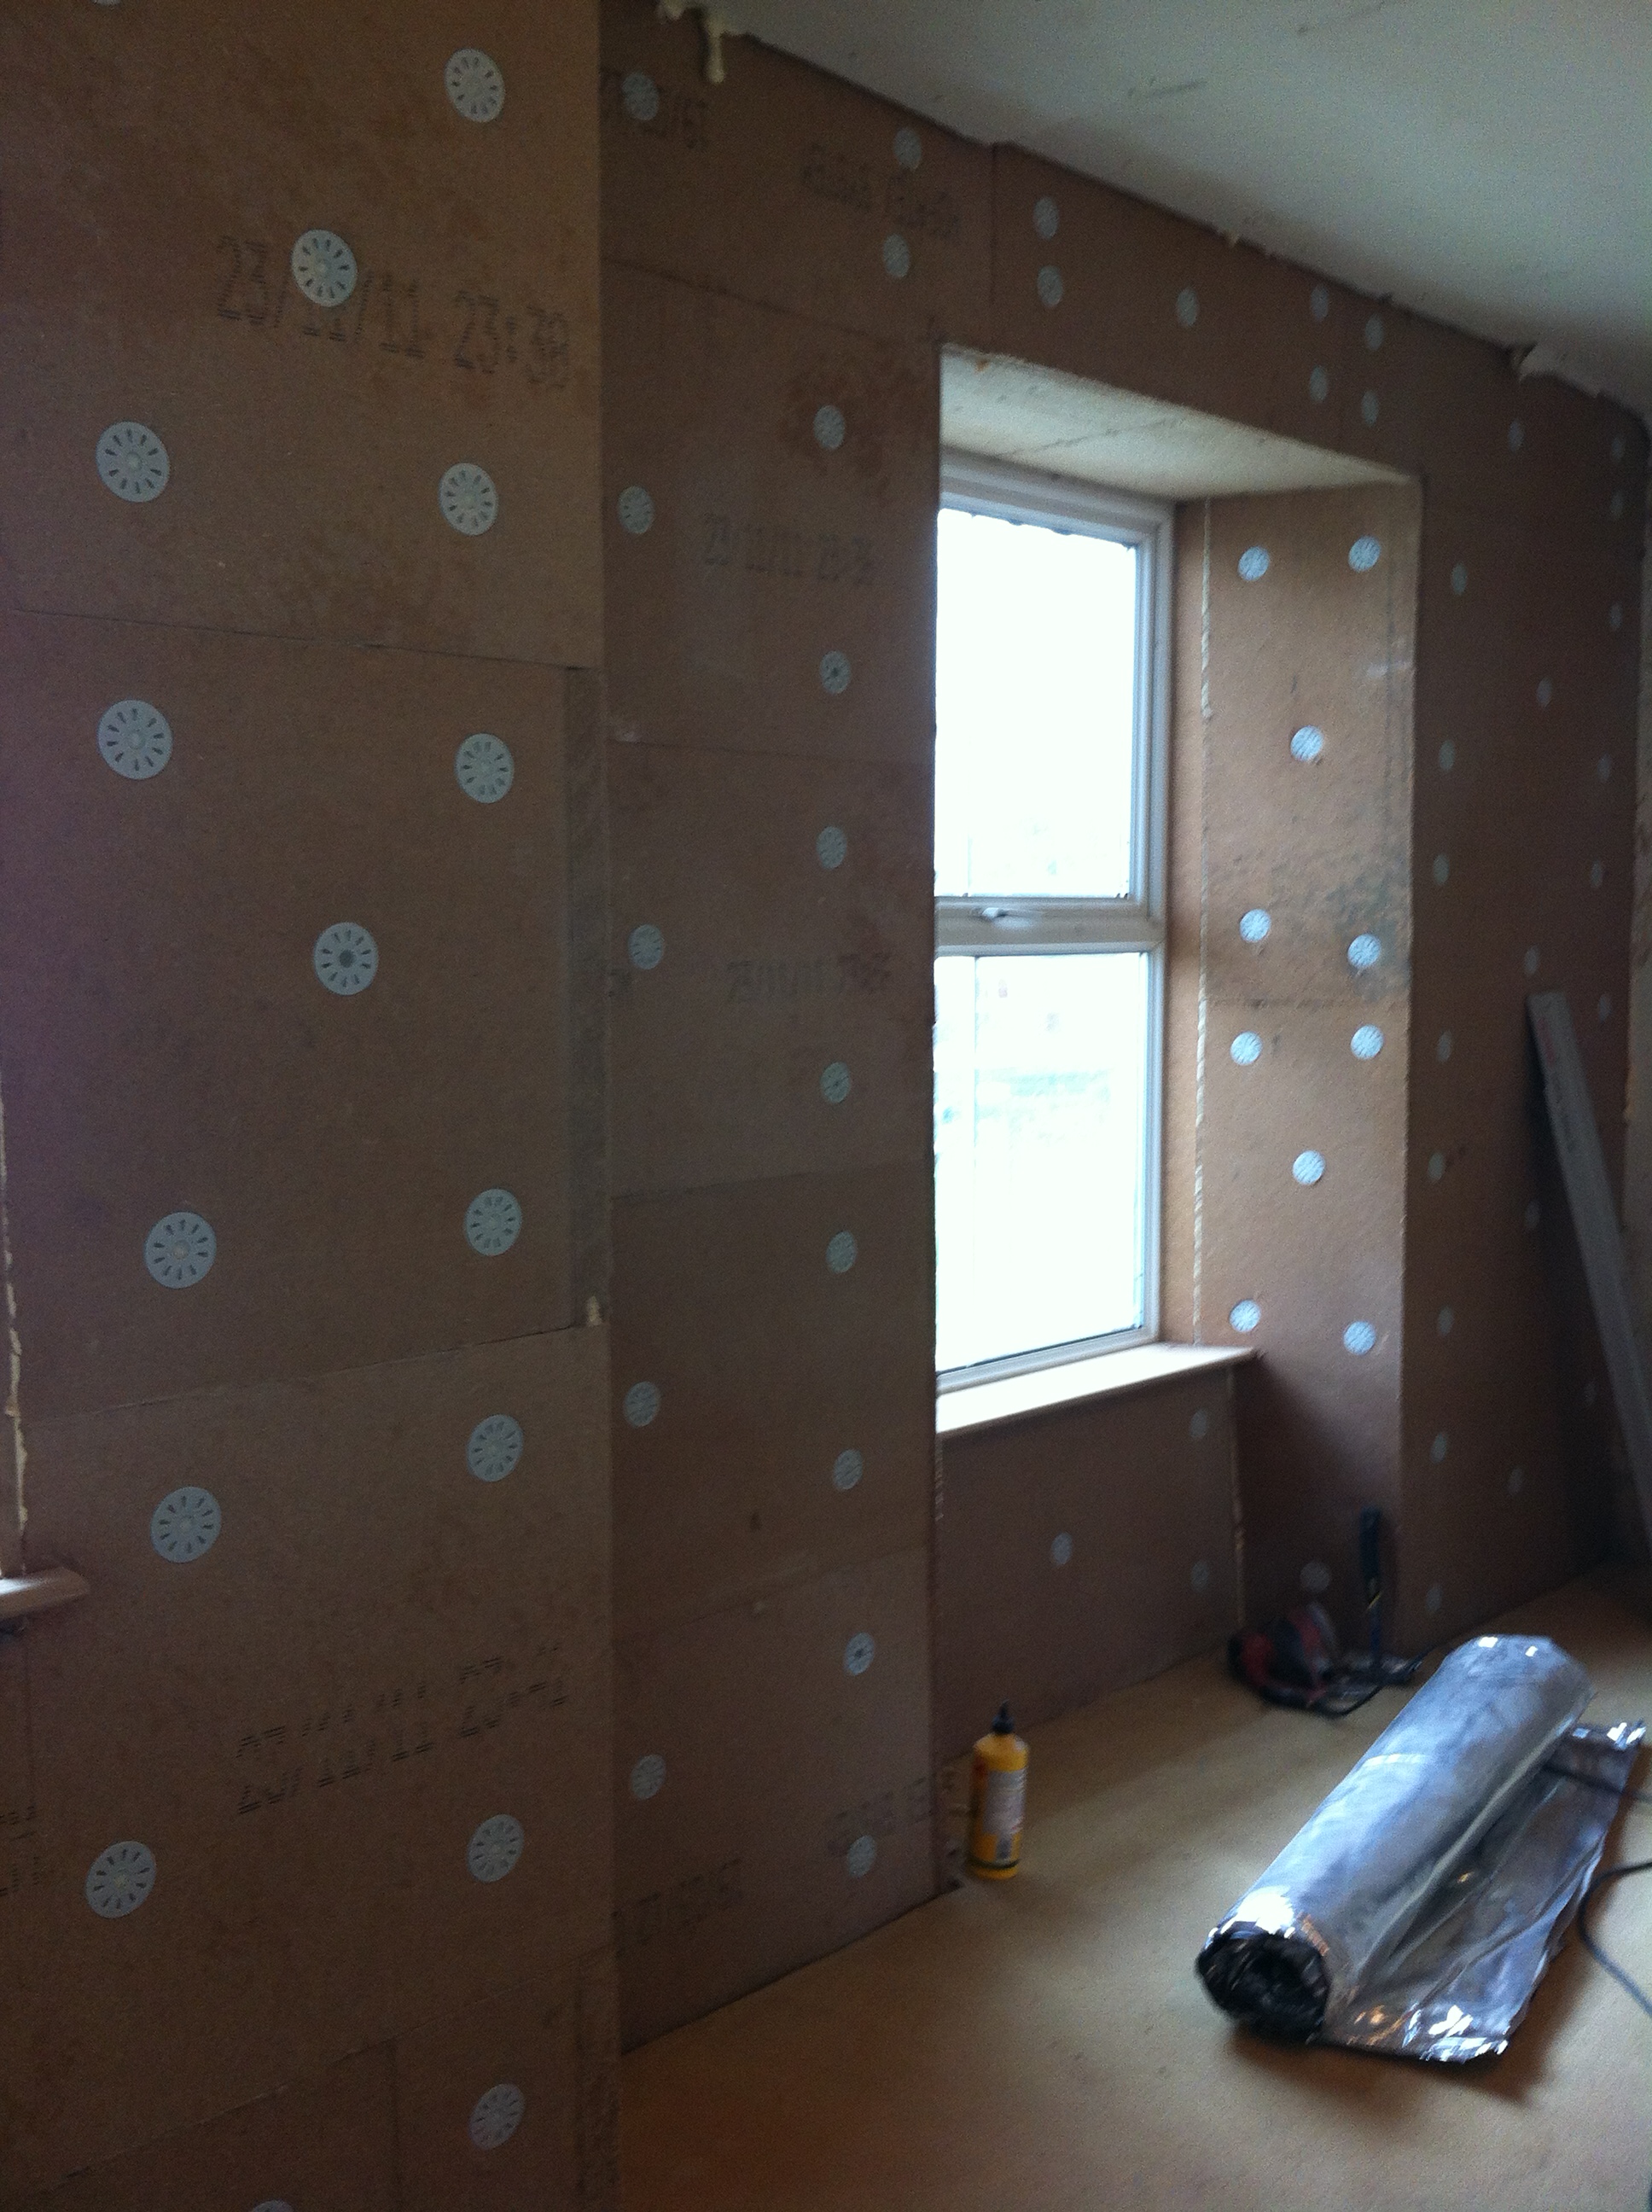
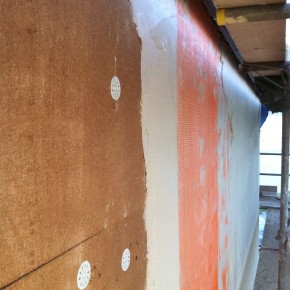
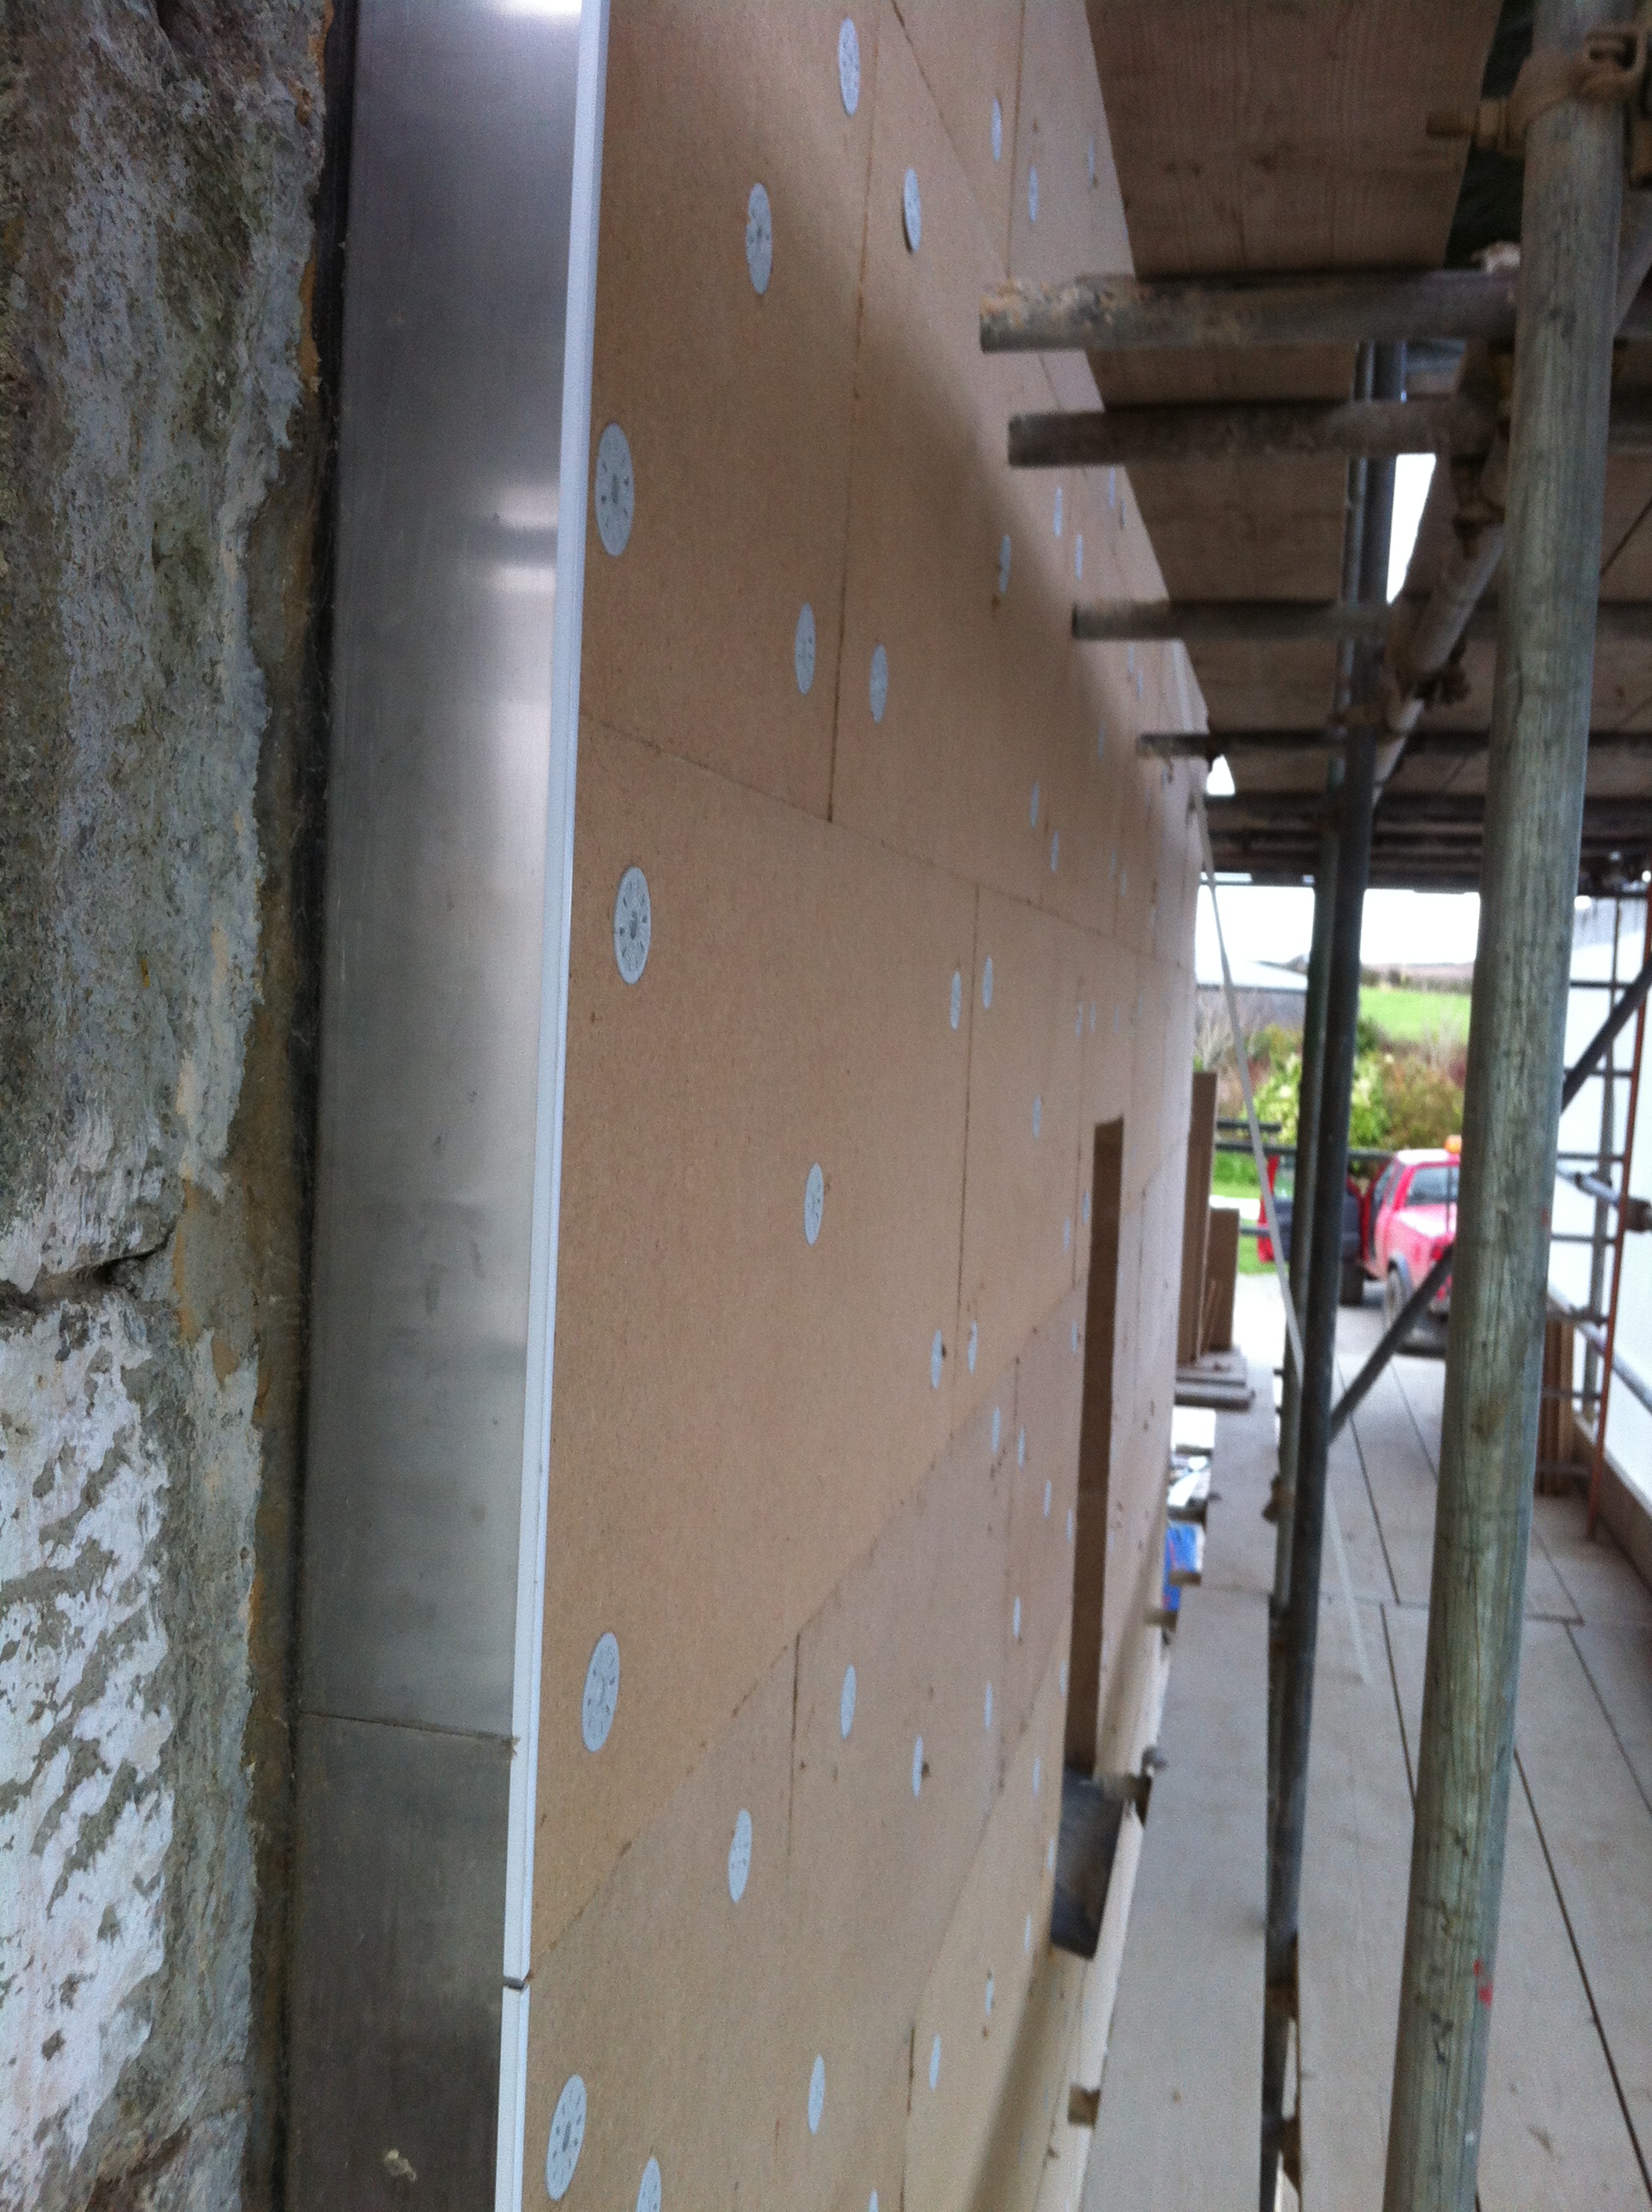
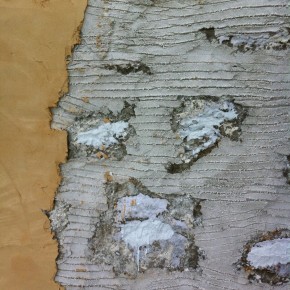
- Here you can see the boards fixed to the lime rendered wall.
-
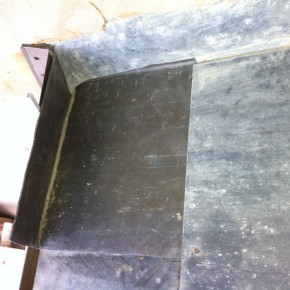
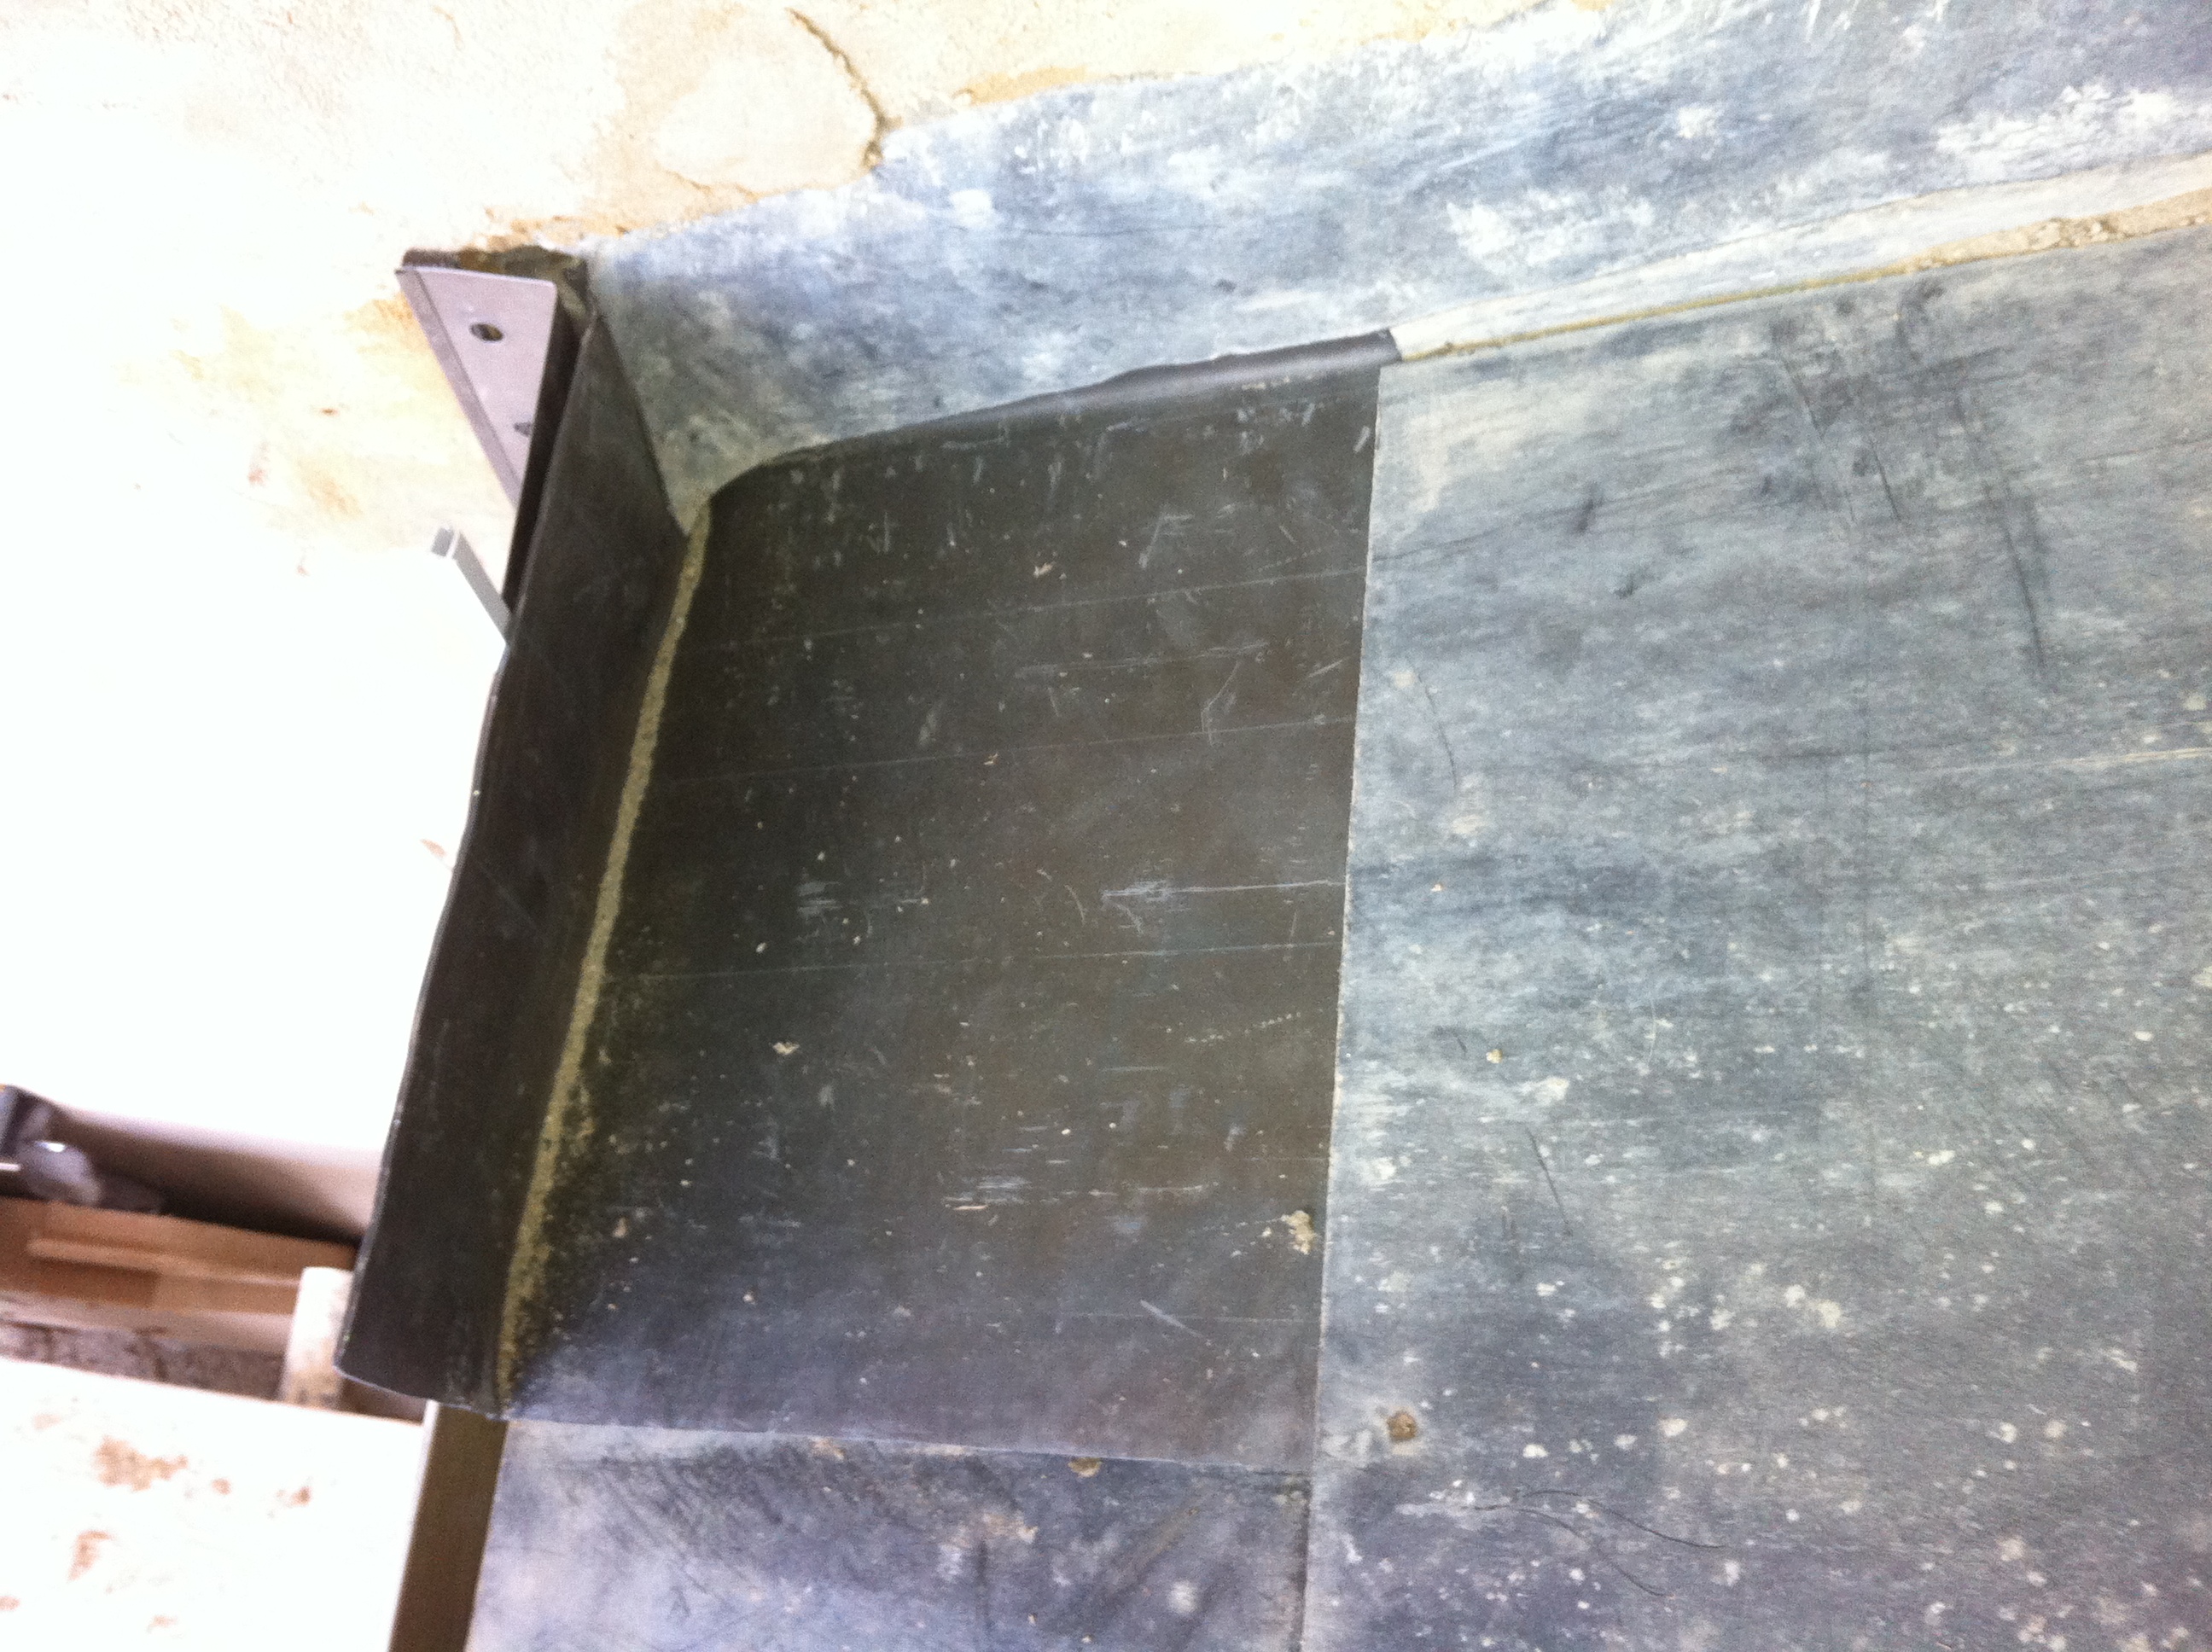
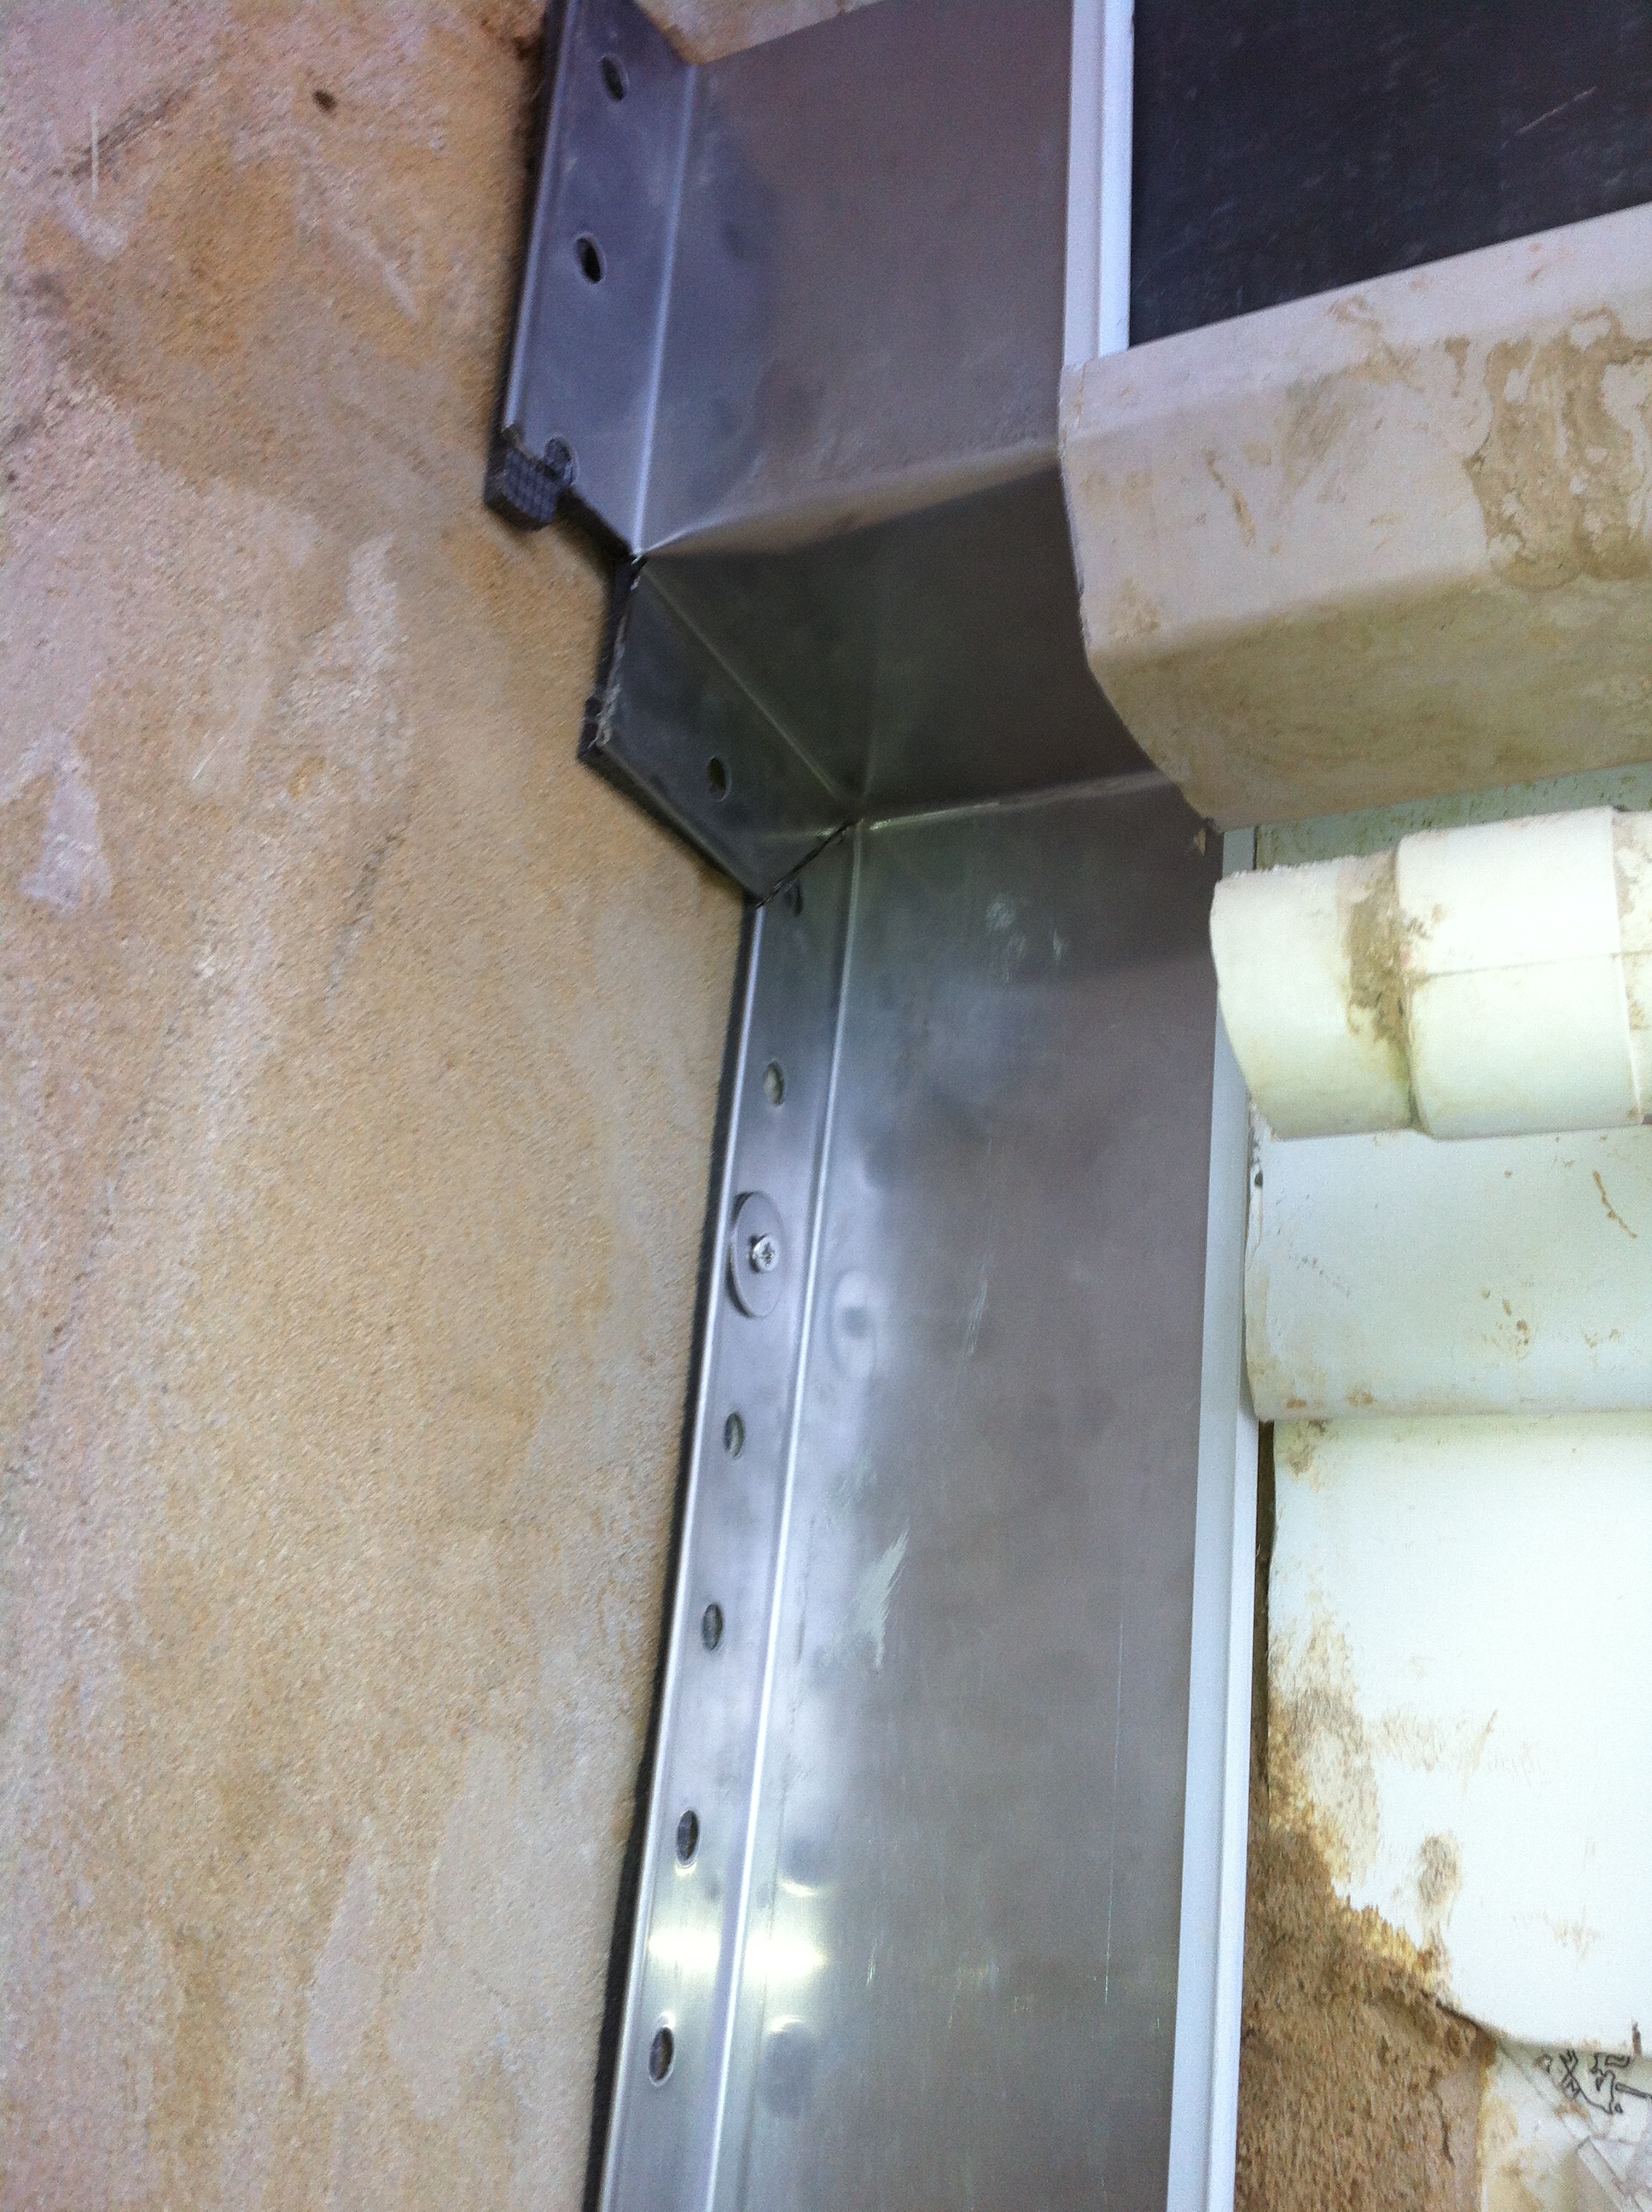
- Some leadwork was required to stop water getting behind the boards.
-
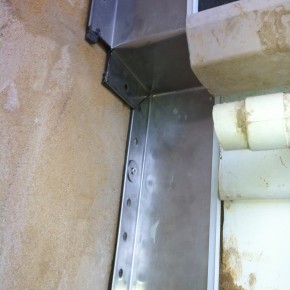
- Stainless steel stop end were uses to protect the ends of the boards. Somtimes we had to form these carfully round the various details on the house.
-
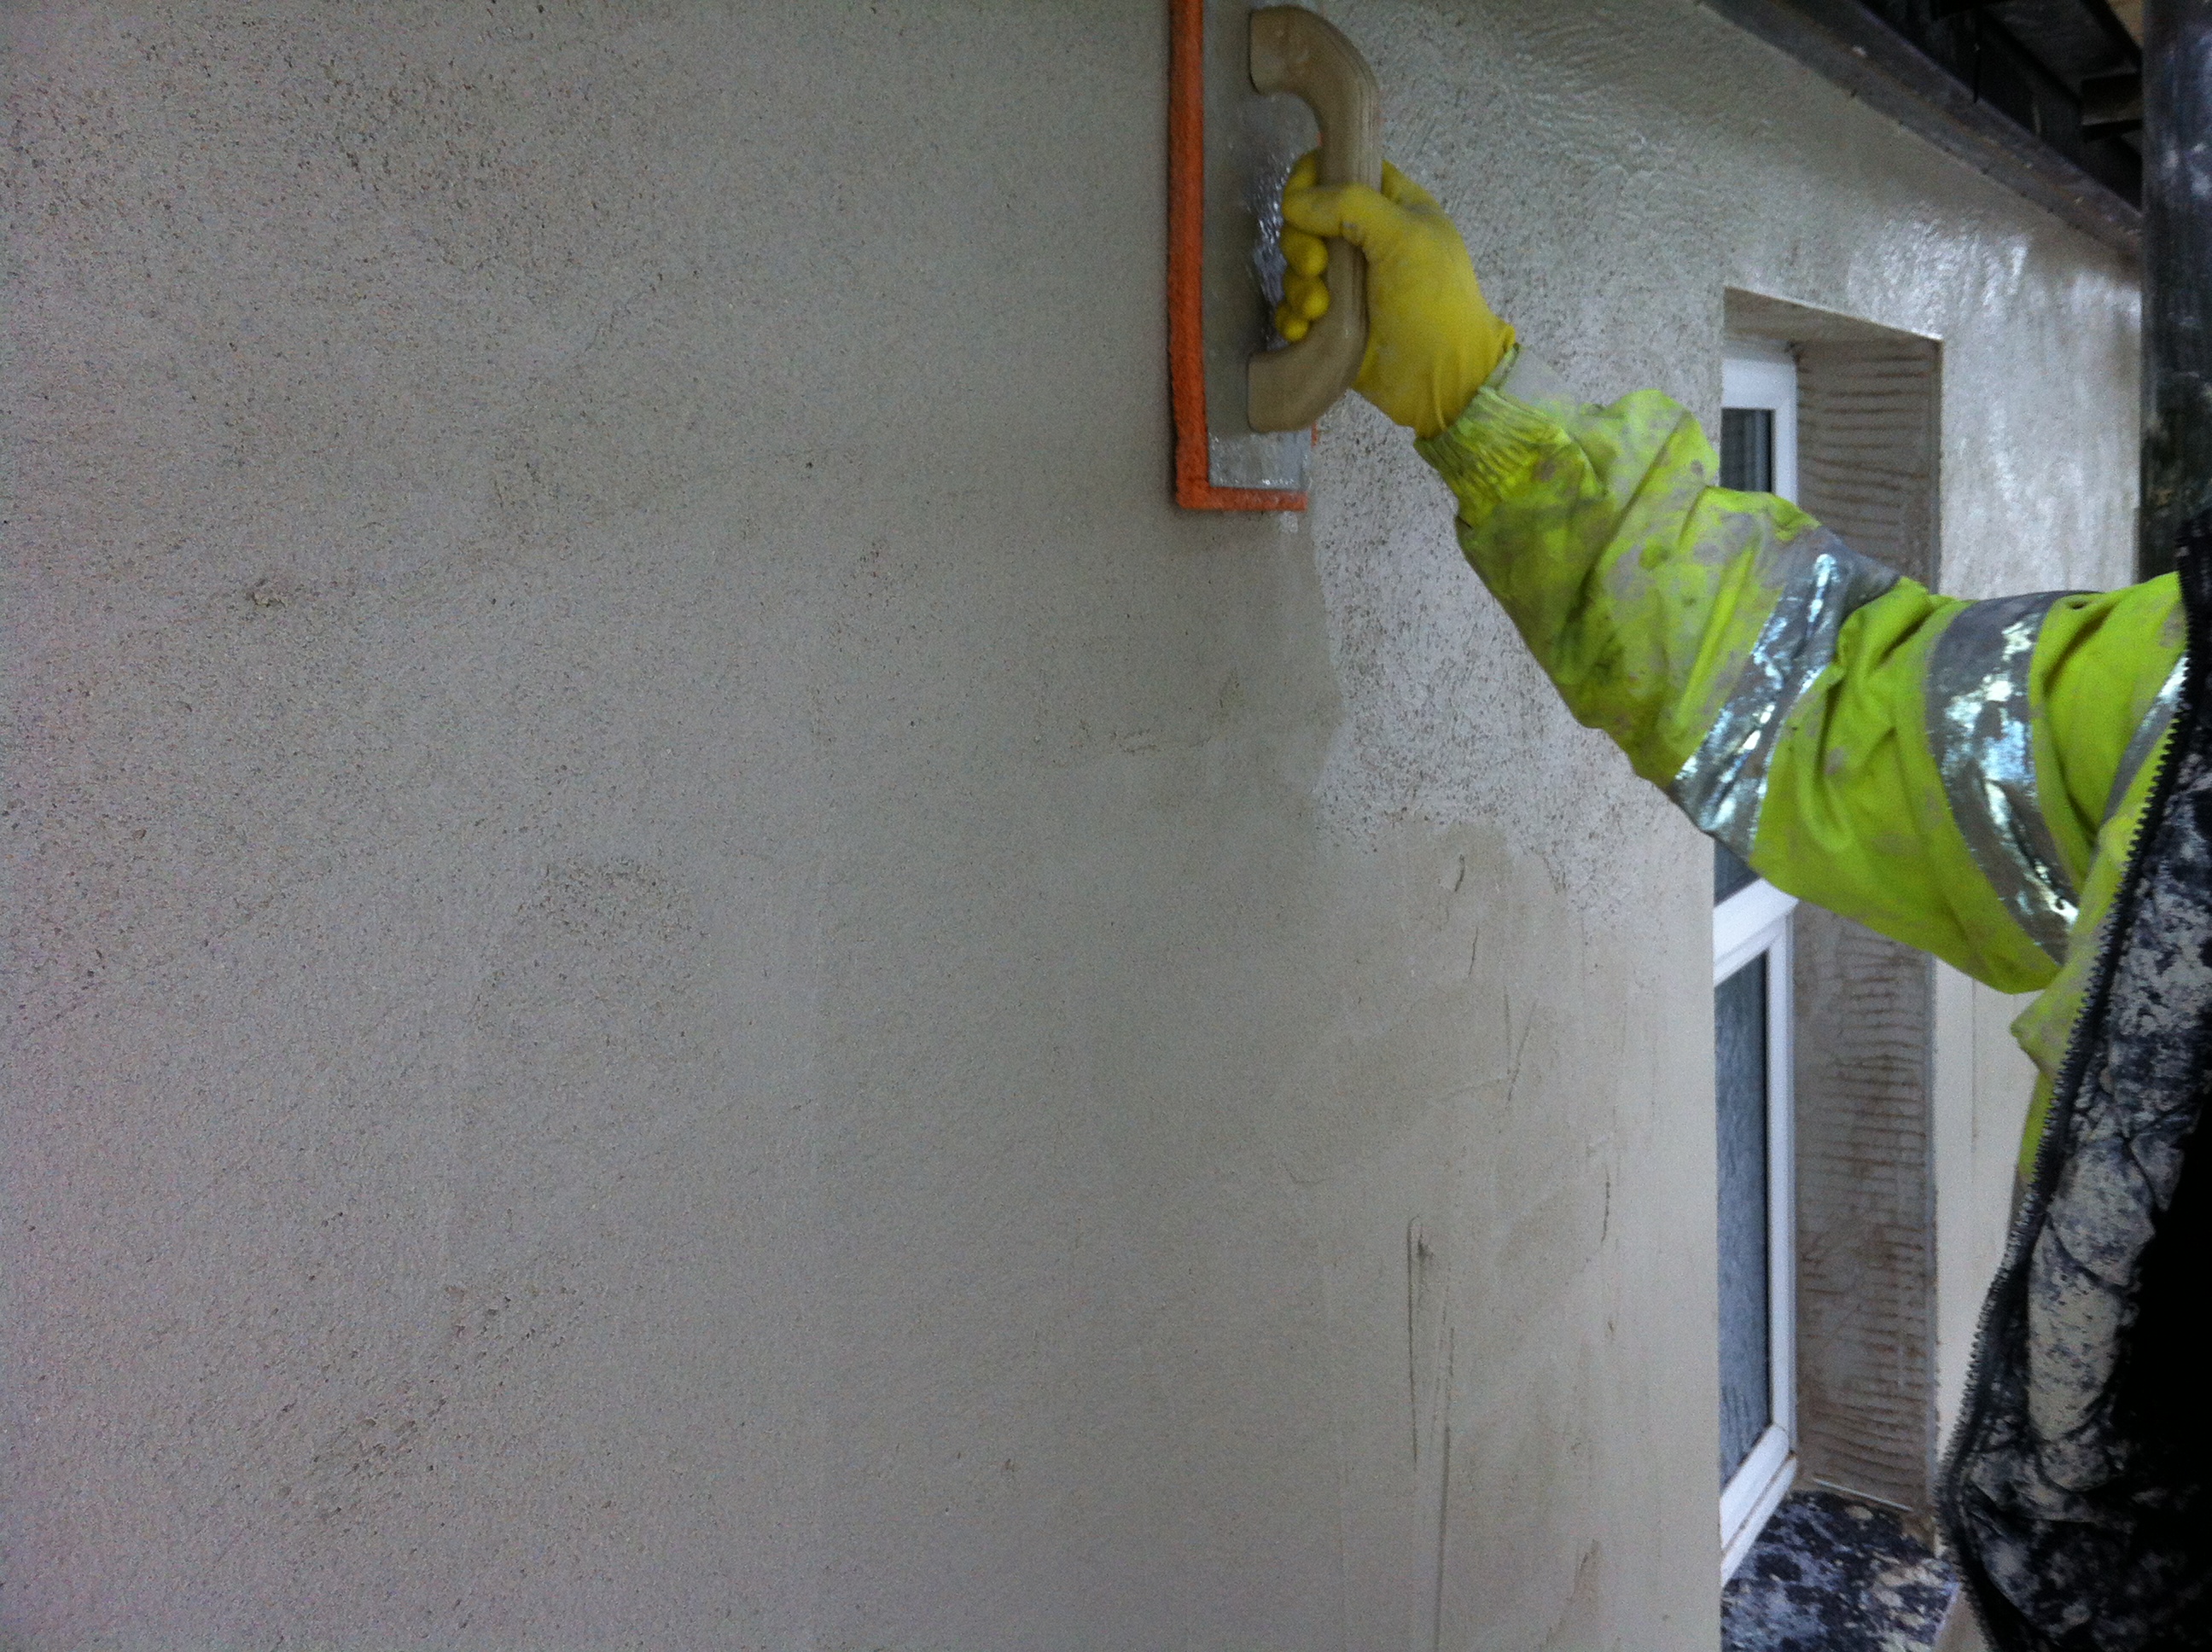
- A top coat was then applied to give it a nice flat finish ready to take the insulation boards.
-
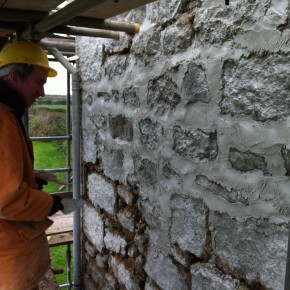
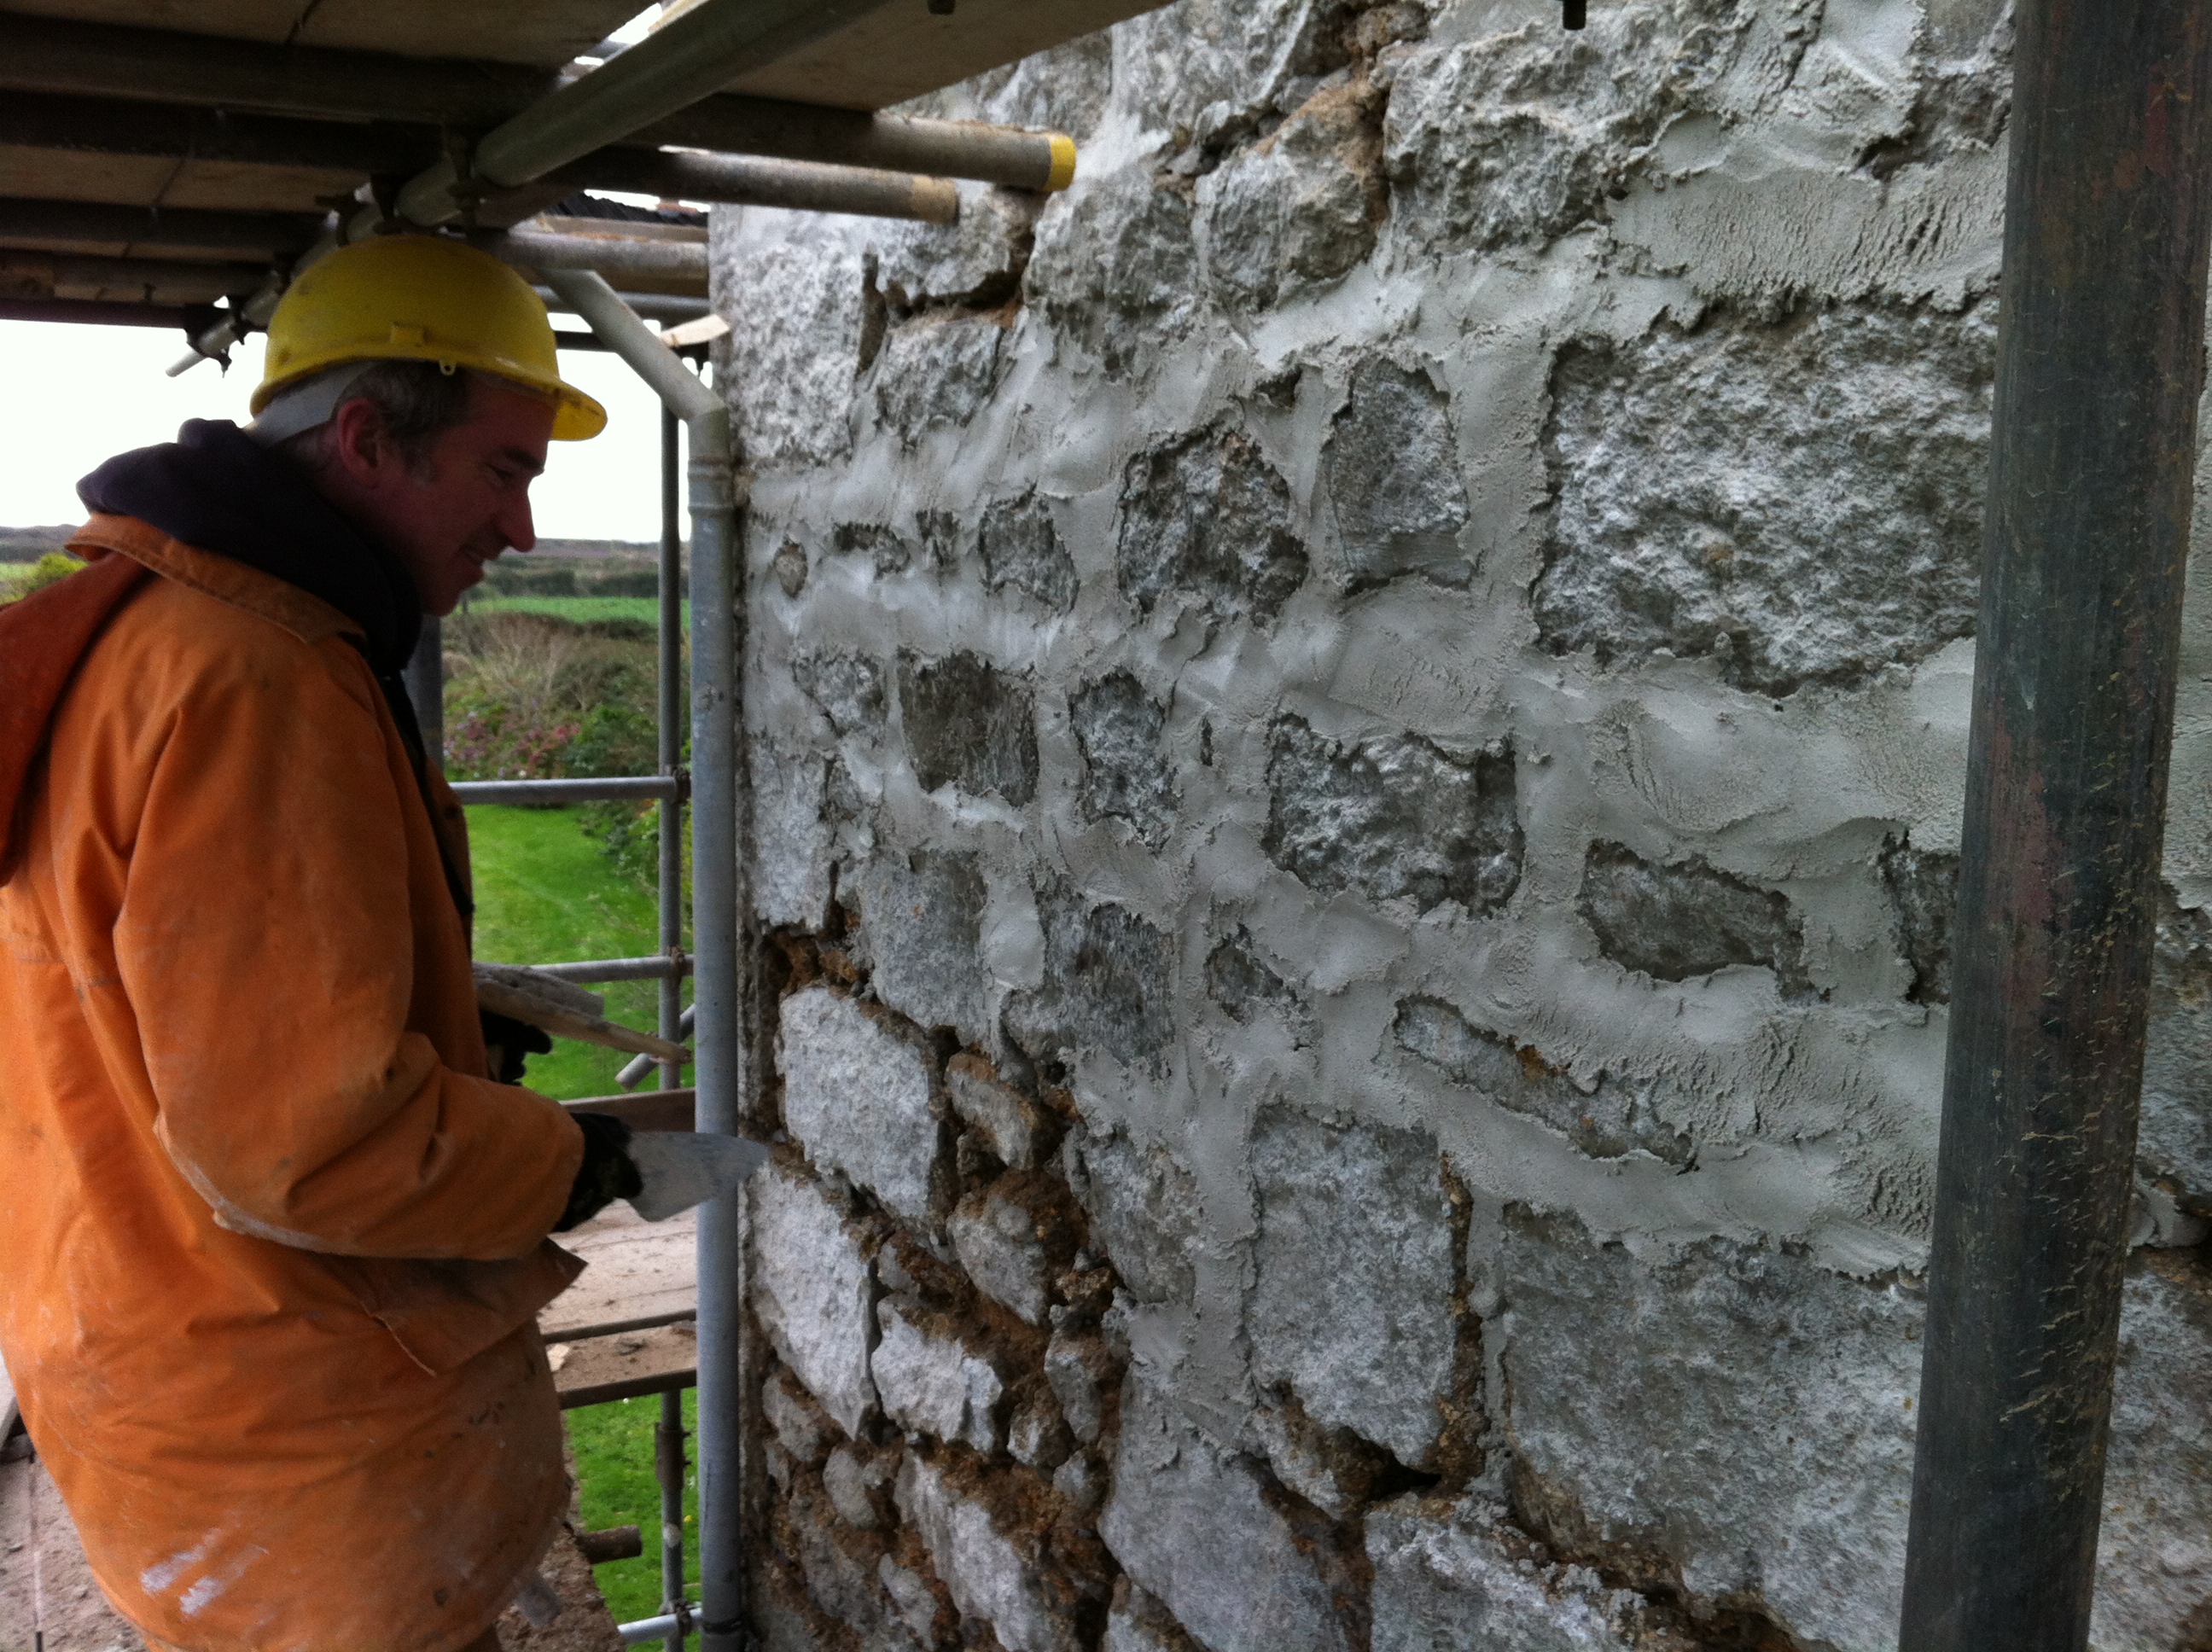
- Richie pointing away.
-
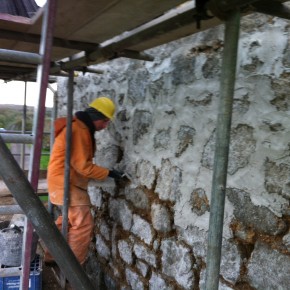
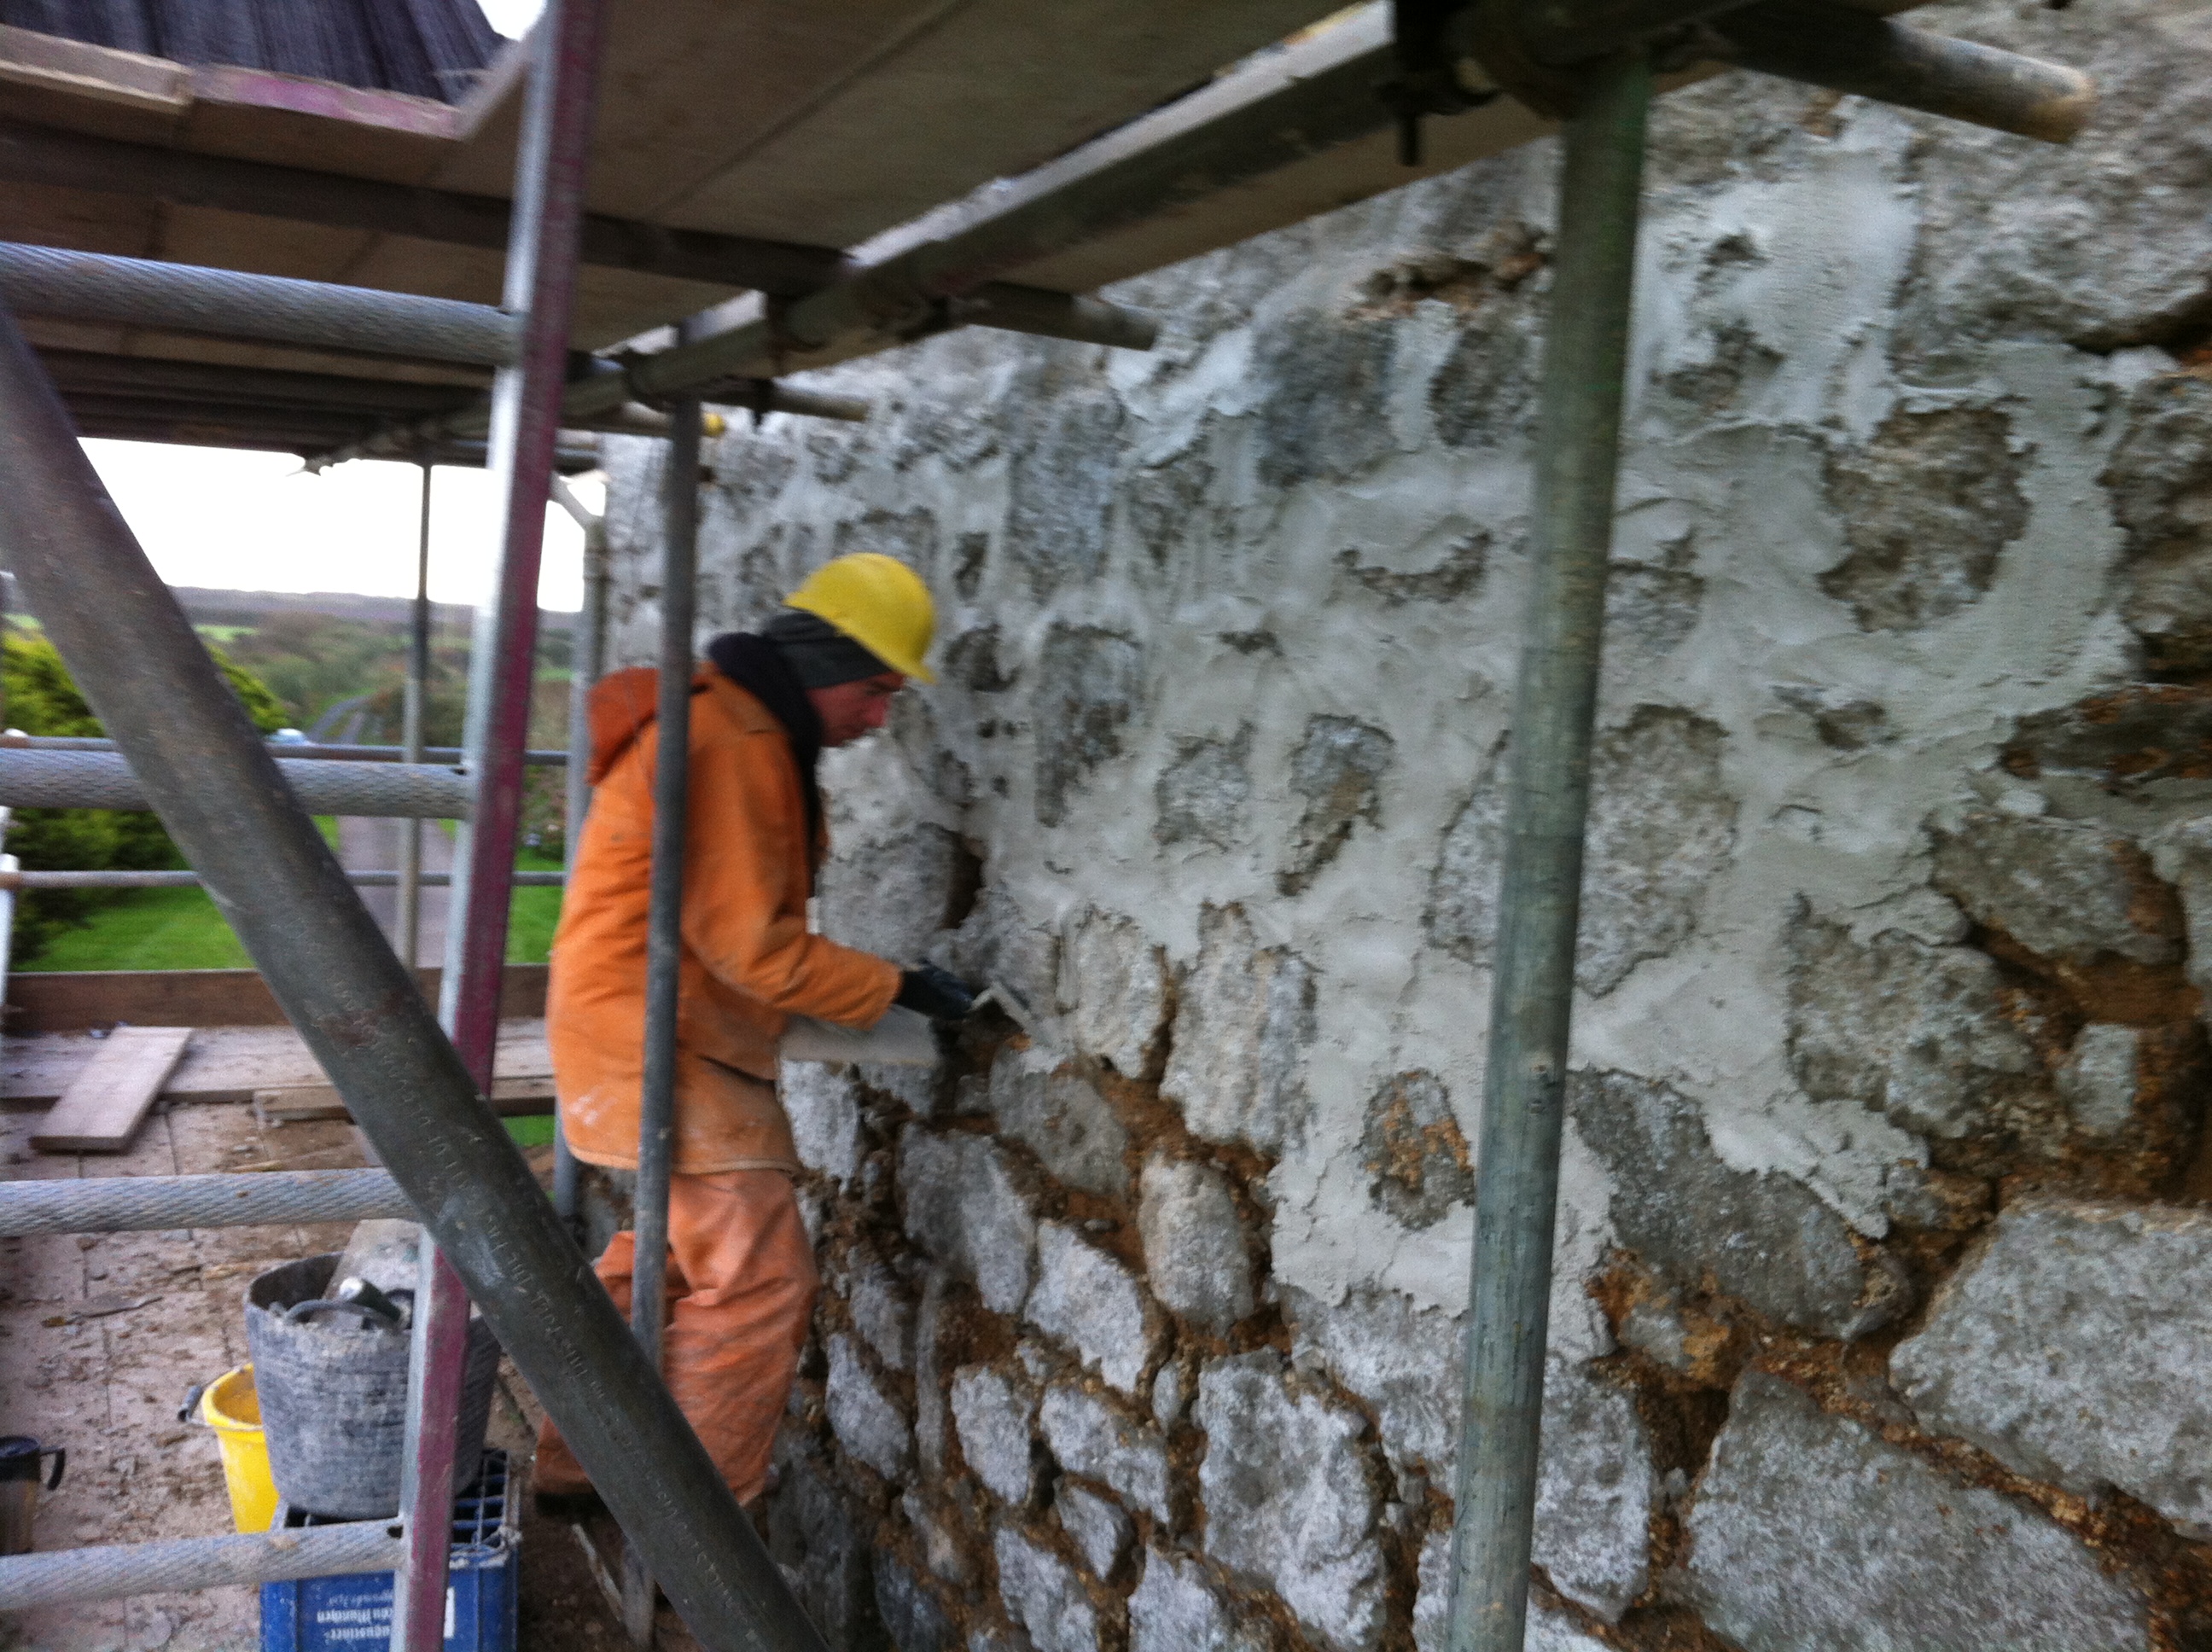
- We then pointed using regular building sand and NHL 3.5
-
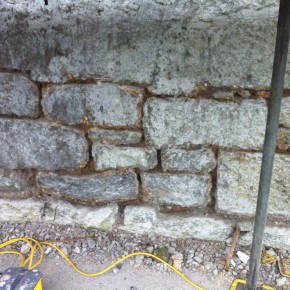
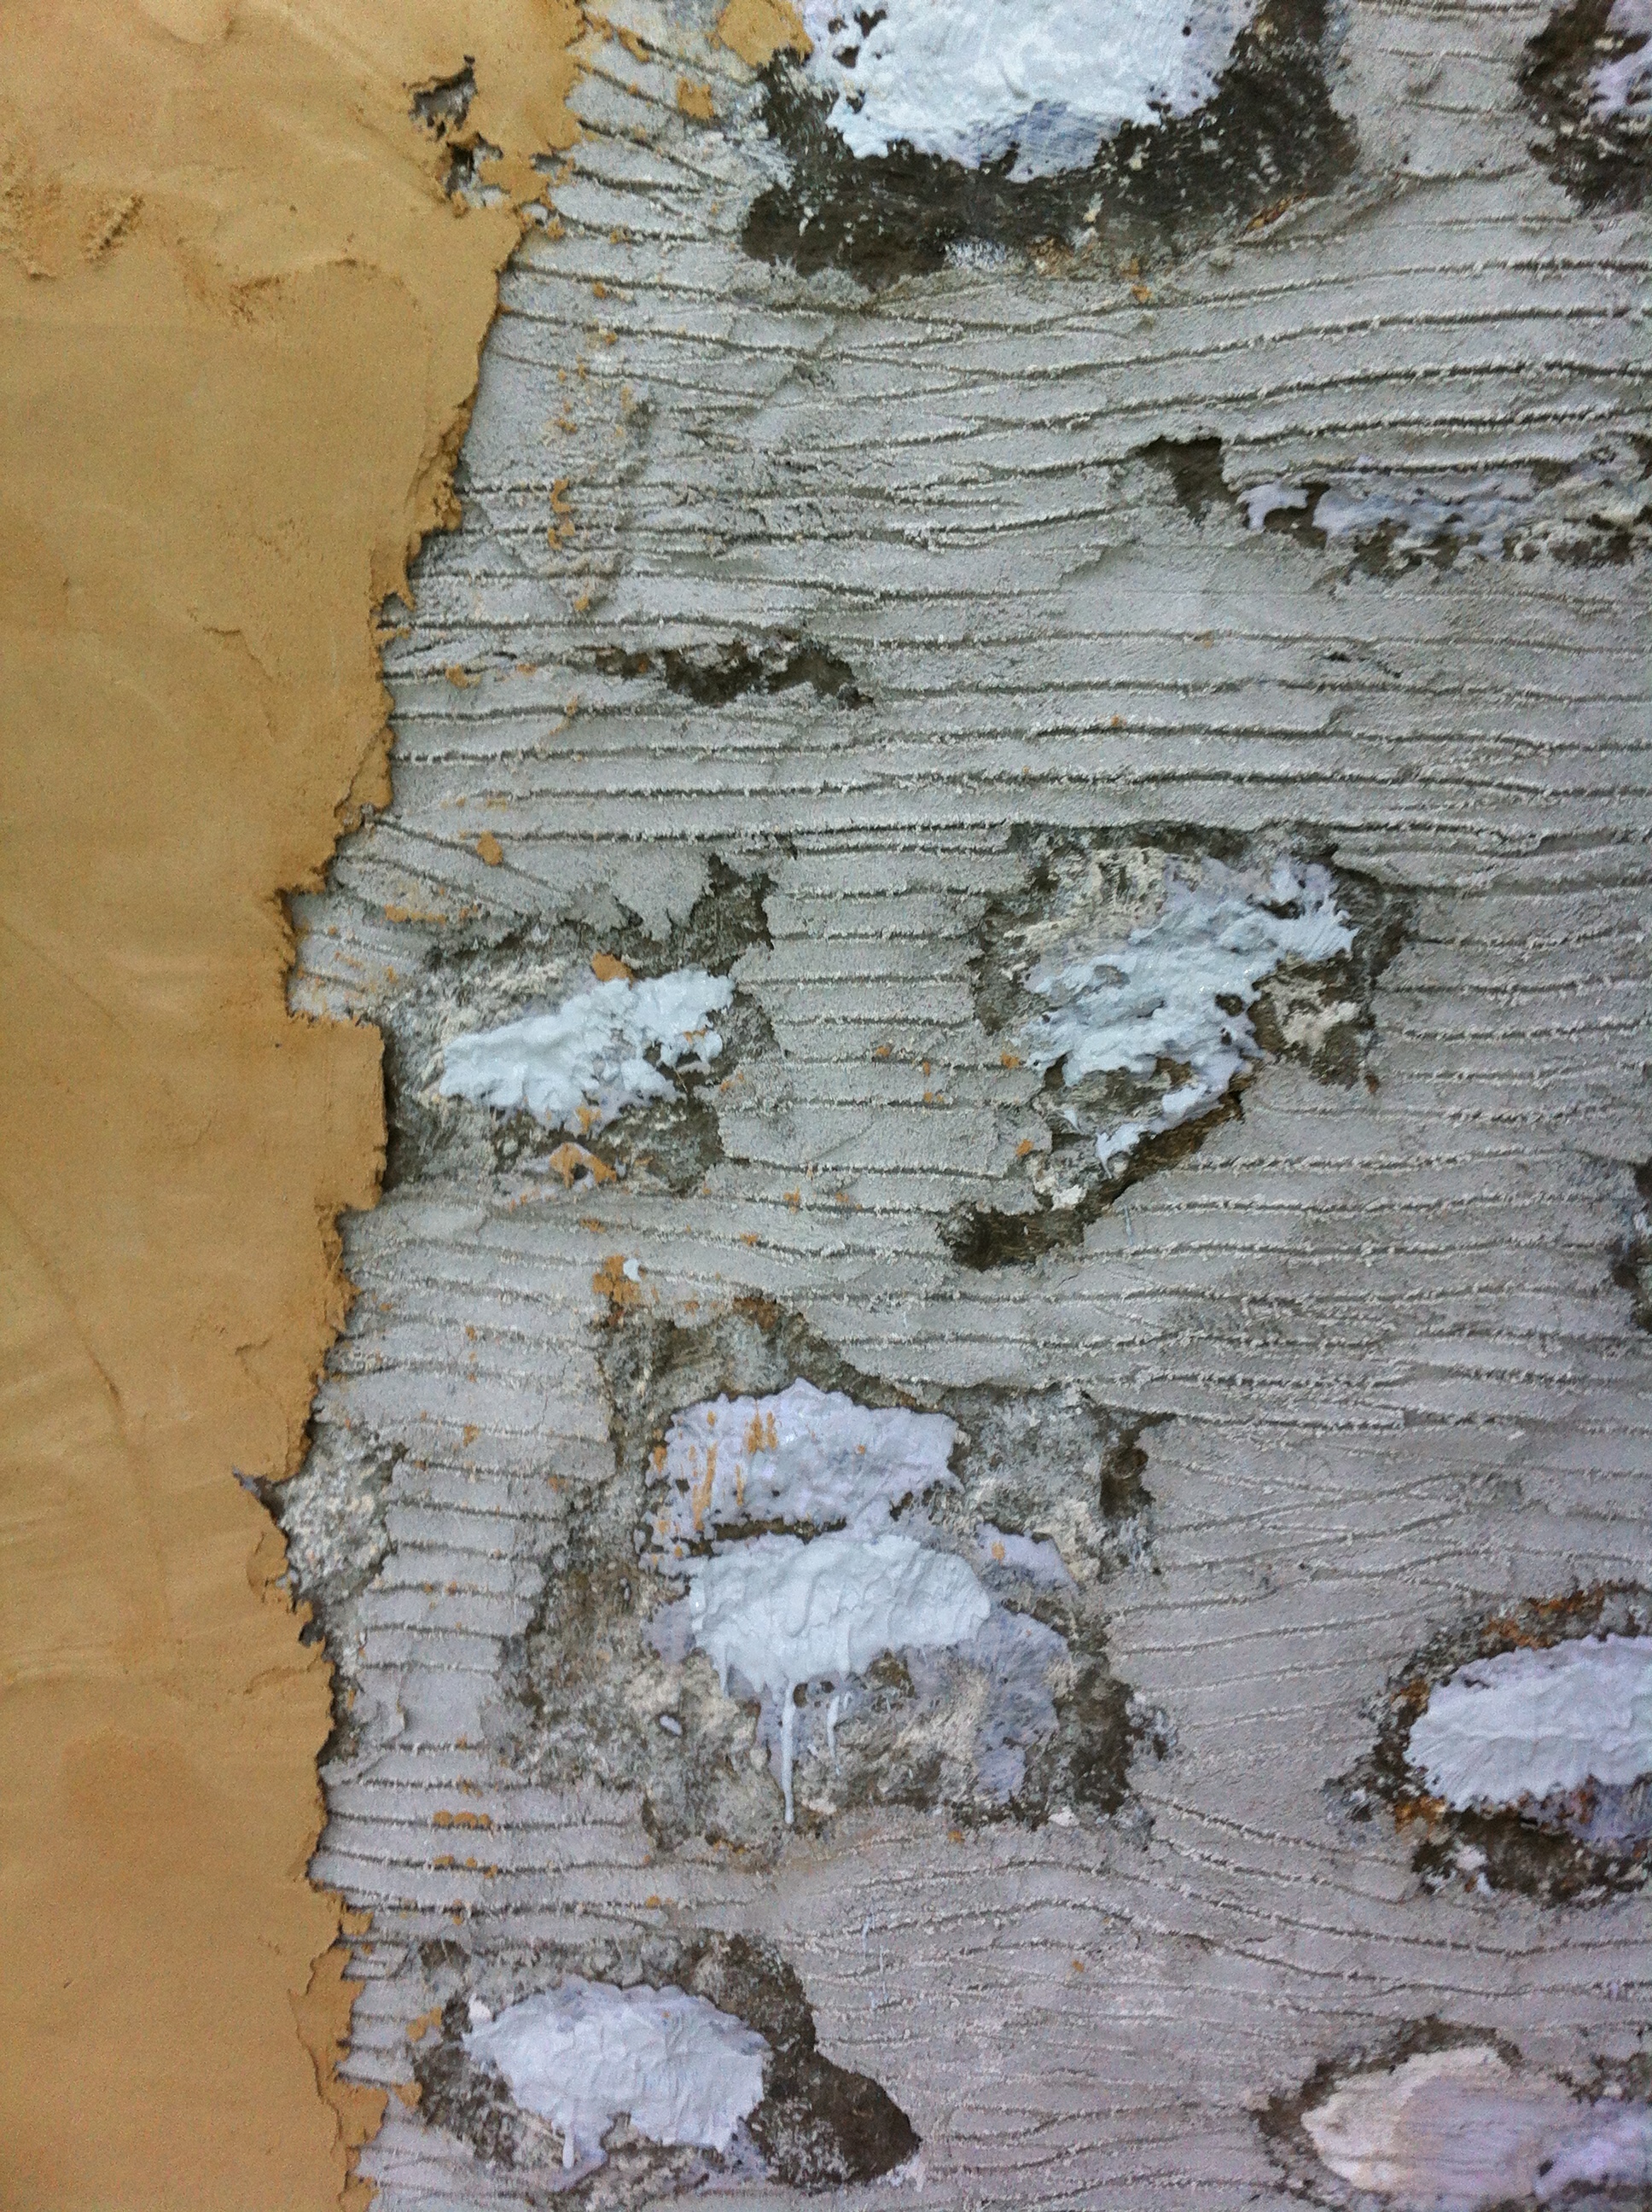
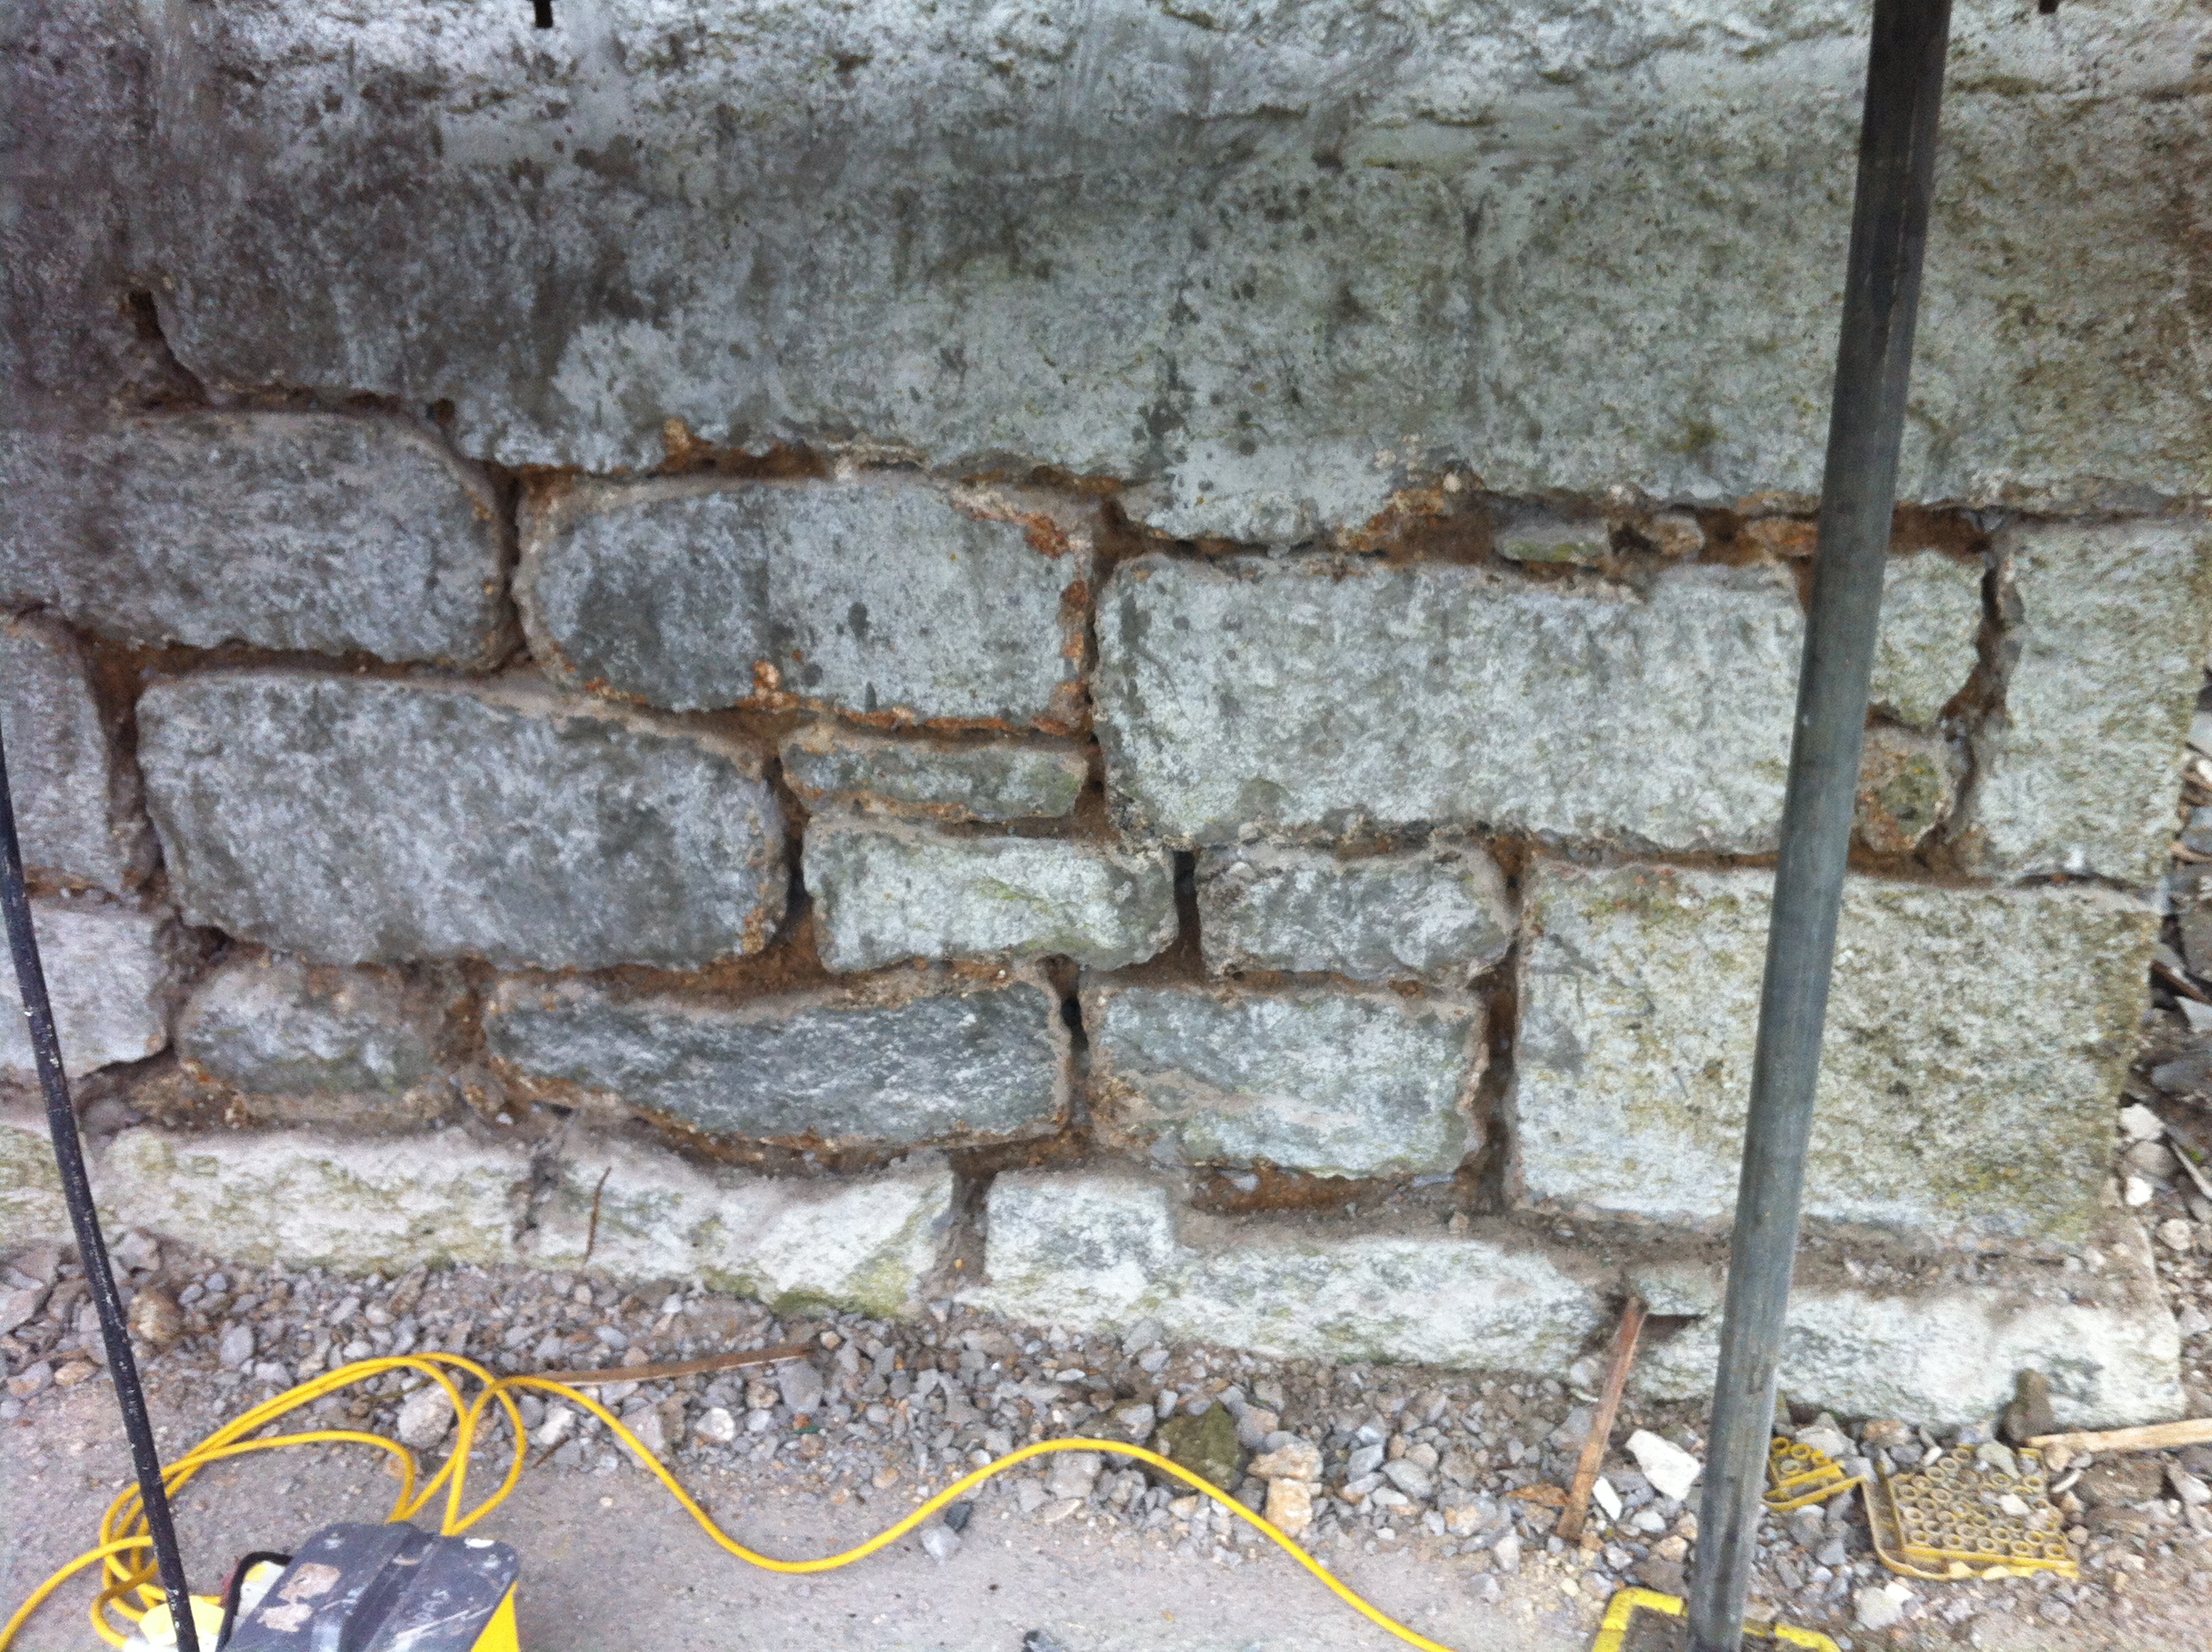
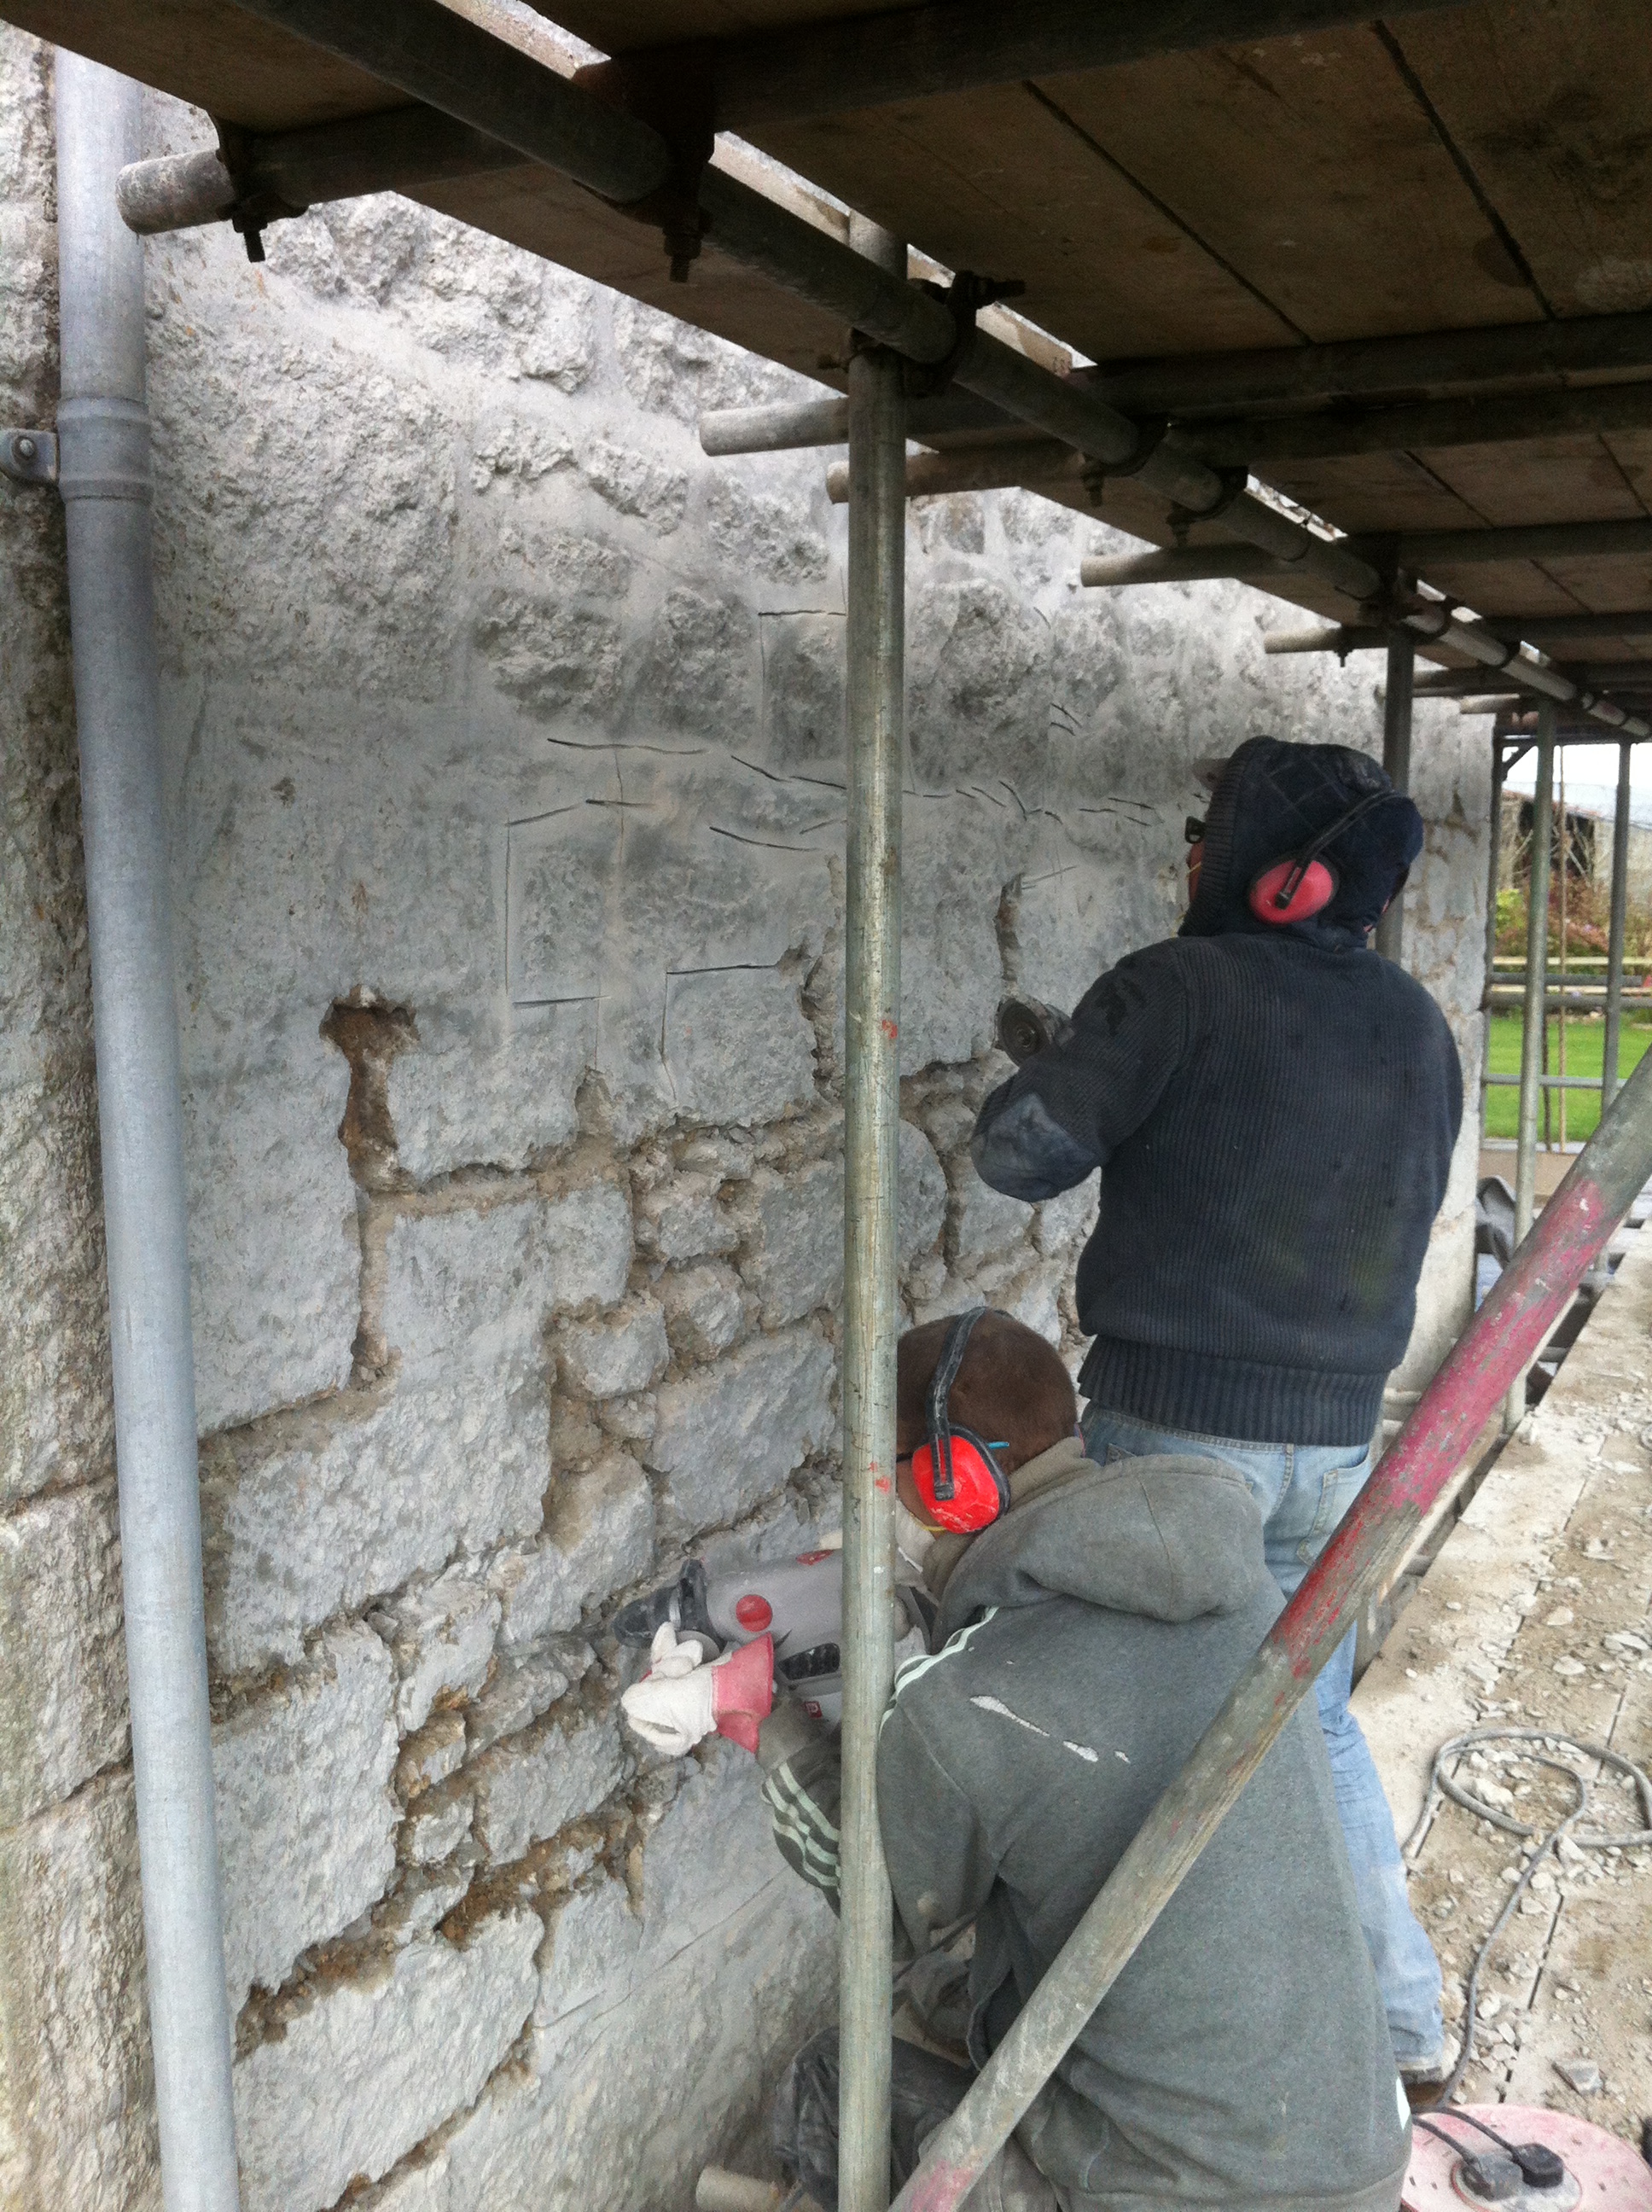
- Because the wall had been pointed with waterproof pointing and then tanked with a cement slurry. It made it necessary to remove the pointing to allow the building to breath.
-
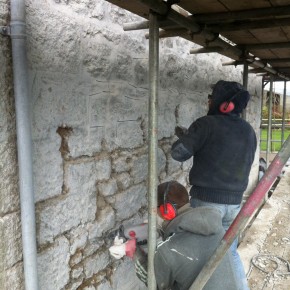
- The “Hacking out” of the old pointing was a long and tedious job. Due to the hardnes of the pointing mixture we had to first angle grind then knock out the point with sds hammers.
-
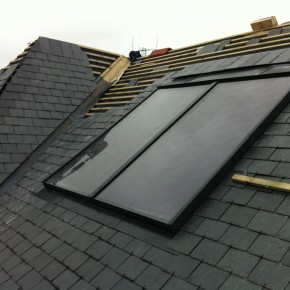
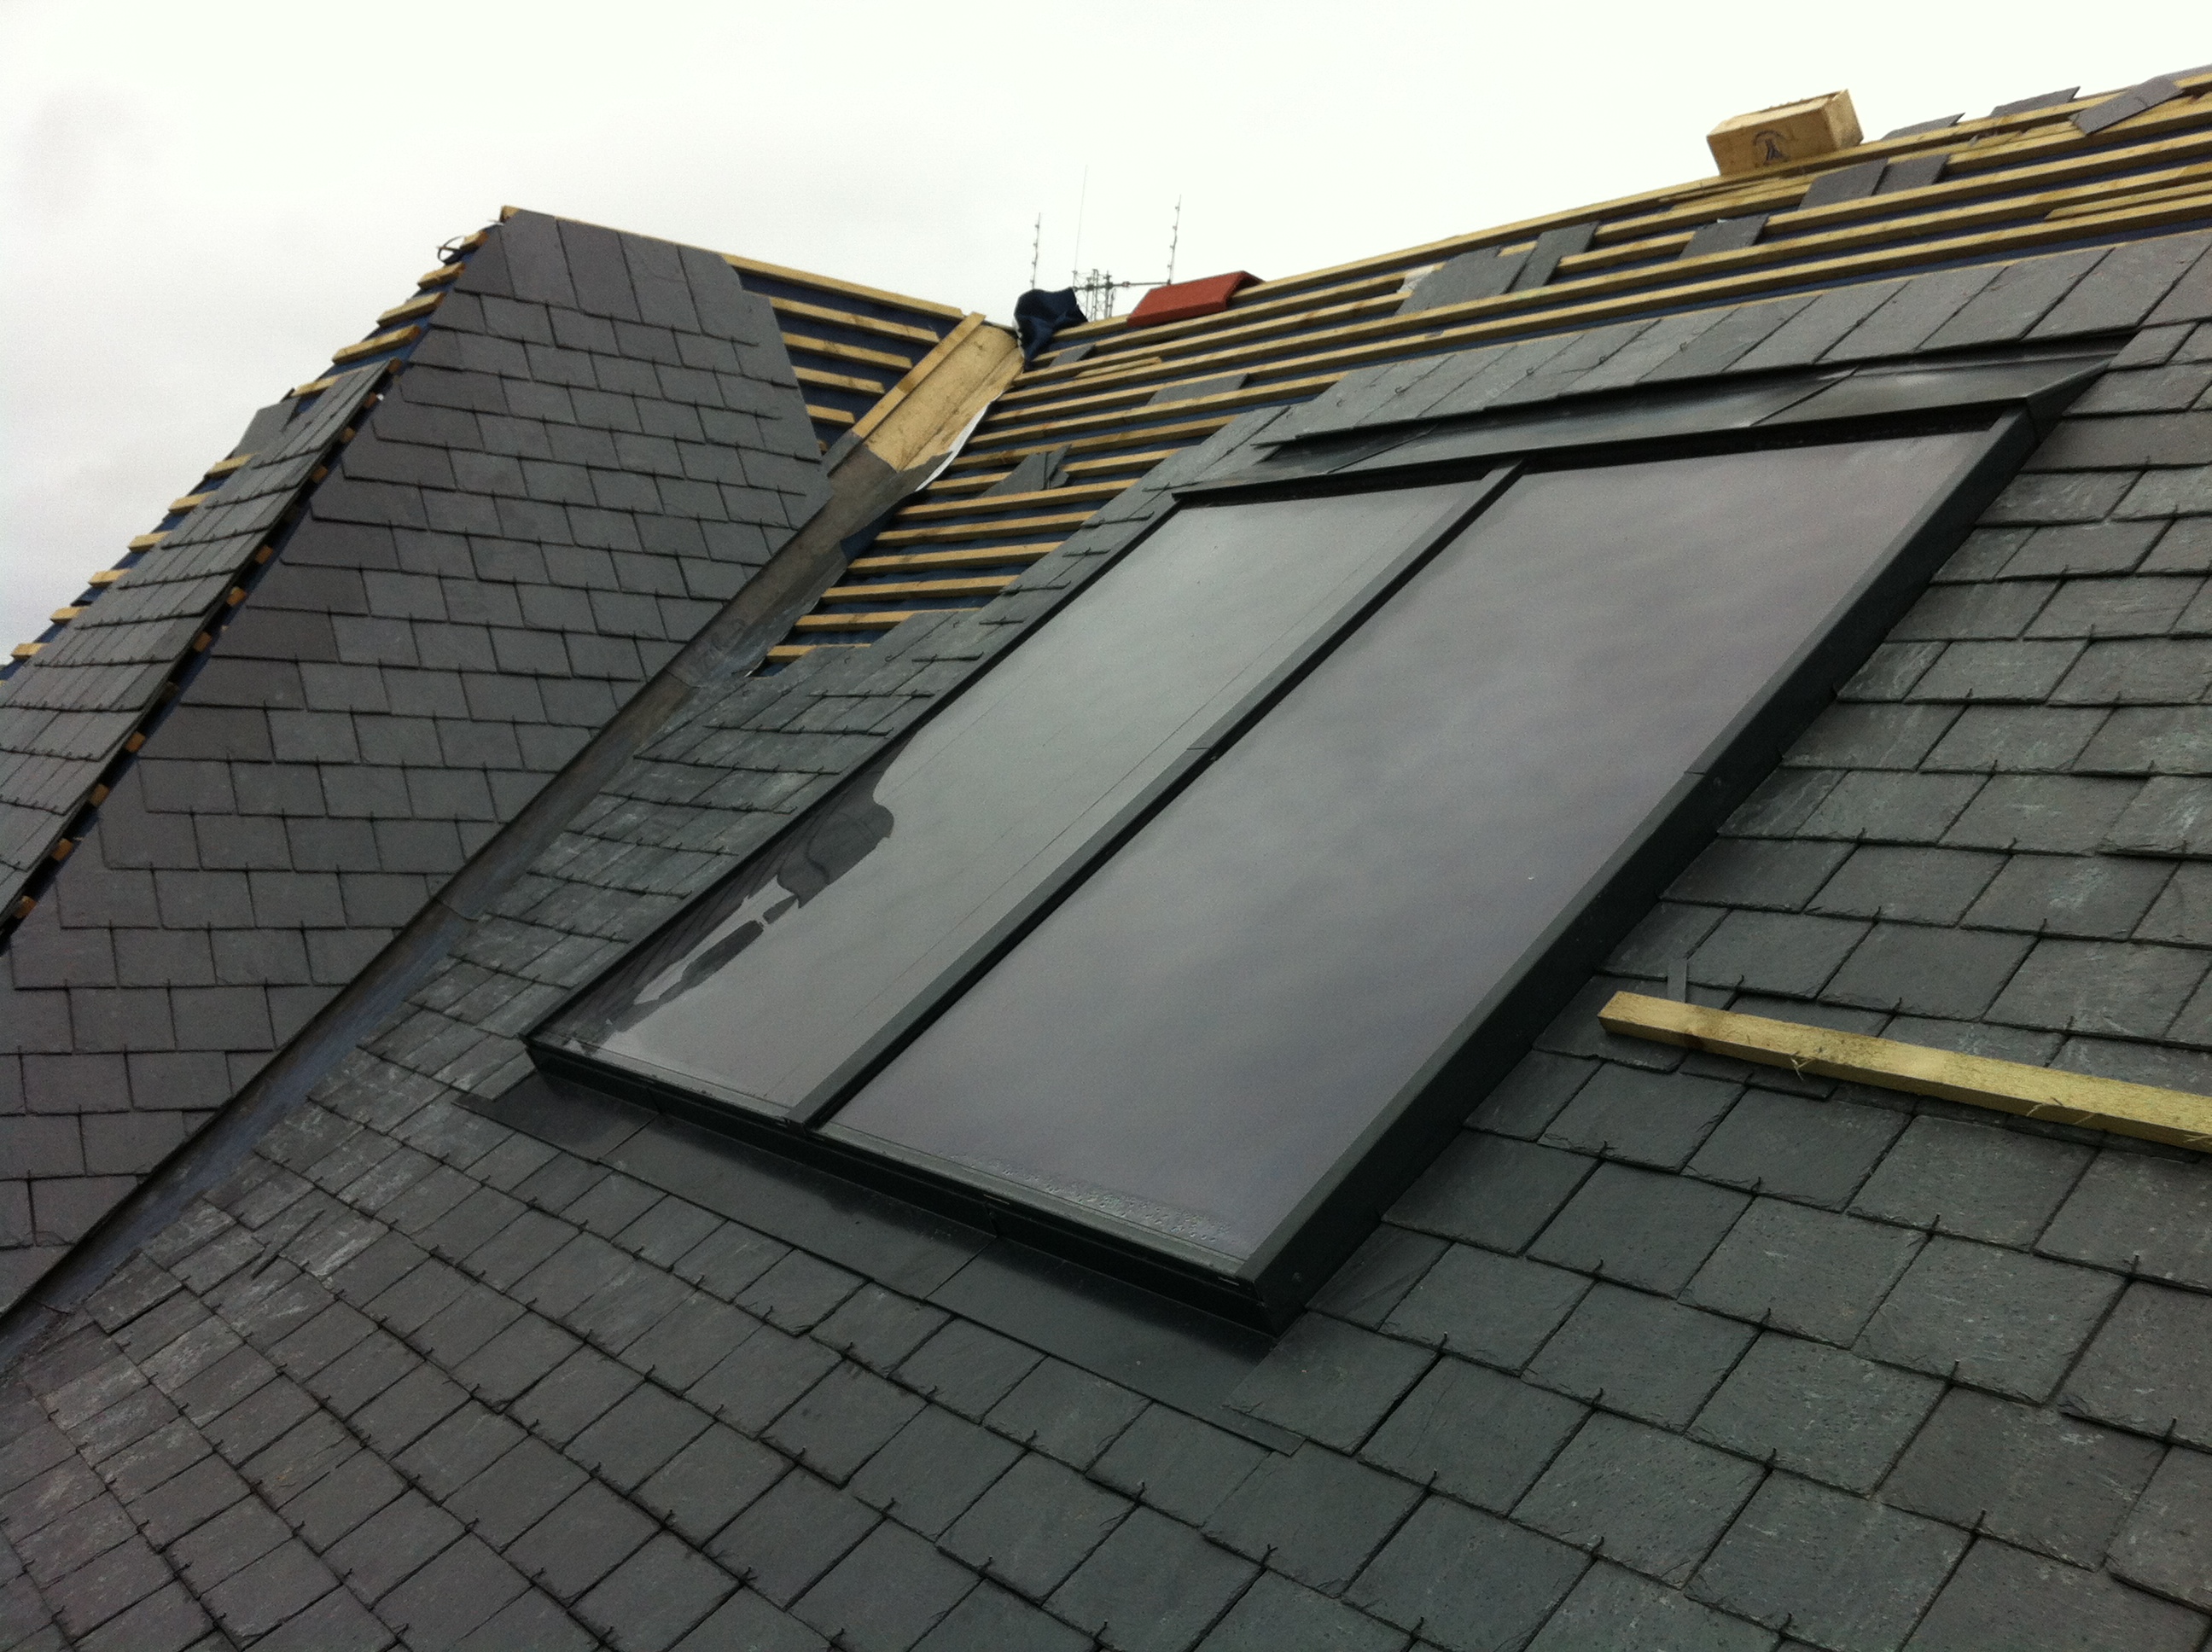
- Flush solar panels were also installed.
-
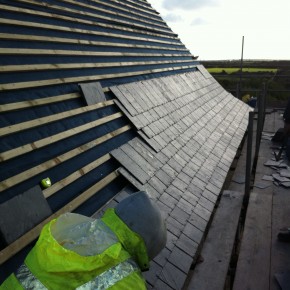
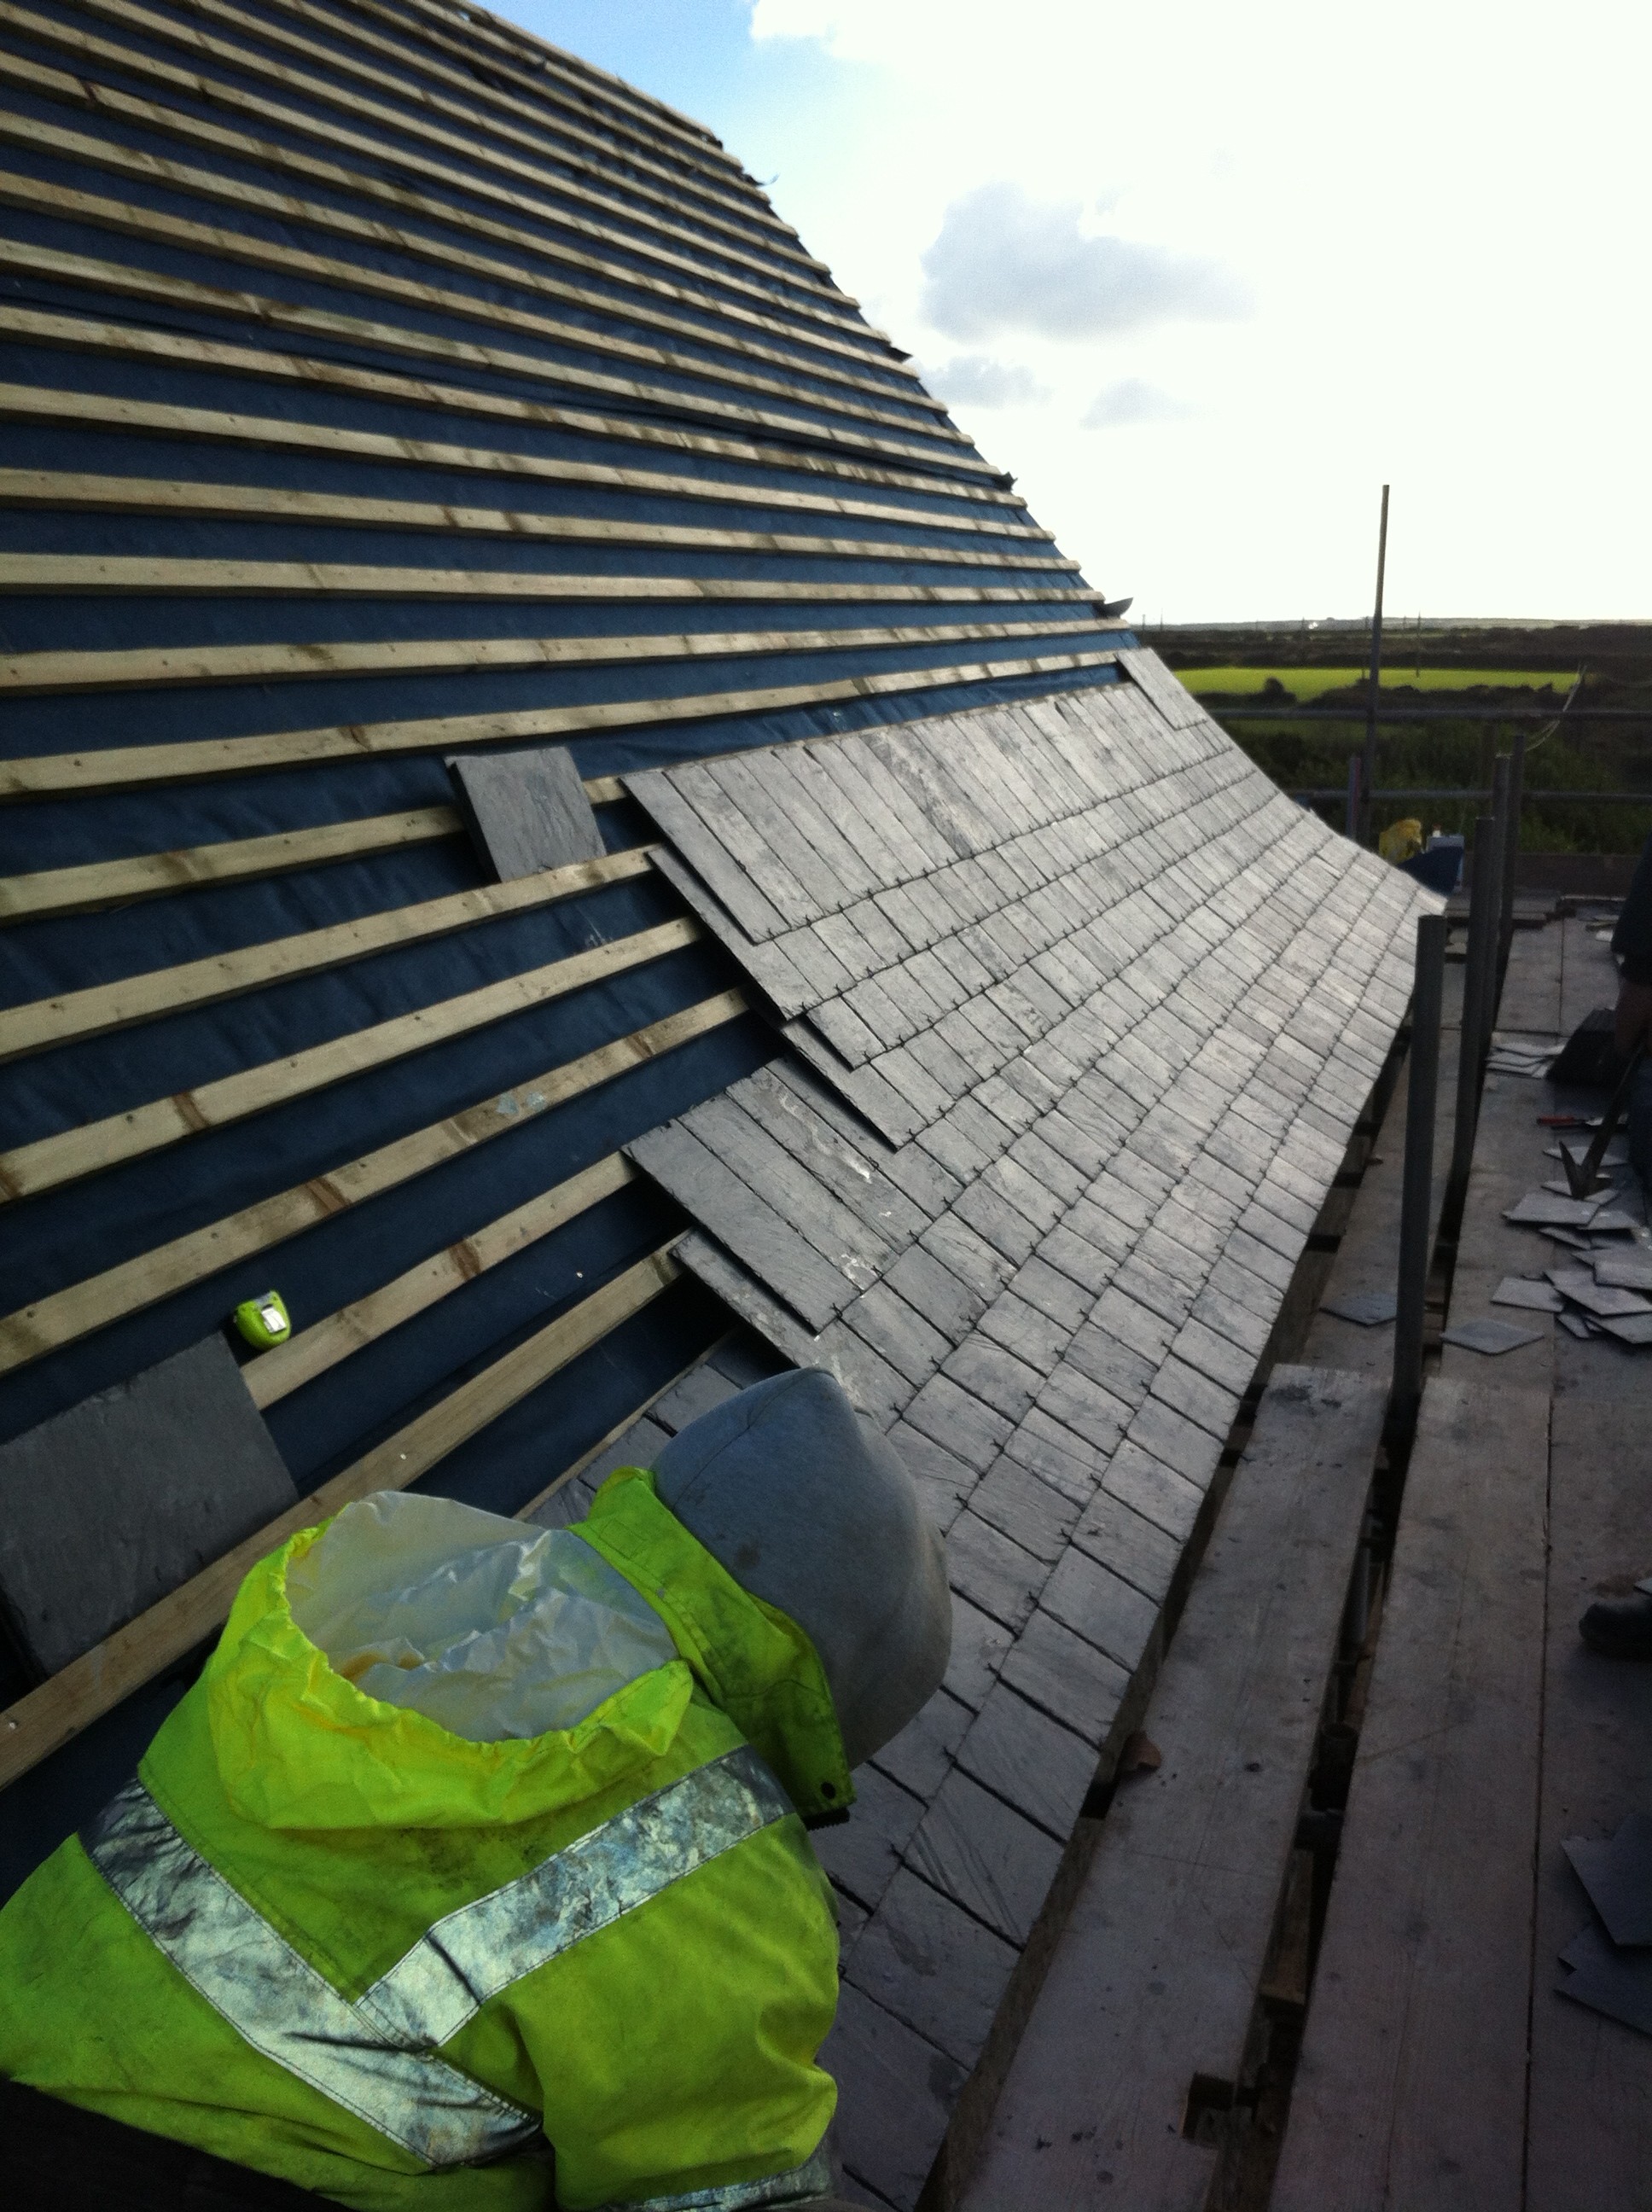
- Care was taken to give a nice shape to the finnished slating.
-

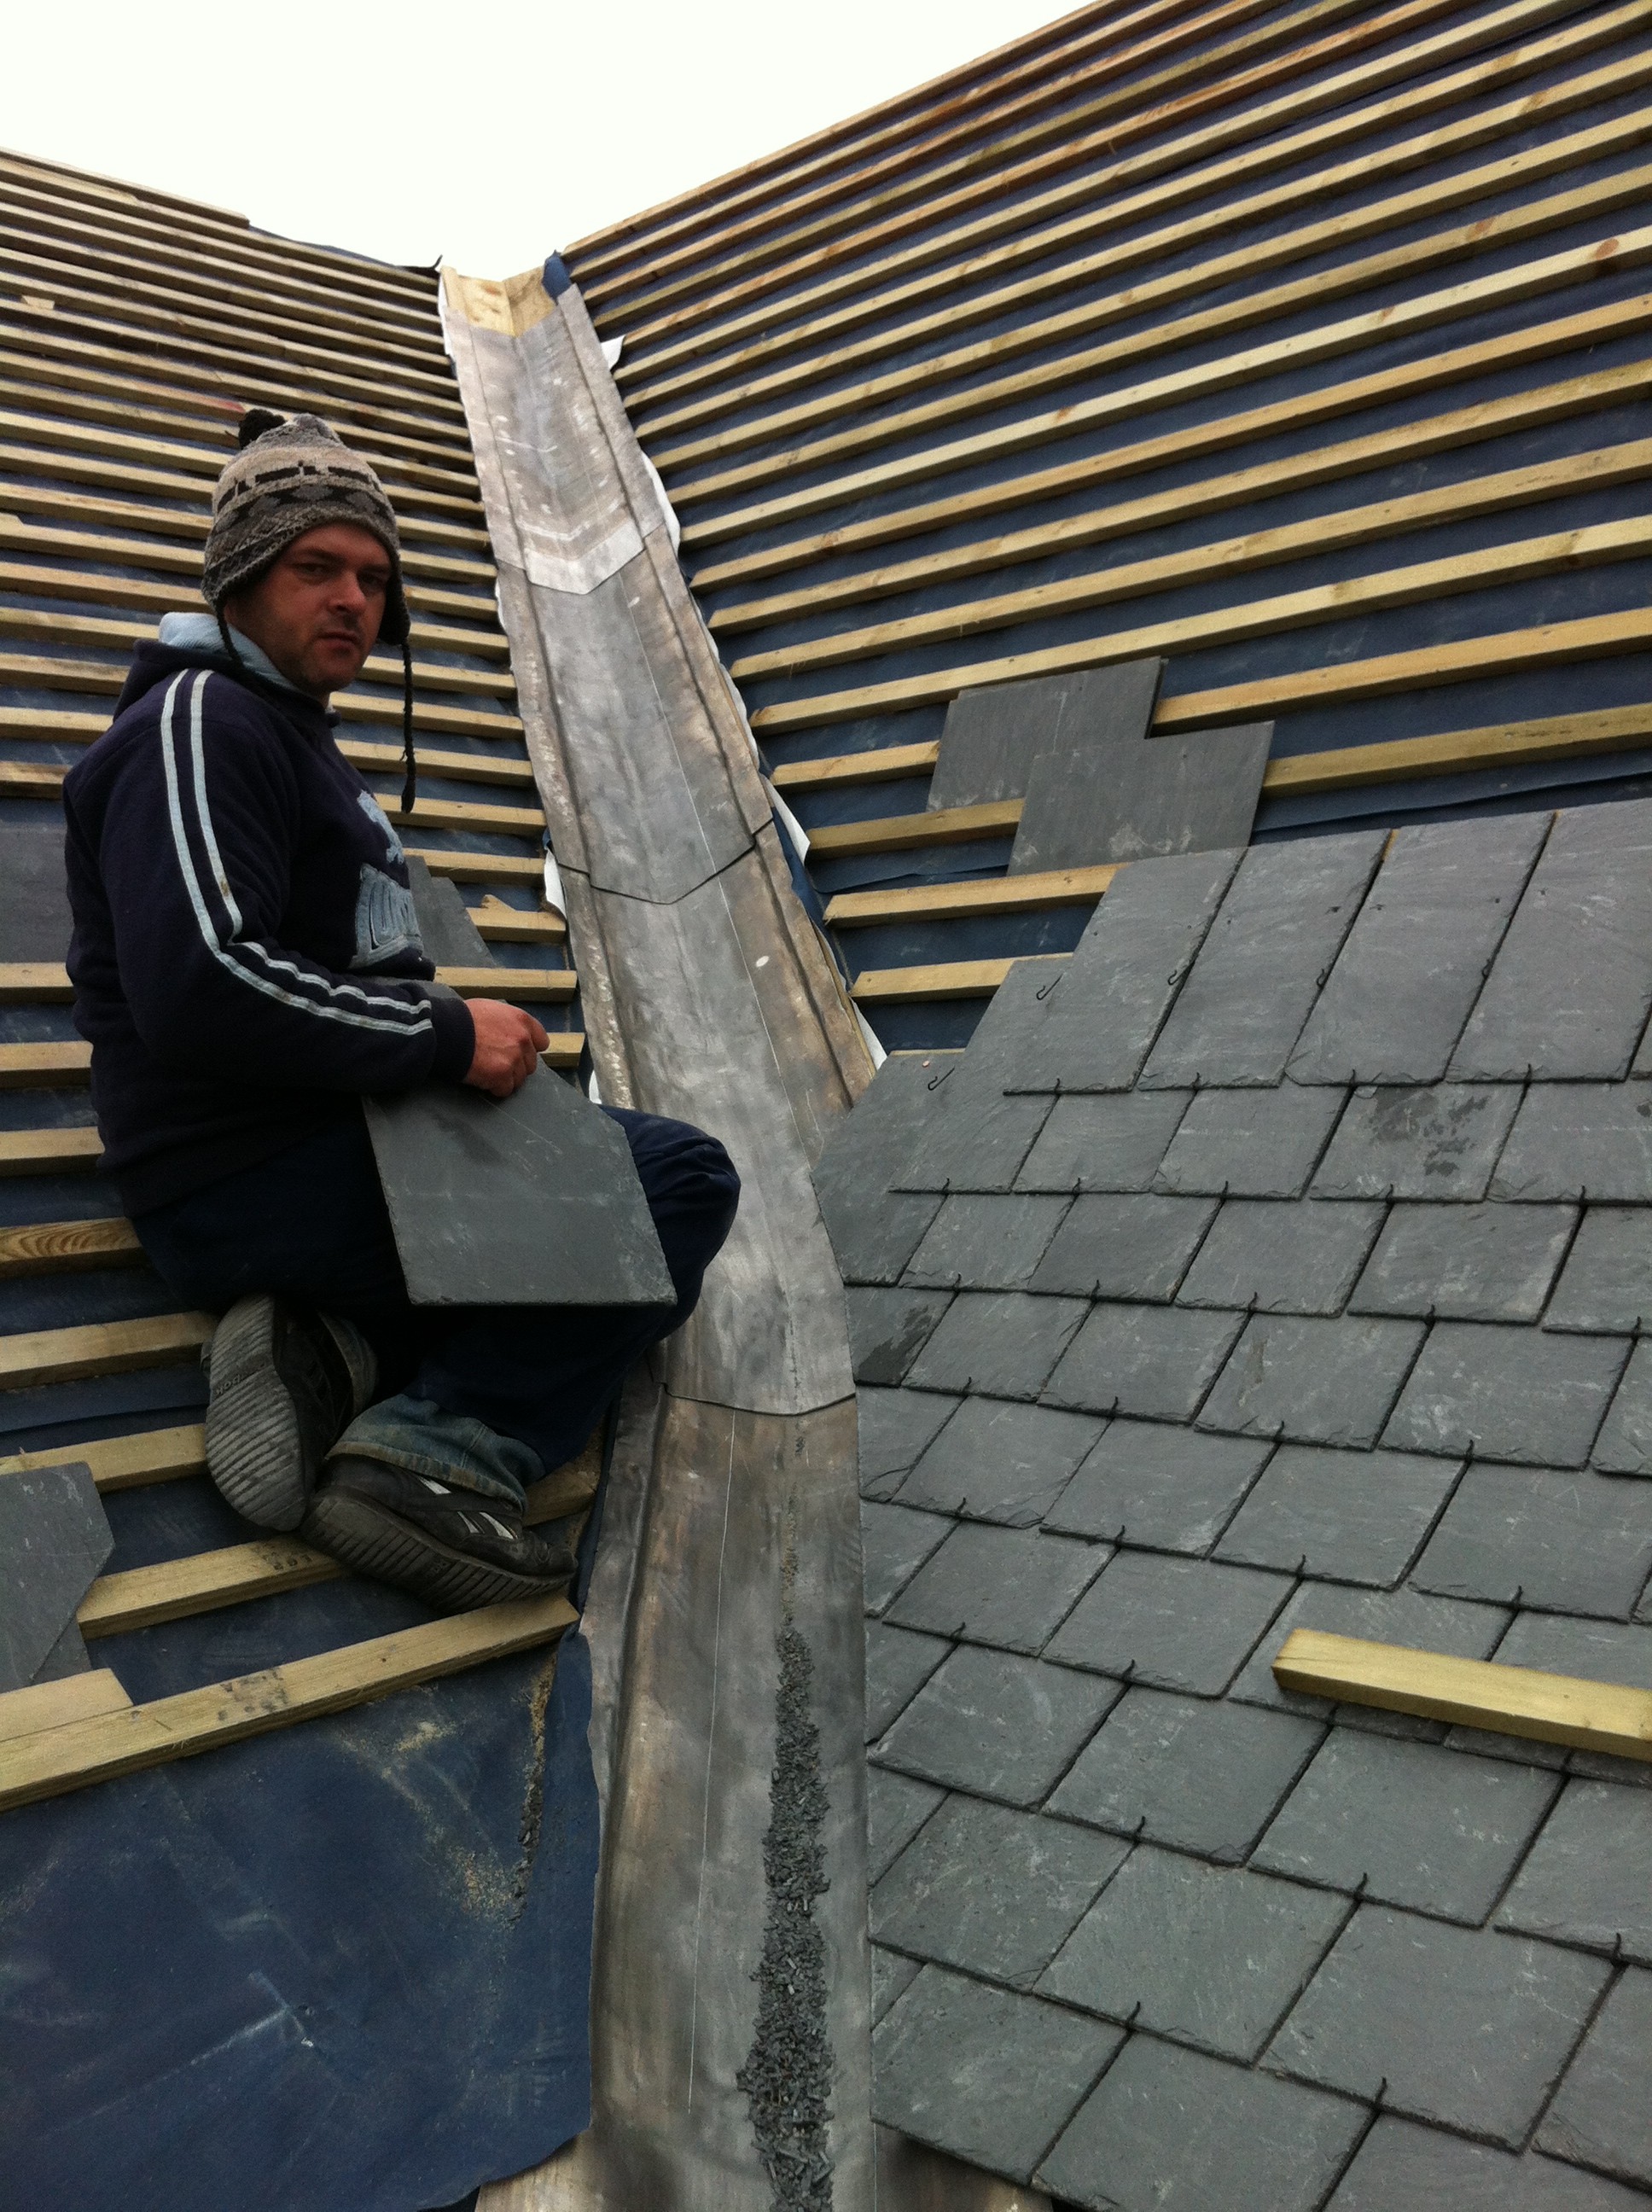
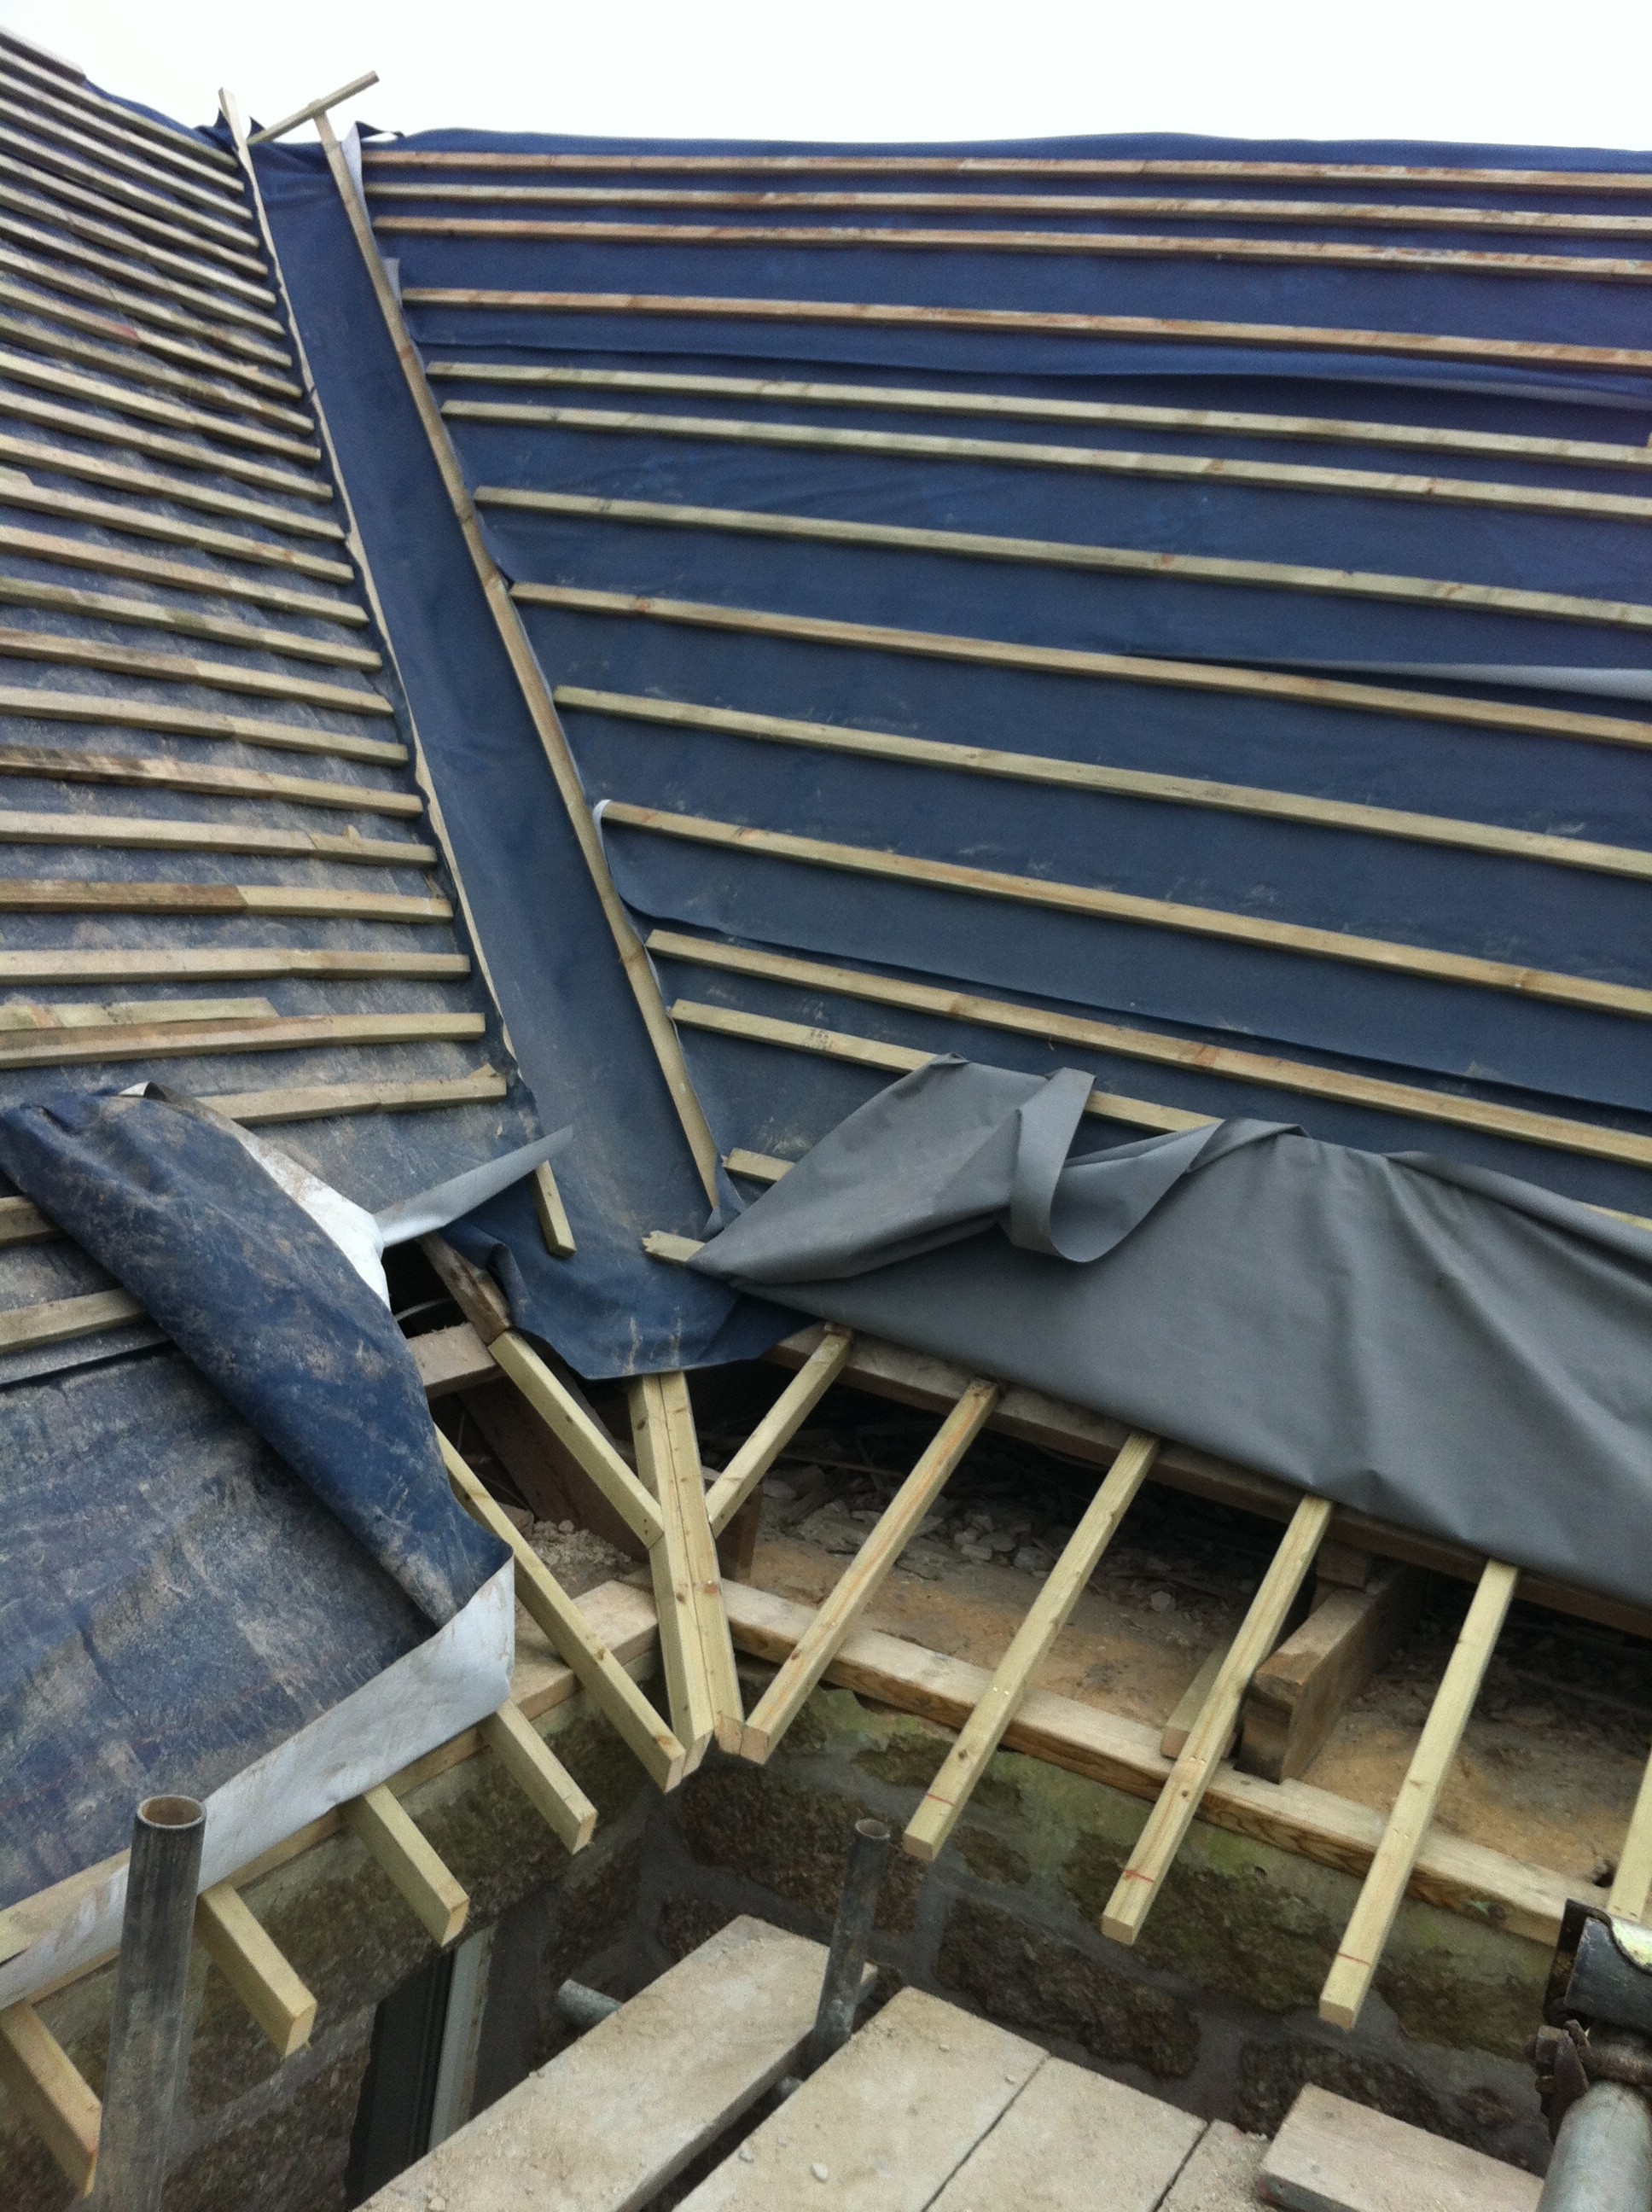
- Due to the existing change of pitch and the difference in the pitch on the various sections of the roof. The vallys had to be carfully set out. Ben and Stuart from www.http://kernowroofing.com/ did us proud once again
-
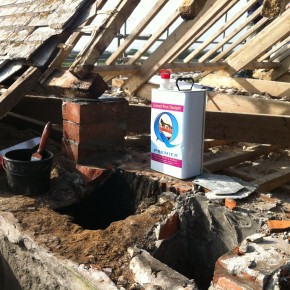
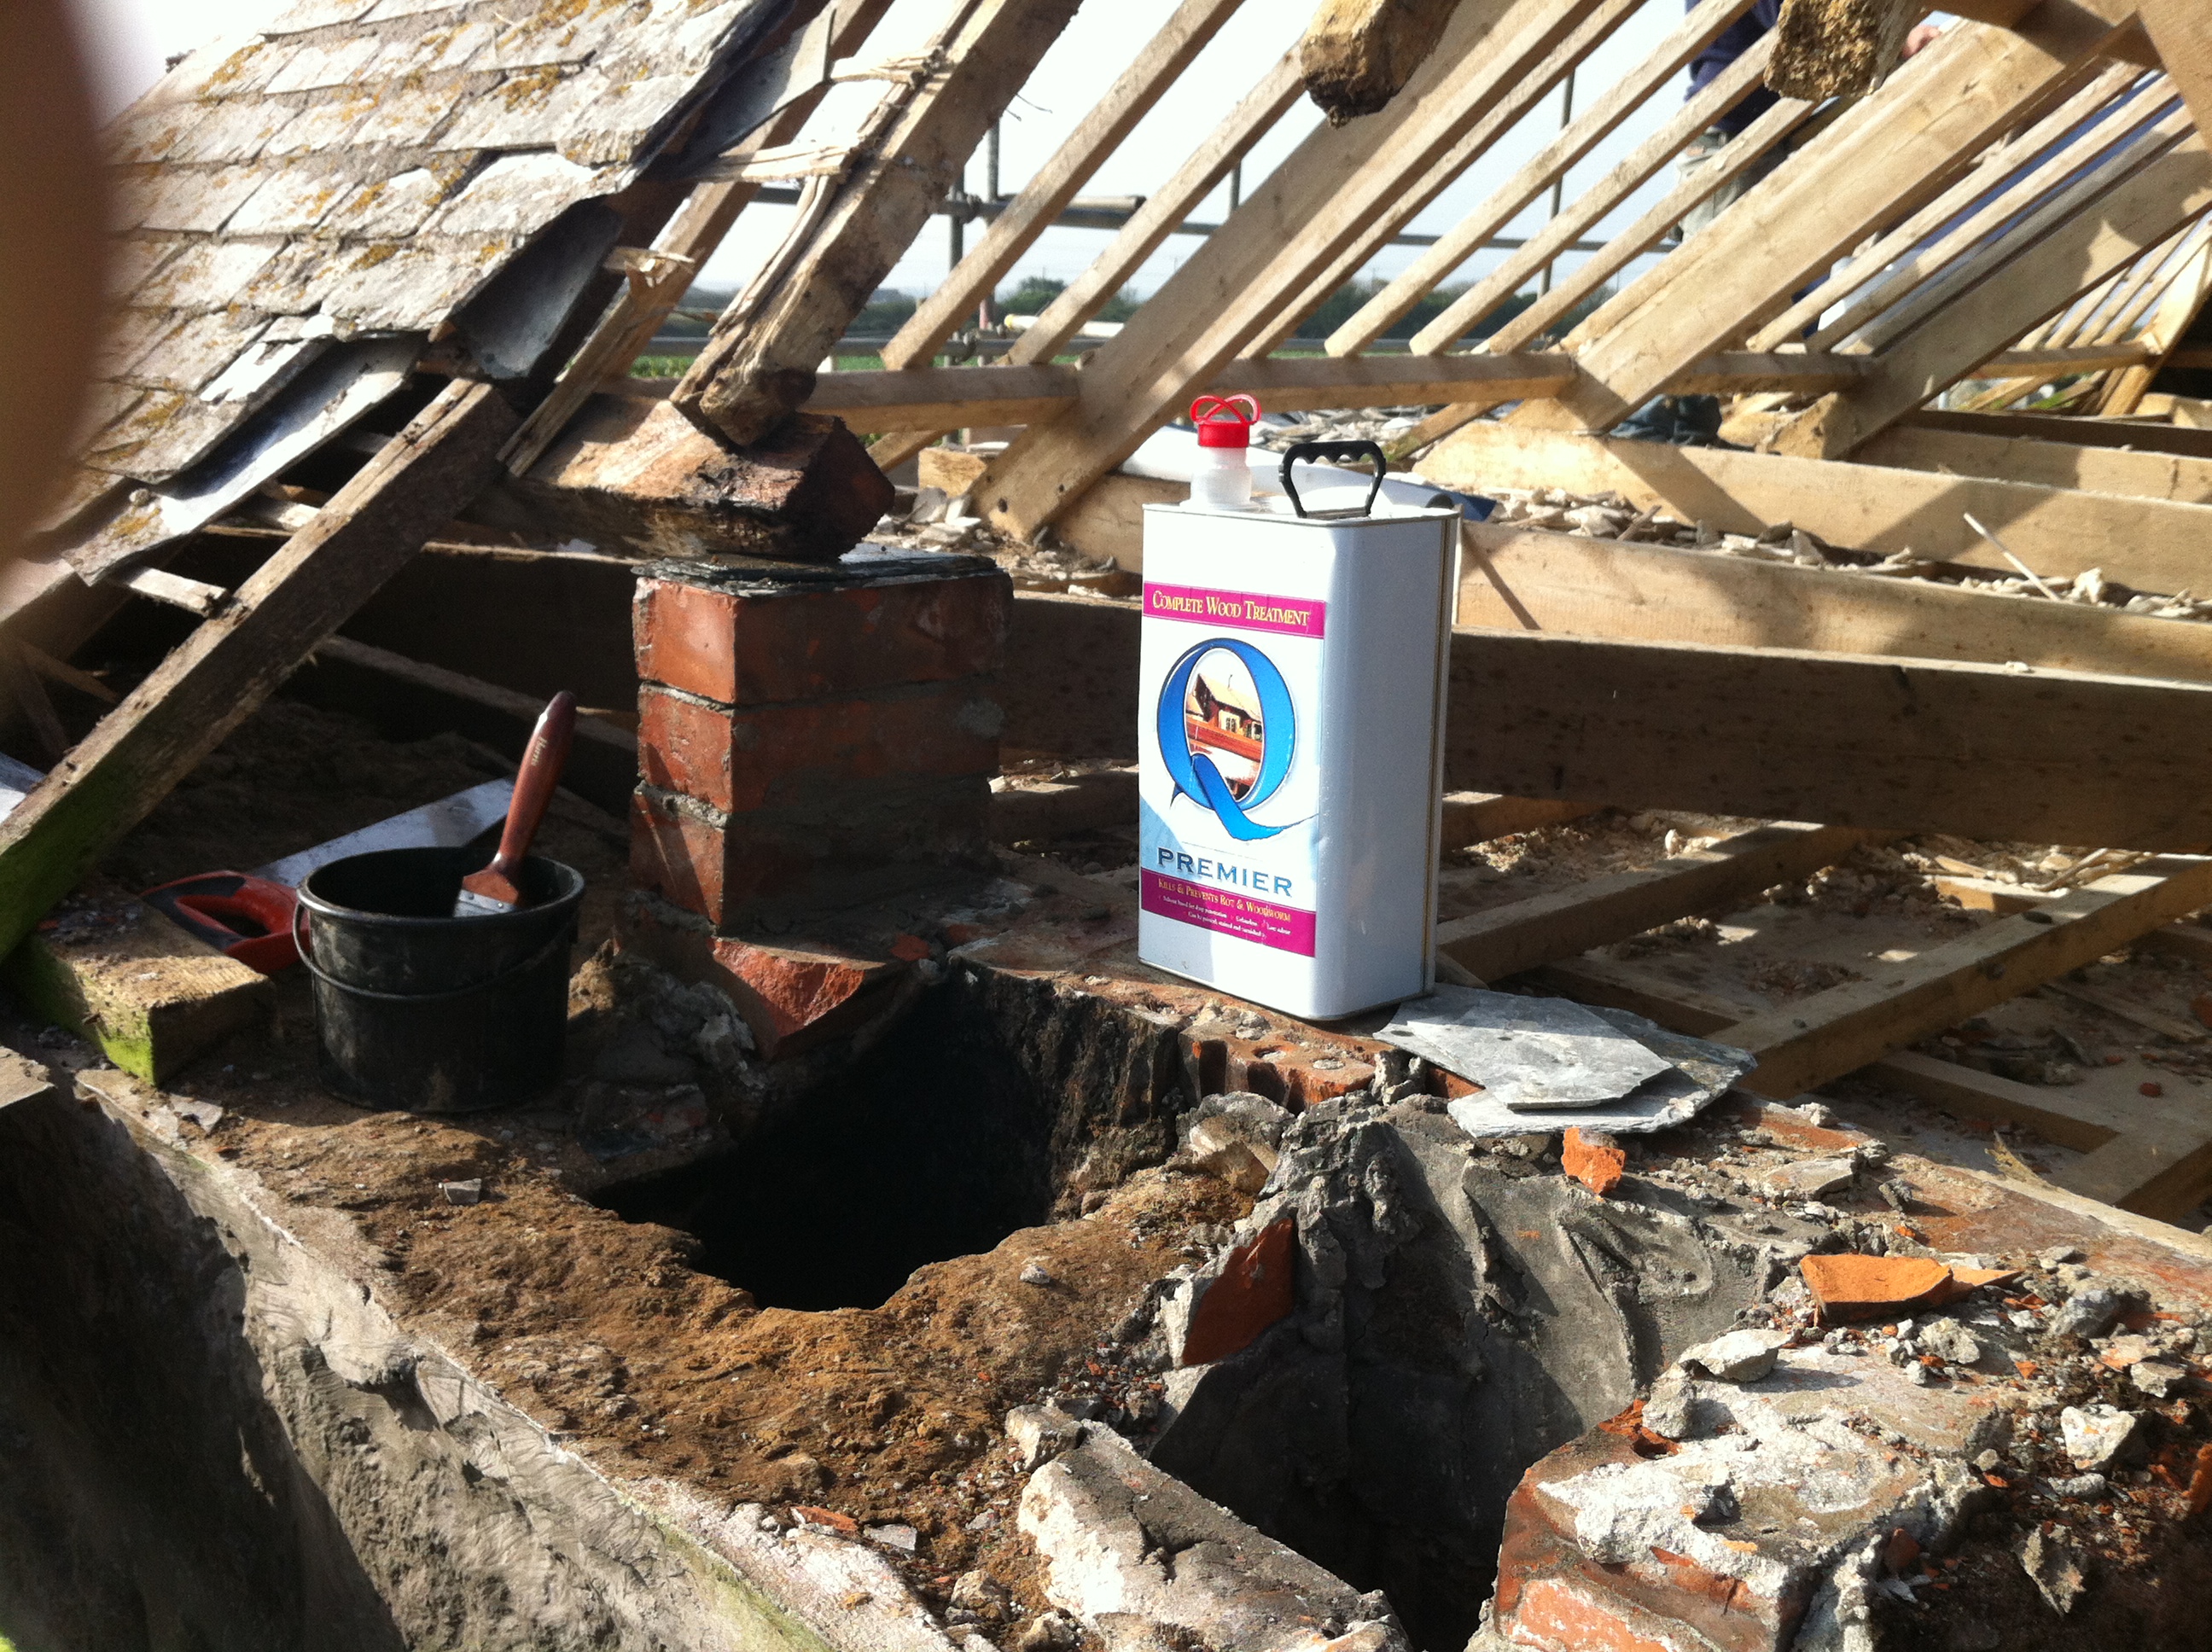
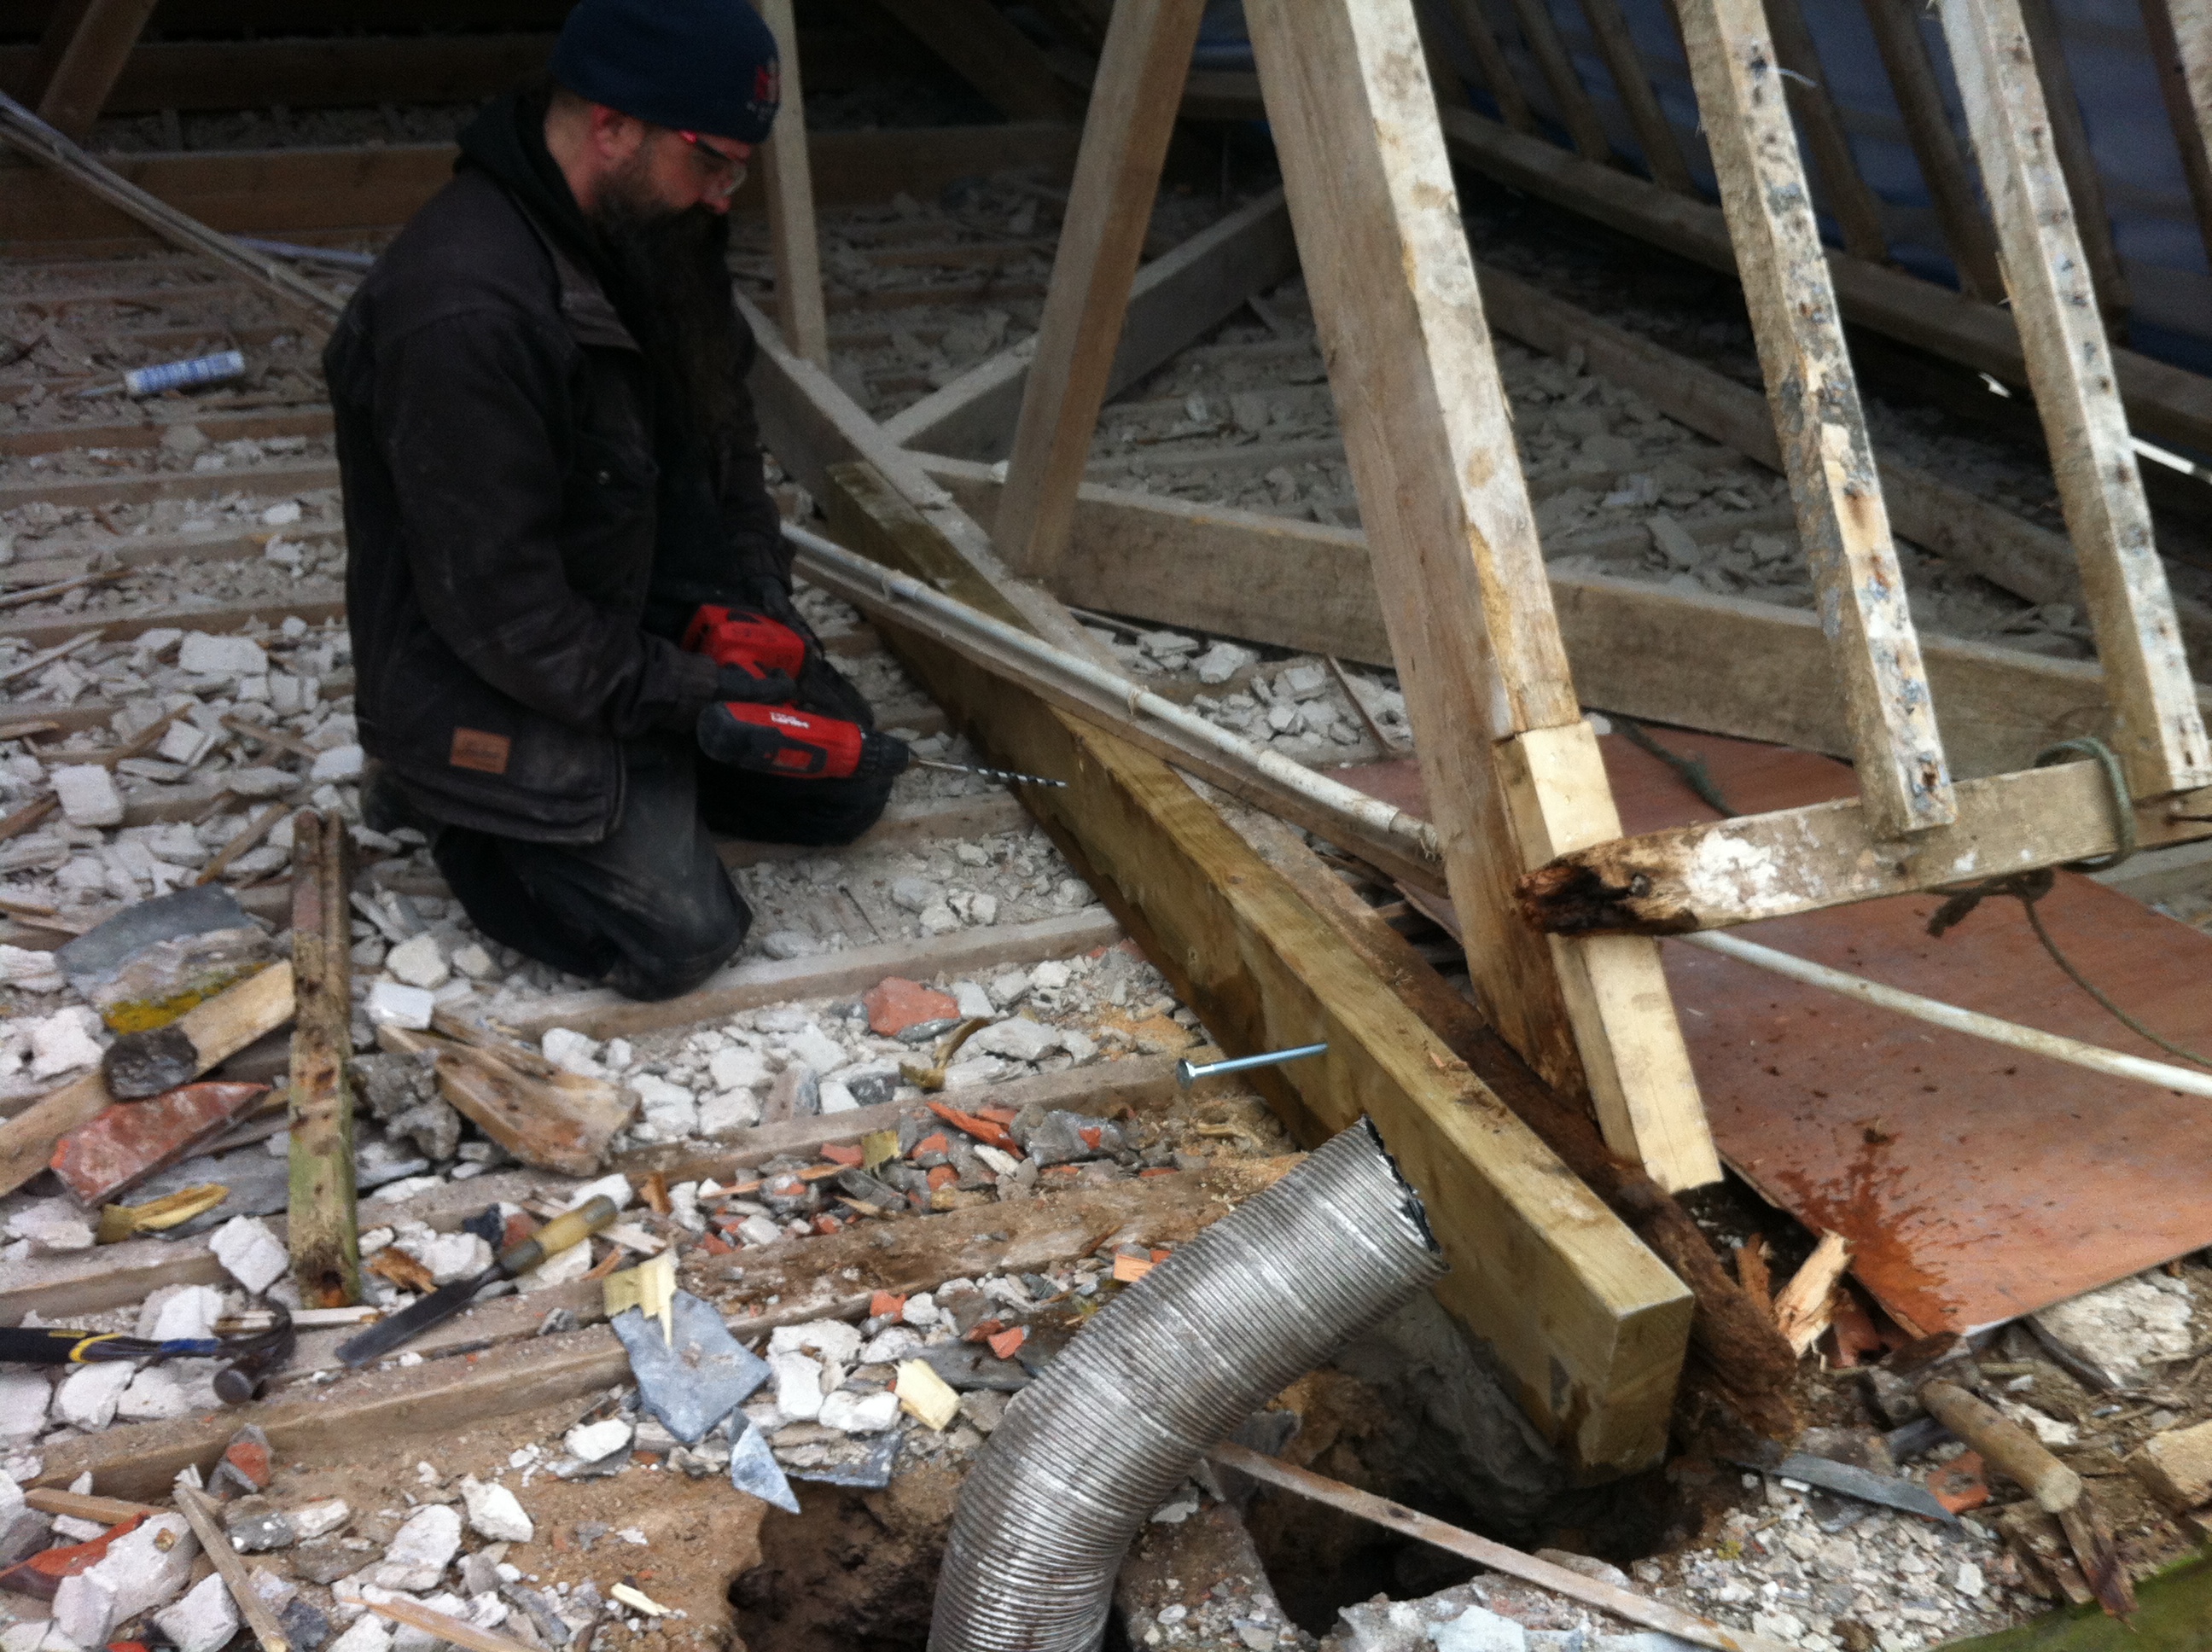
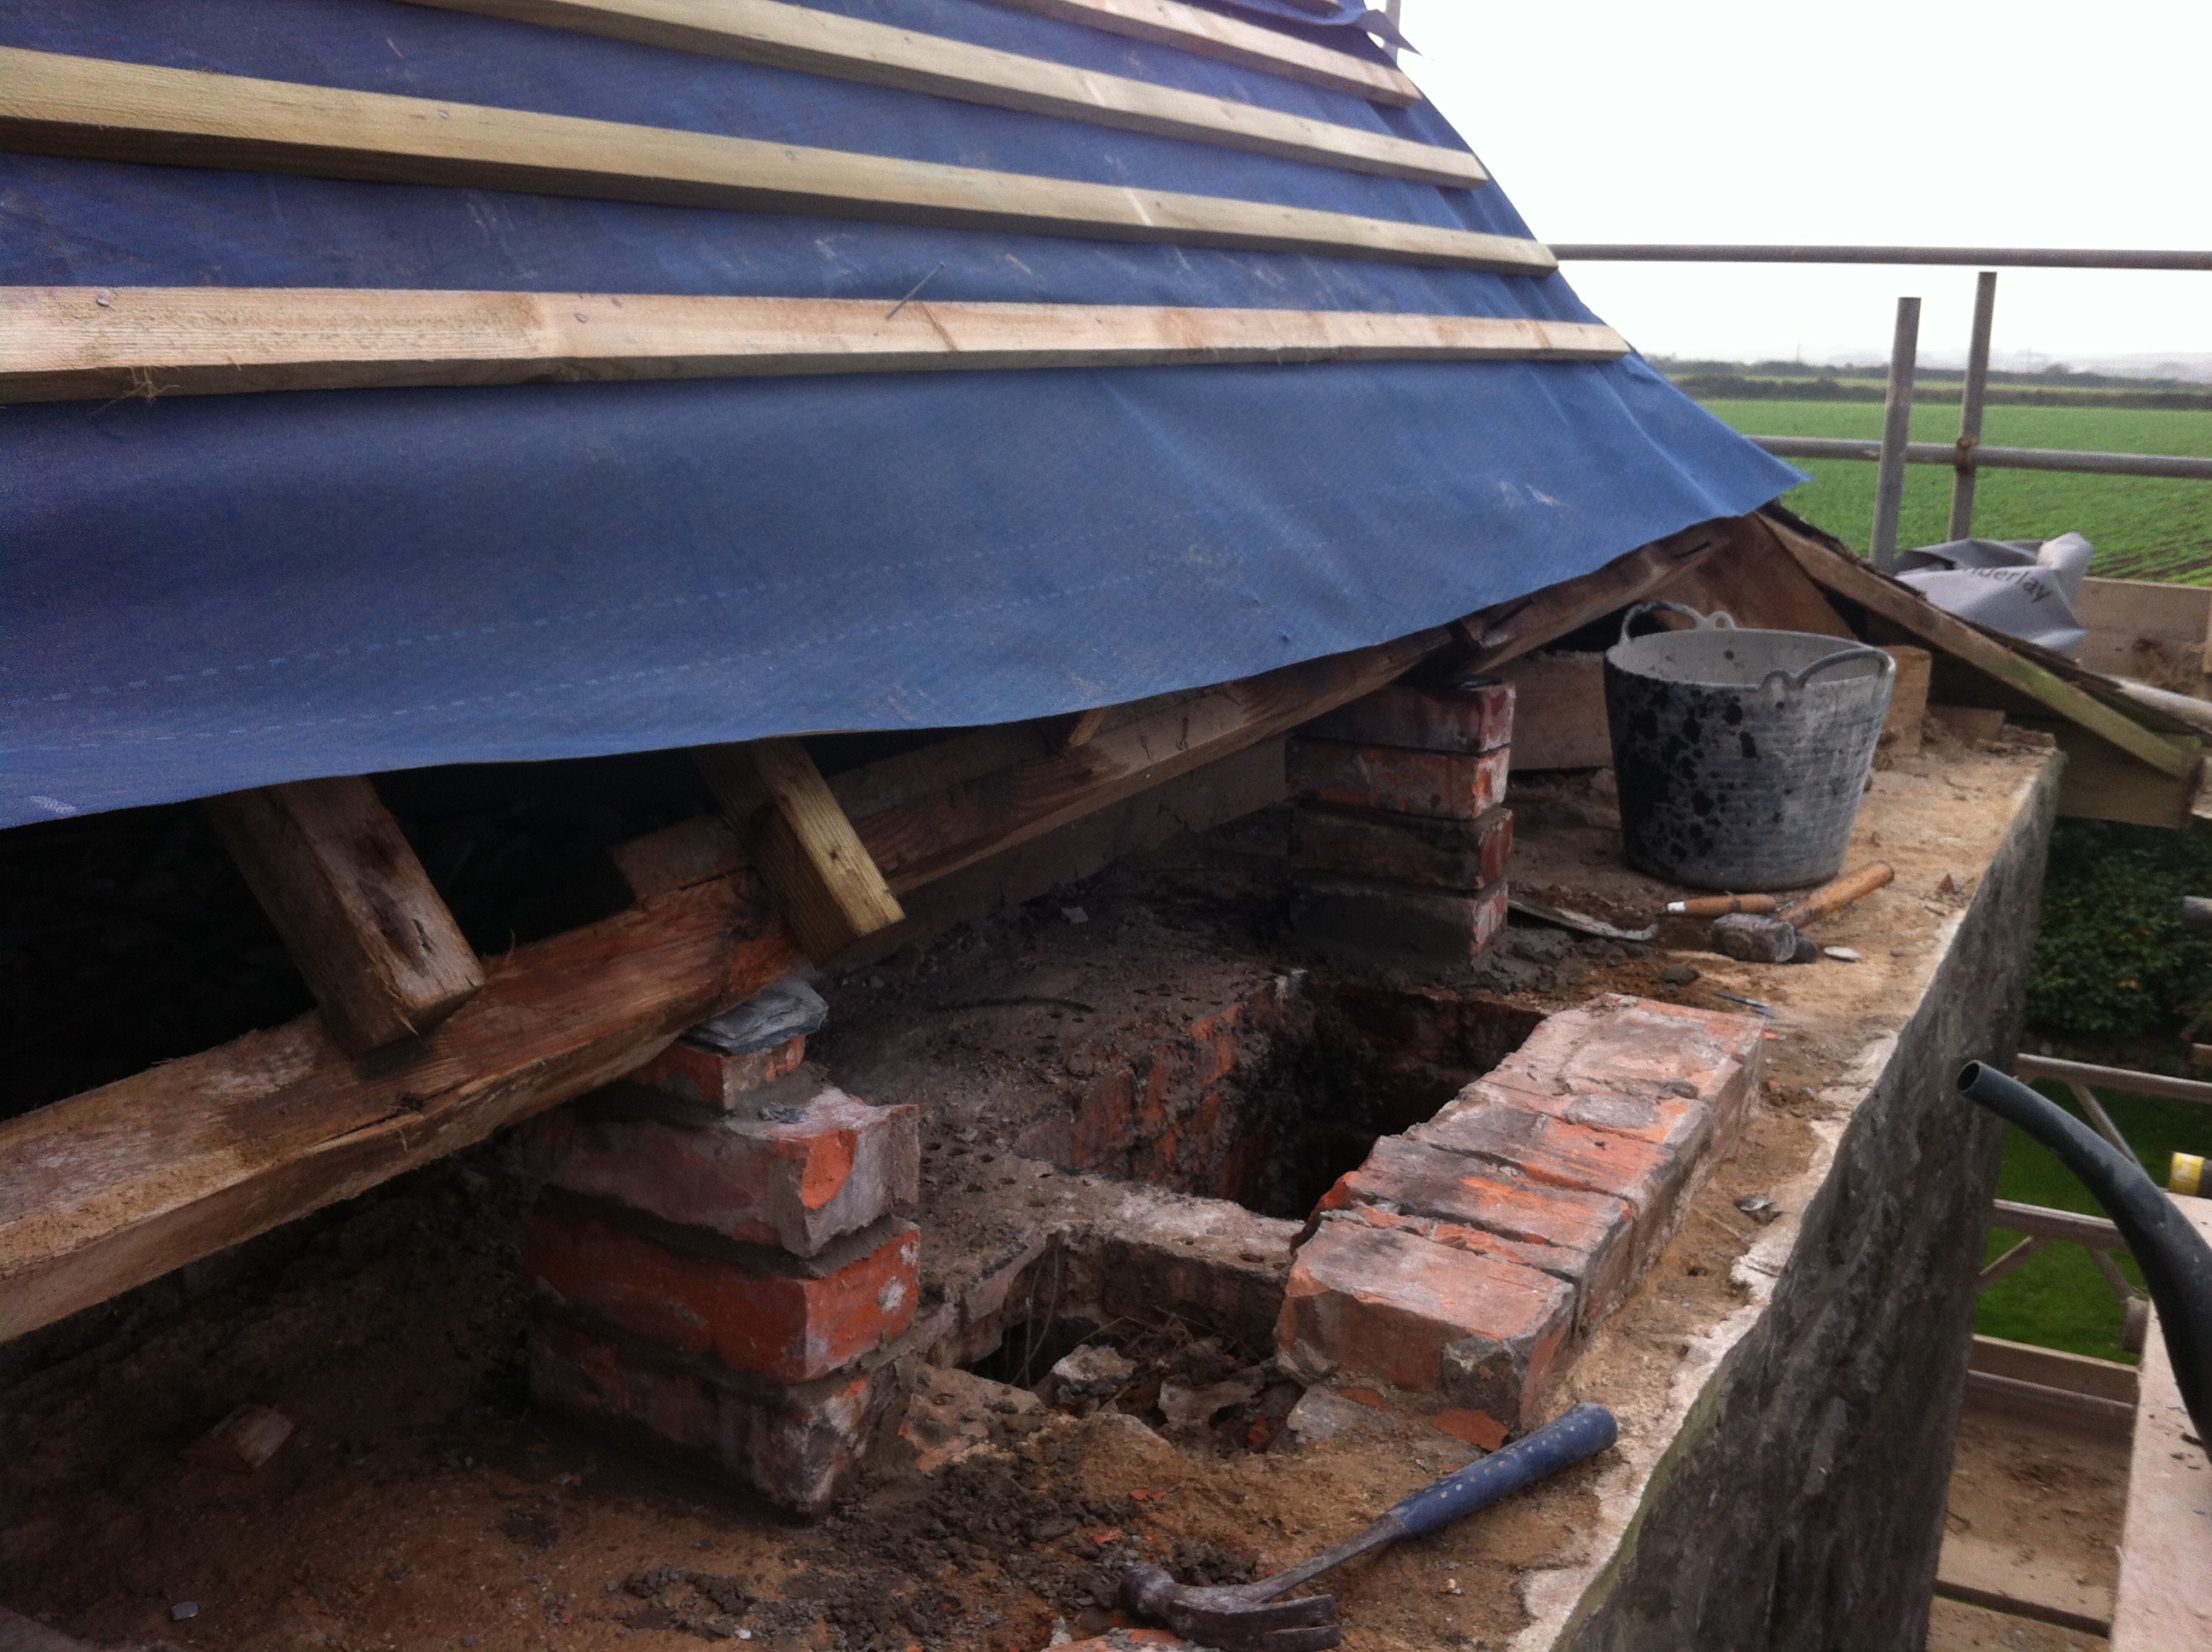
- Here you can see the removal of the chimney and a supporting pillar for the purlin.
-
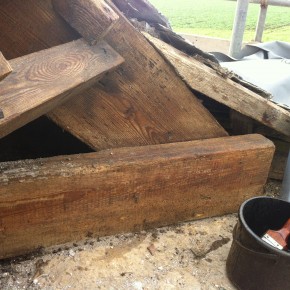
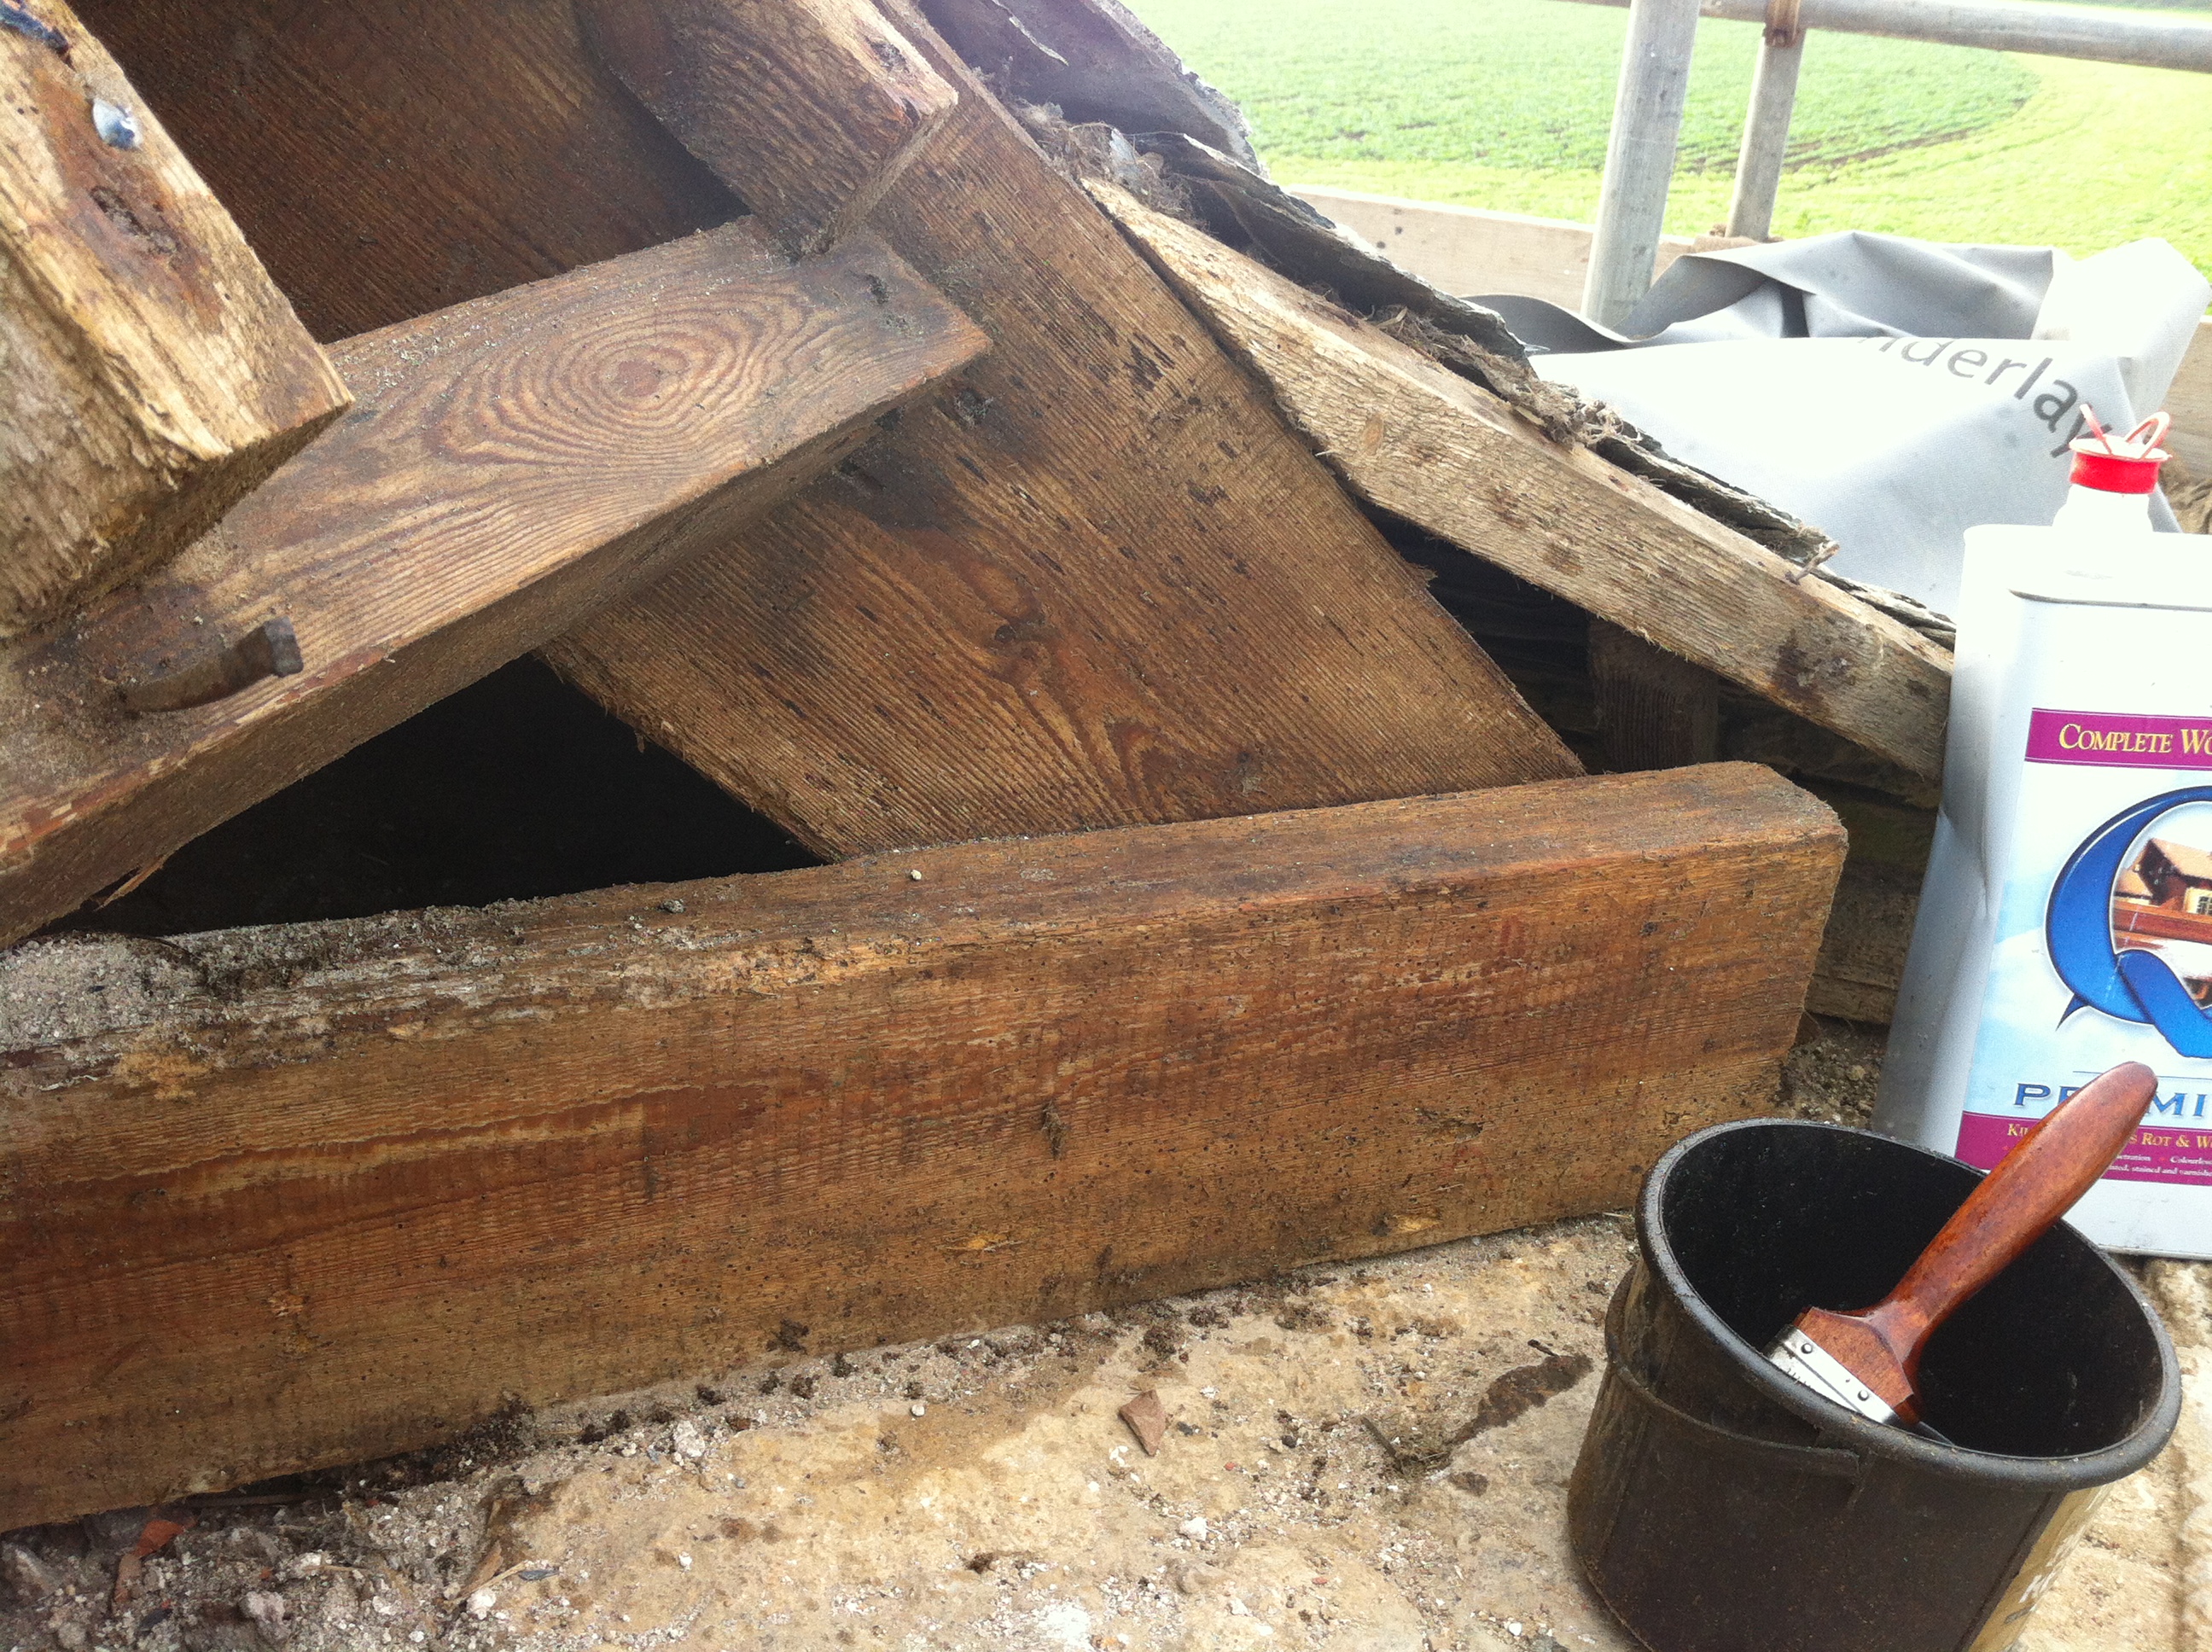
- Treatment of existing sound timbers.
-
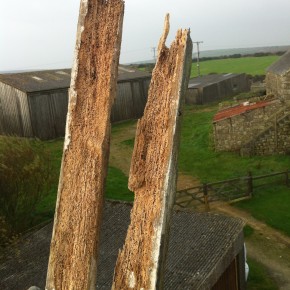
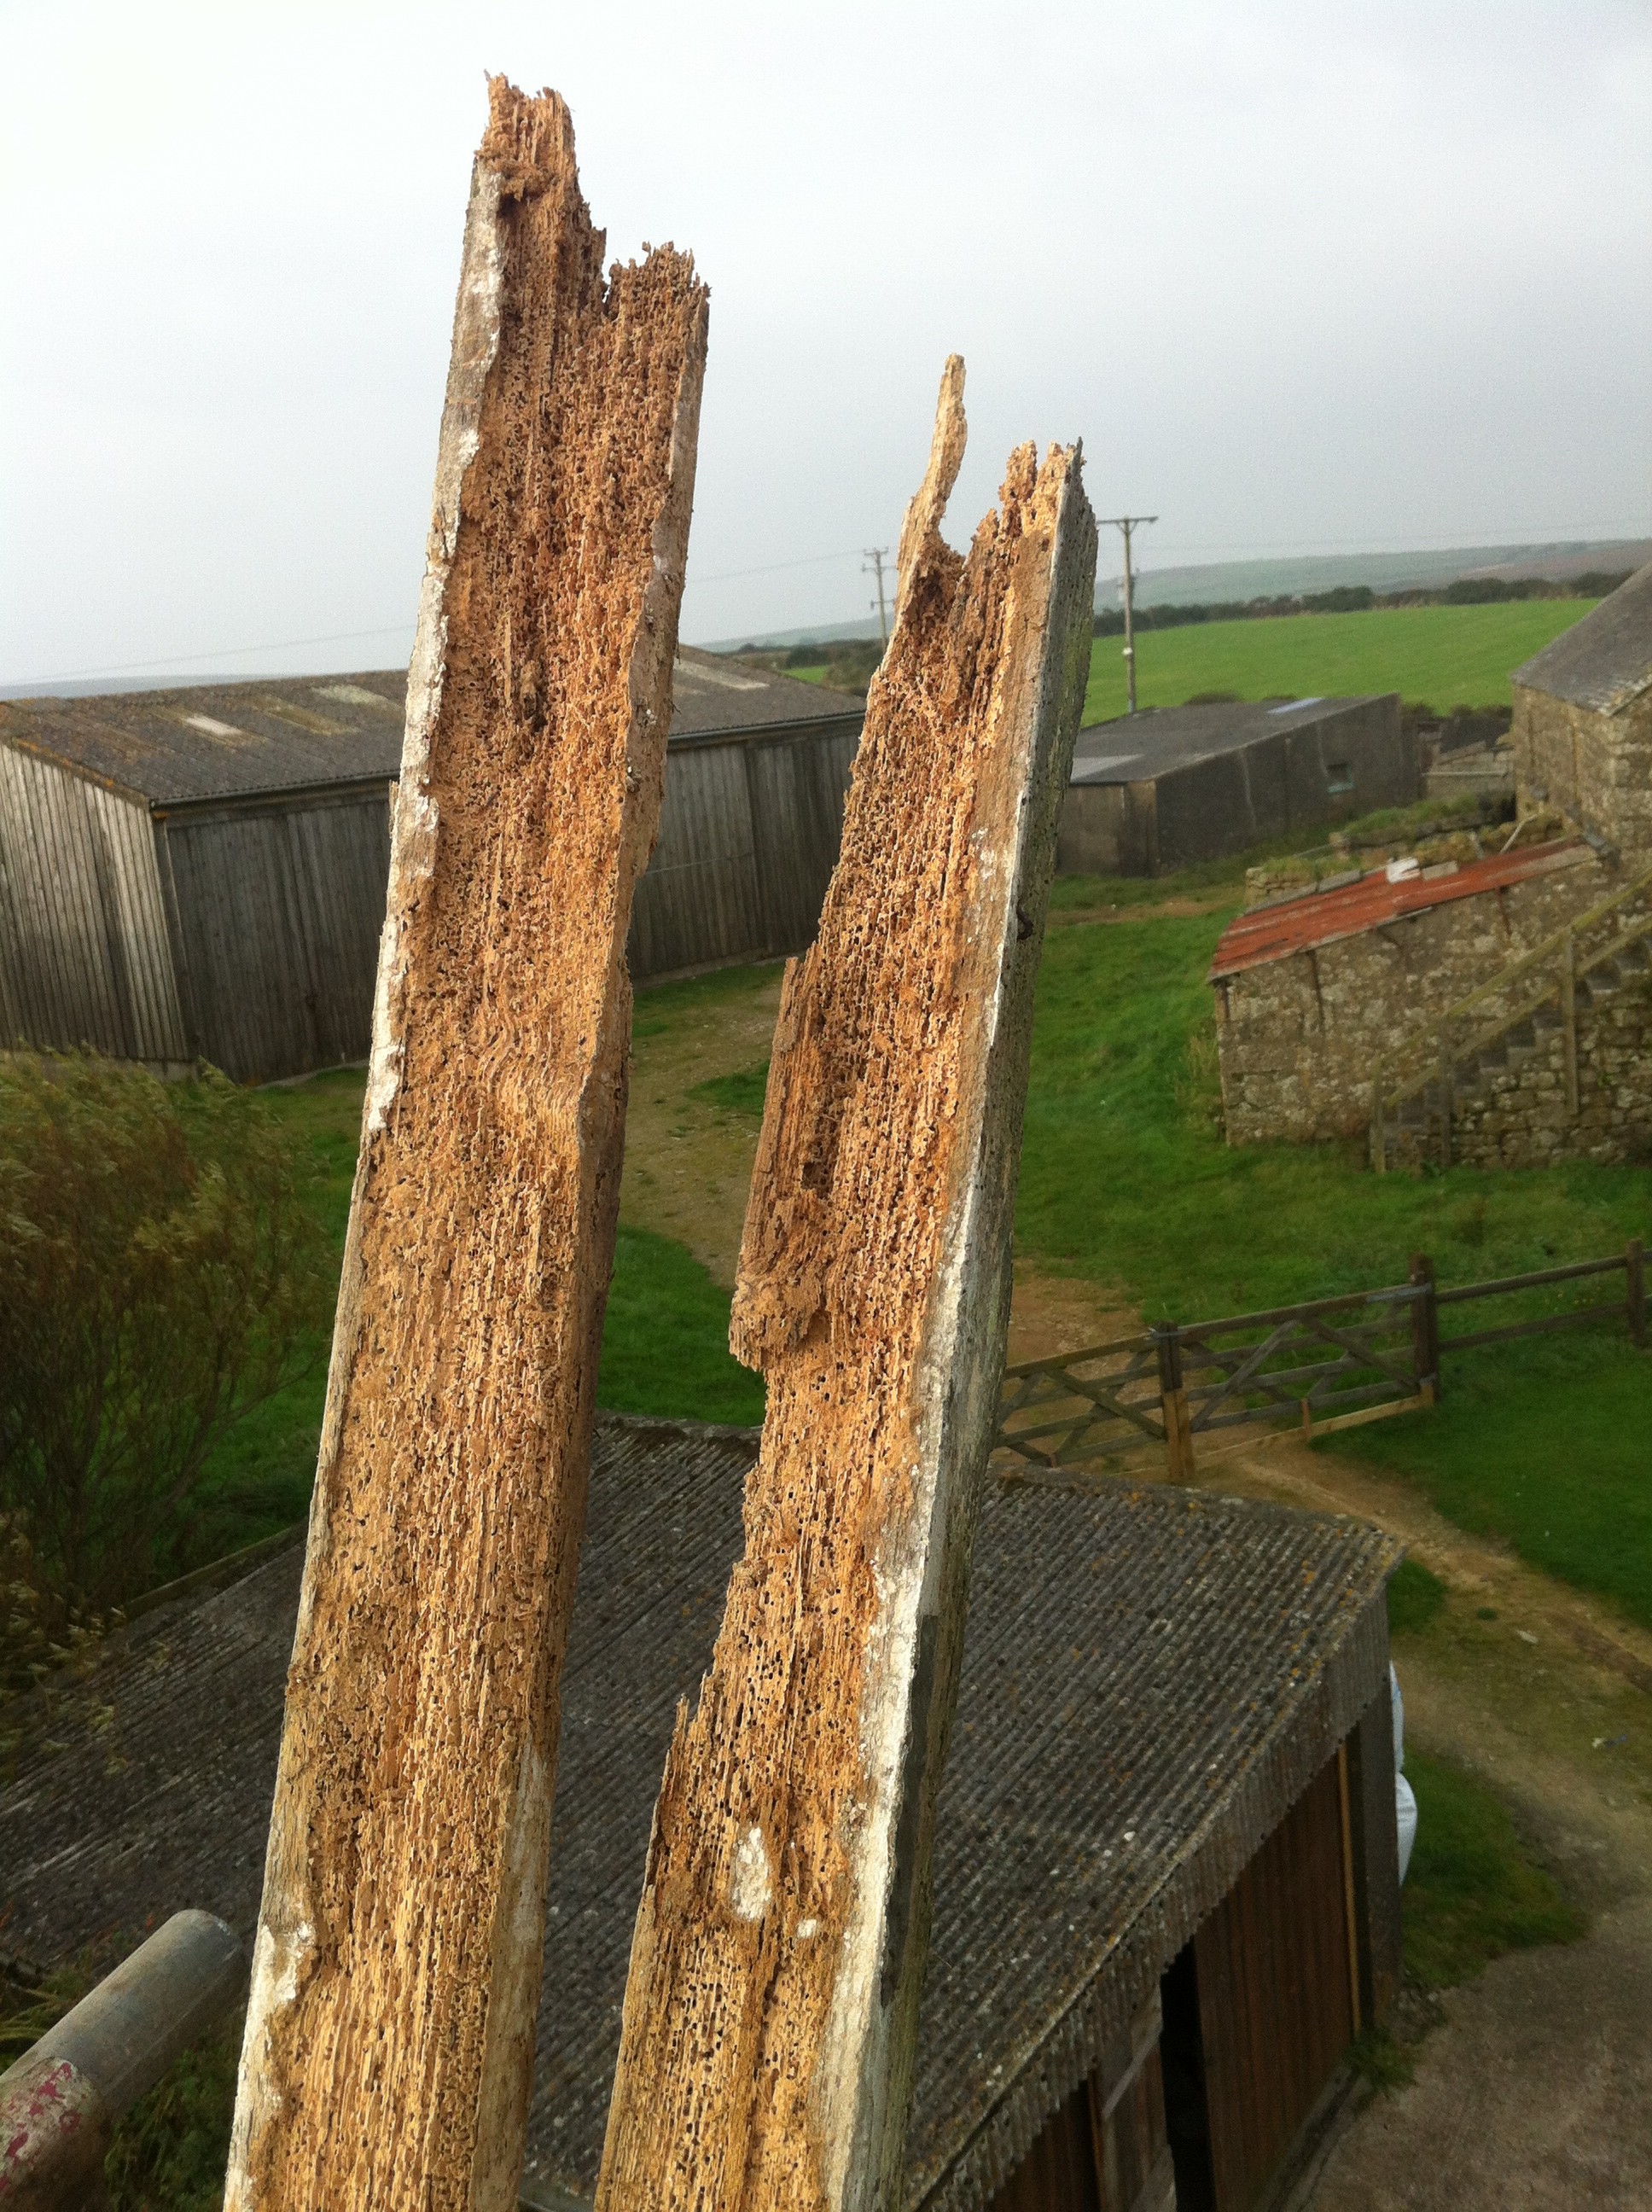
- Here are a couple of pieces of the old wall plate . As you can see there was’nt much left of them!!
-
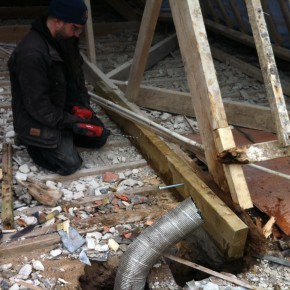
- A couple of the main A-frames where rotten at the ends and had to be repaired.
-
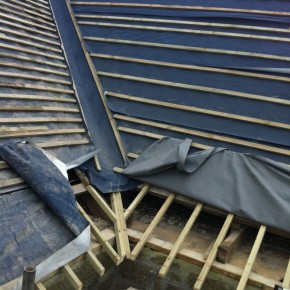
- Here you can see the lower kicker rafters replaced, the new wall plate and the setting out for the vally.
-
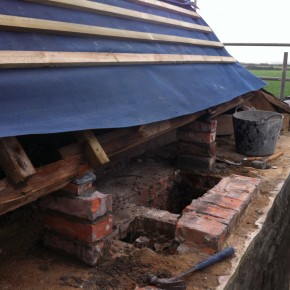
- We removed 4 chimenys in total. And brick pillers were instaled to support the new purlins required. All timbers were treated with a comprehensive wood treatment.
-
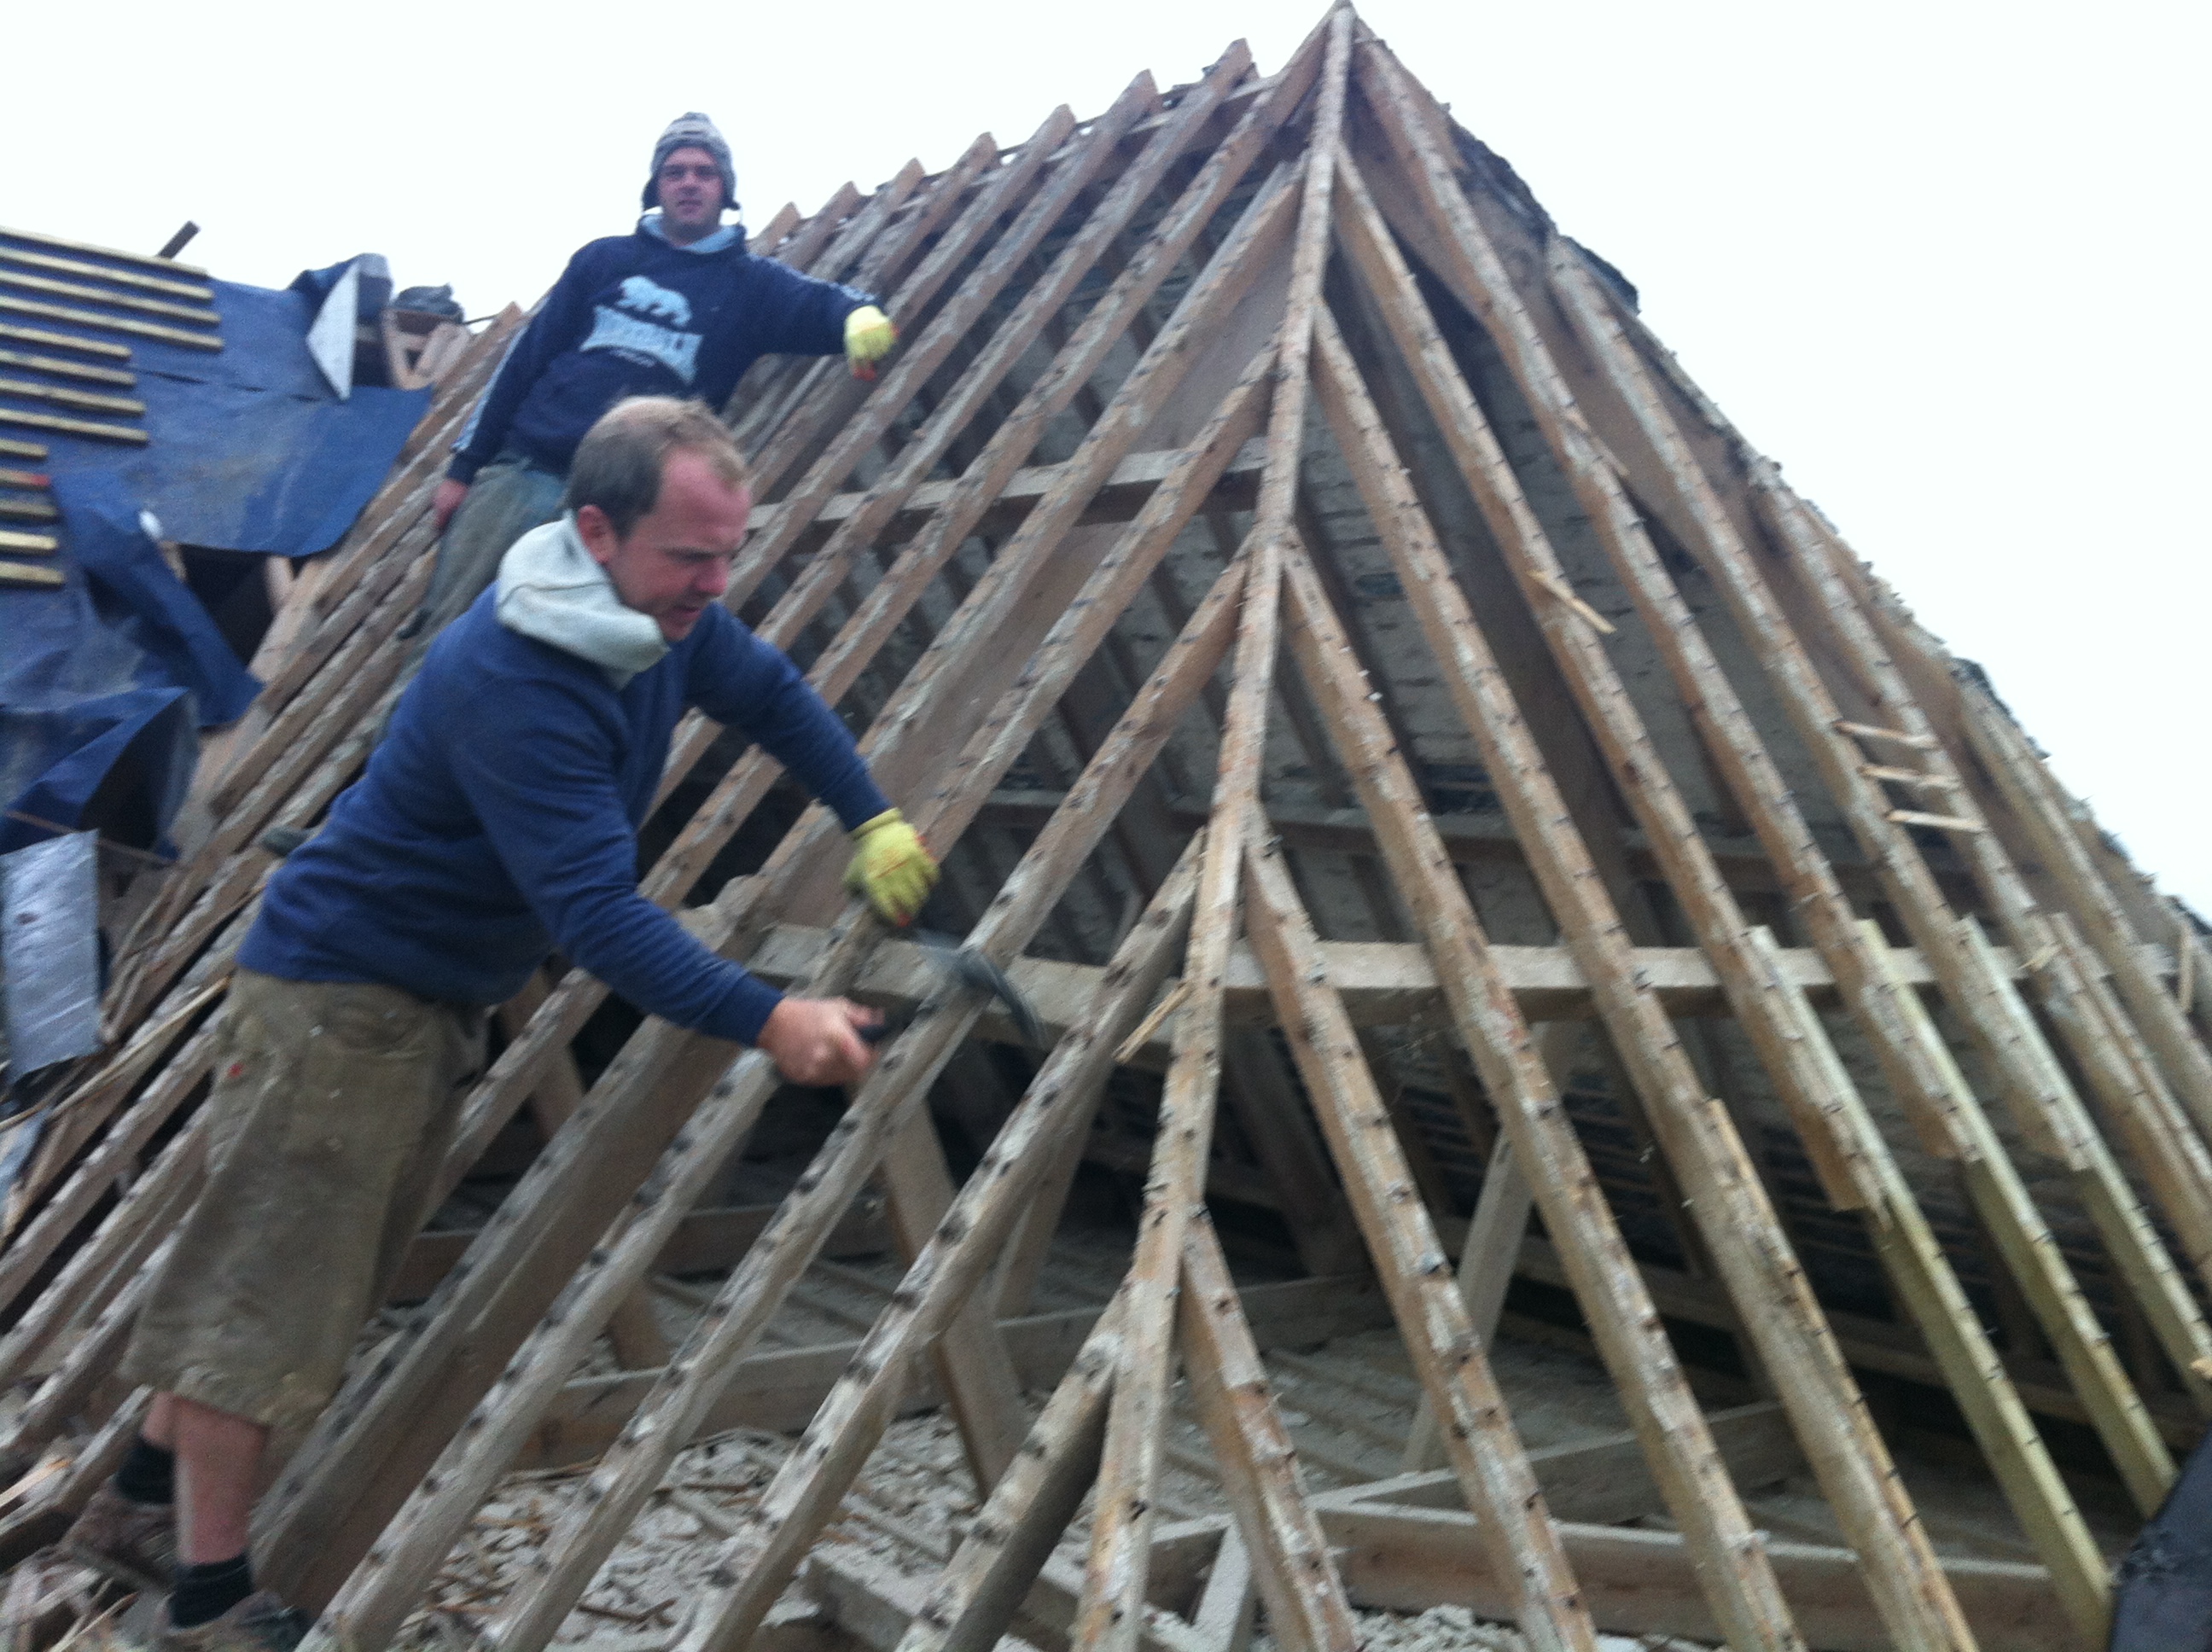
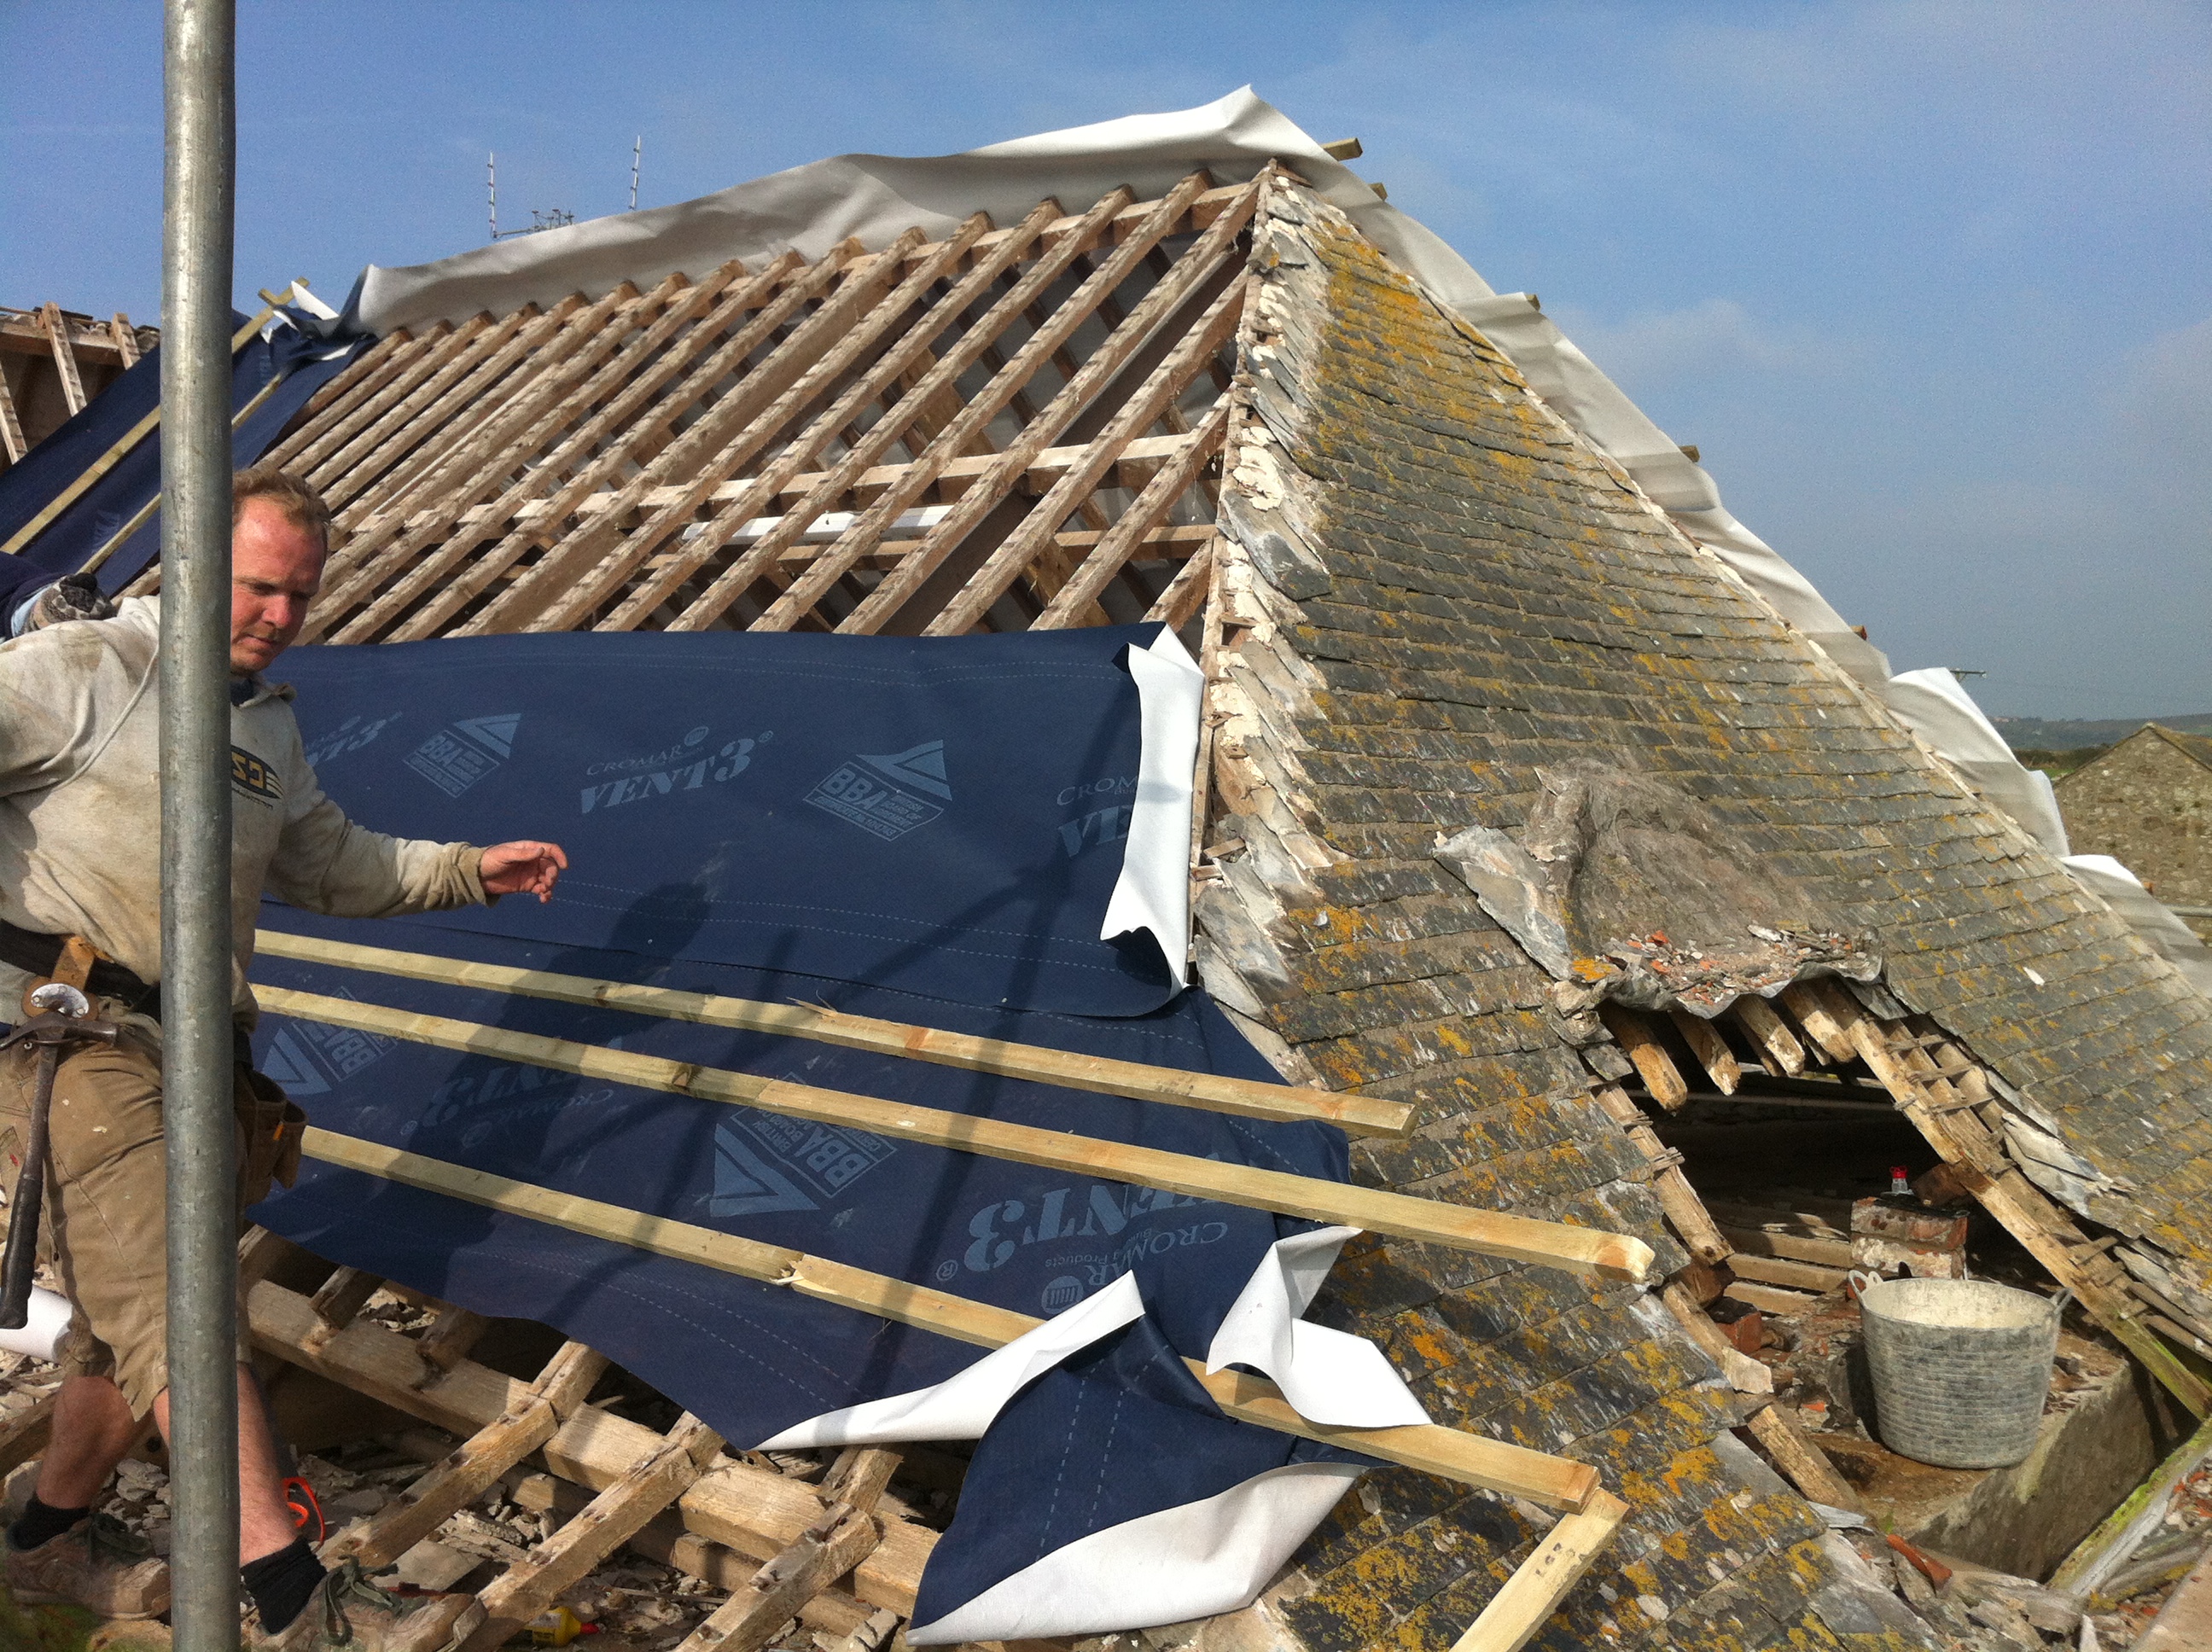
- Almost all of the rafters where in good nick. But the lower kicker rafters and the wall plate was in a rather bad state.
-
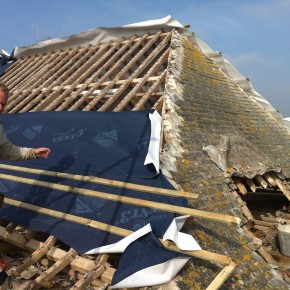
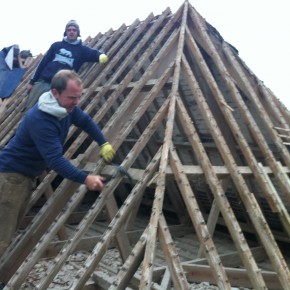
- We removed the old failing scantle.
-
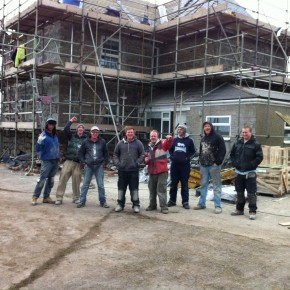
- This was a large job and I had to call in a few of my friends to help with roofing and carpentry work.